Hello All!
If we haven’t met yet, my name is Shelby and I am Milwaukee Restore’s Repurposing Artist.
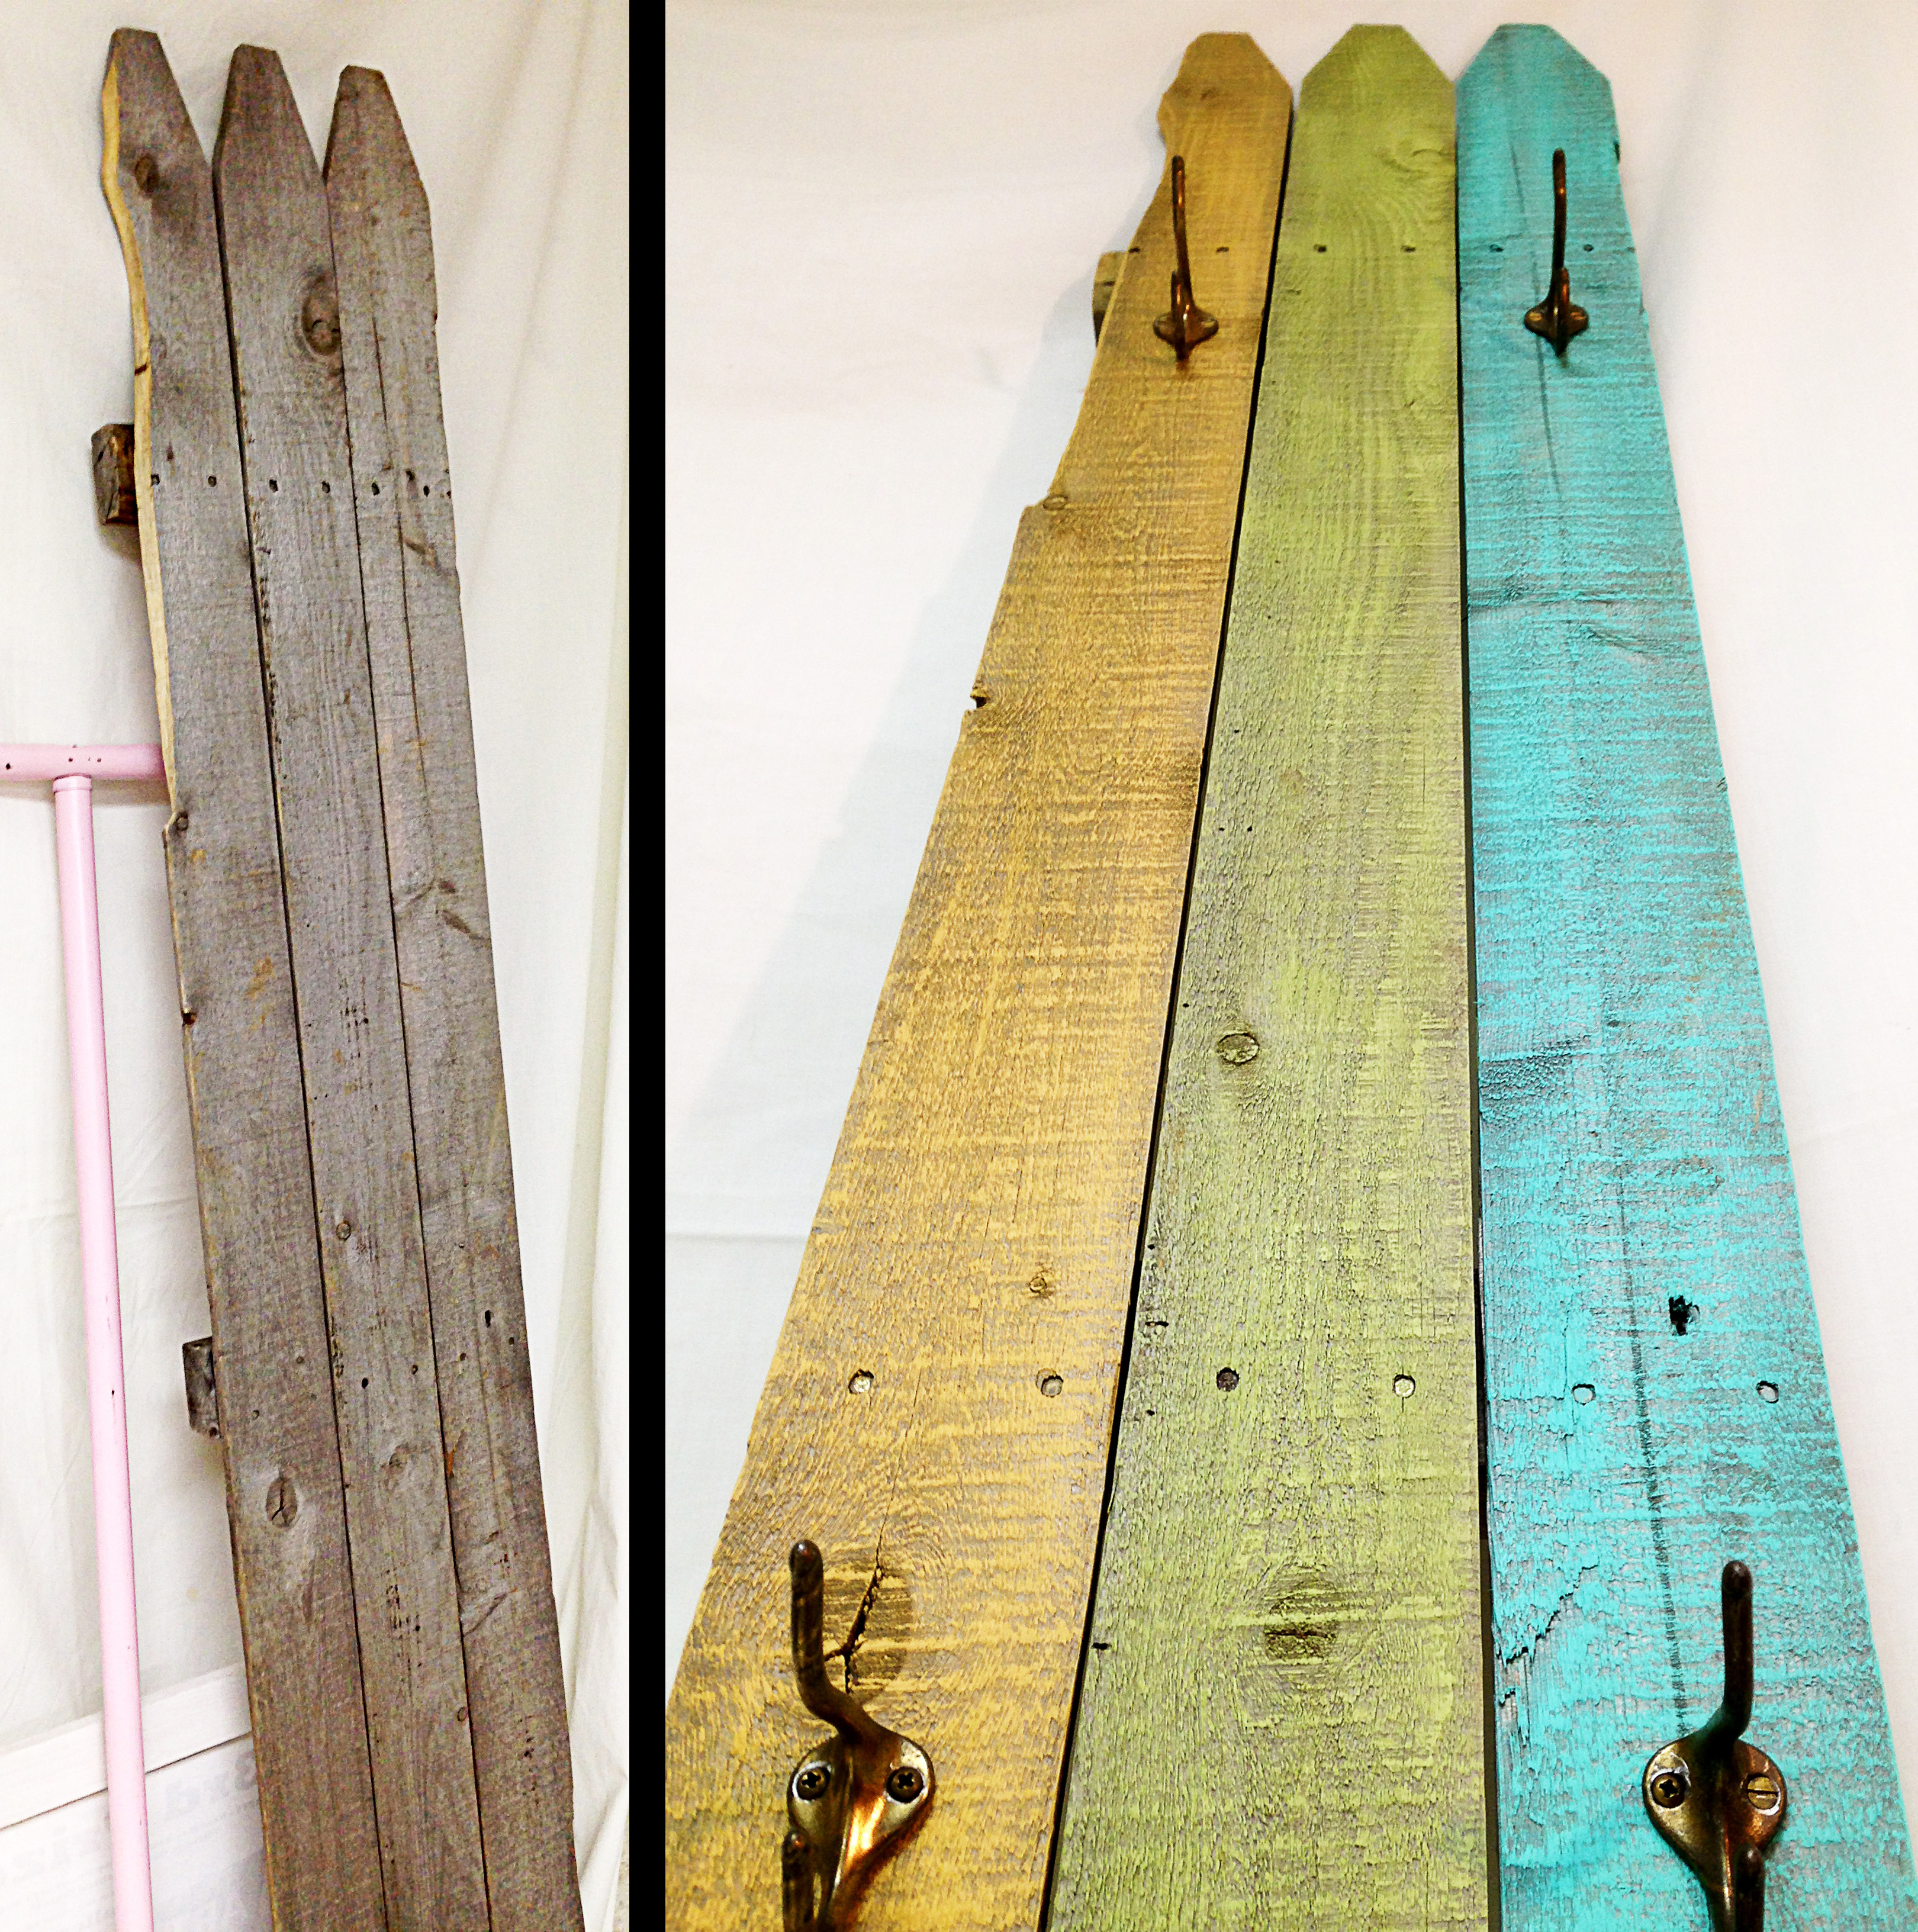
I am here to introduce to you one of the projects I have been working on in the studio. I made this small piece of broken fence into a coat hanger! Part of my responsibilities here at Restore are to embrace the seemingly helpless items and make them new again! With this project I did just that. Look at that sad little fence.
Now, let me explain how I did it.
I started out by removing all of the nails and screws that were sticking out all over. Then, I used a 100 grit sandpaper to sand off all of the rough edges.

I came across a wood plank wall on Pinterest that used a dry brushing technique that gave a really rustic, weather worn feel that I loved.
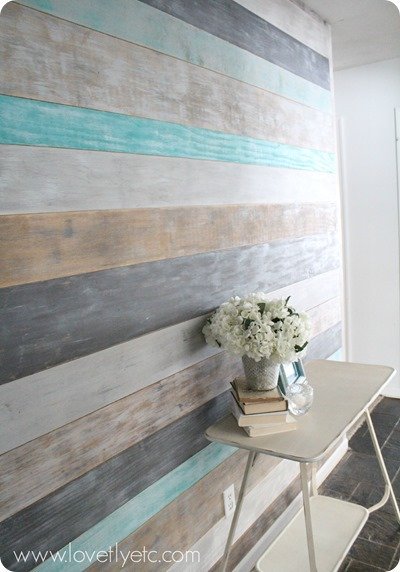
Dry Brushed Plank Wall
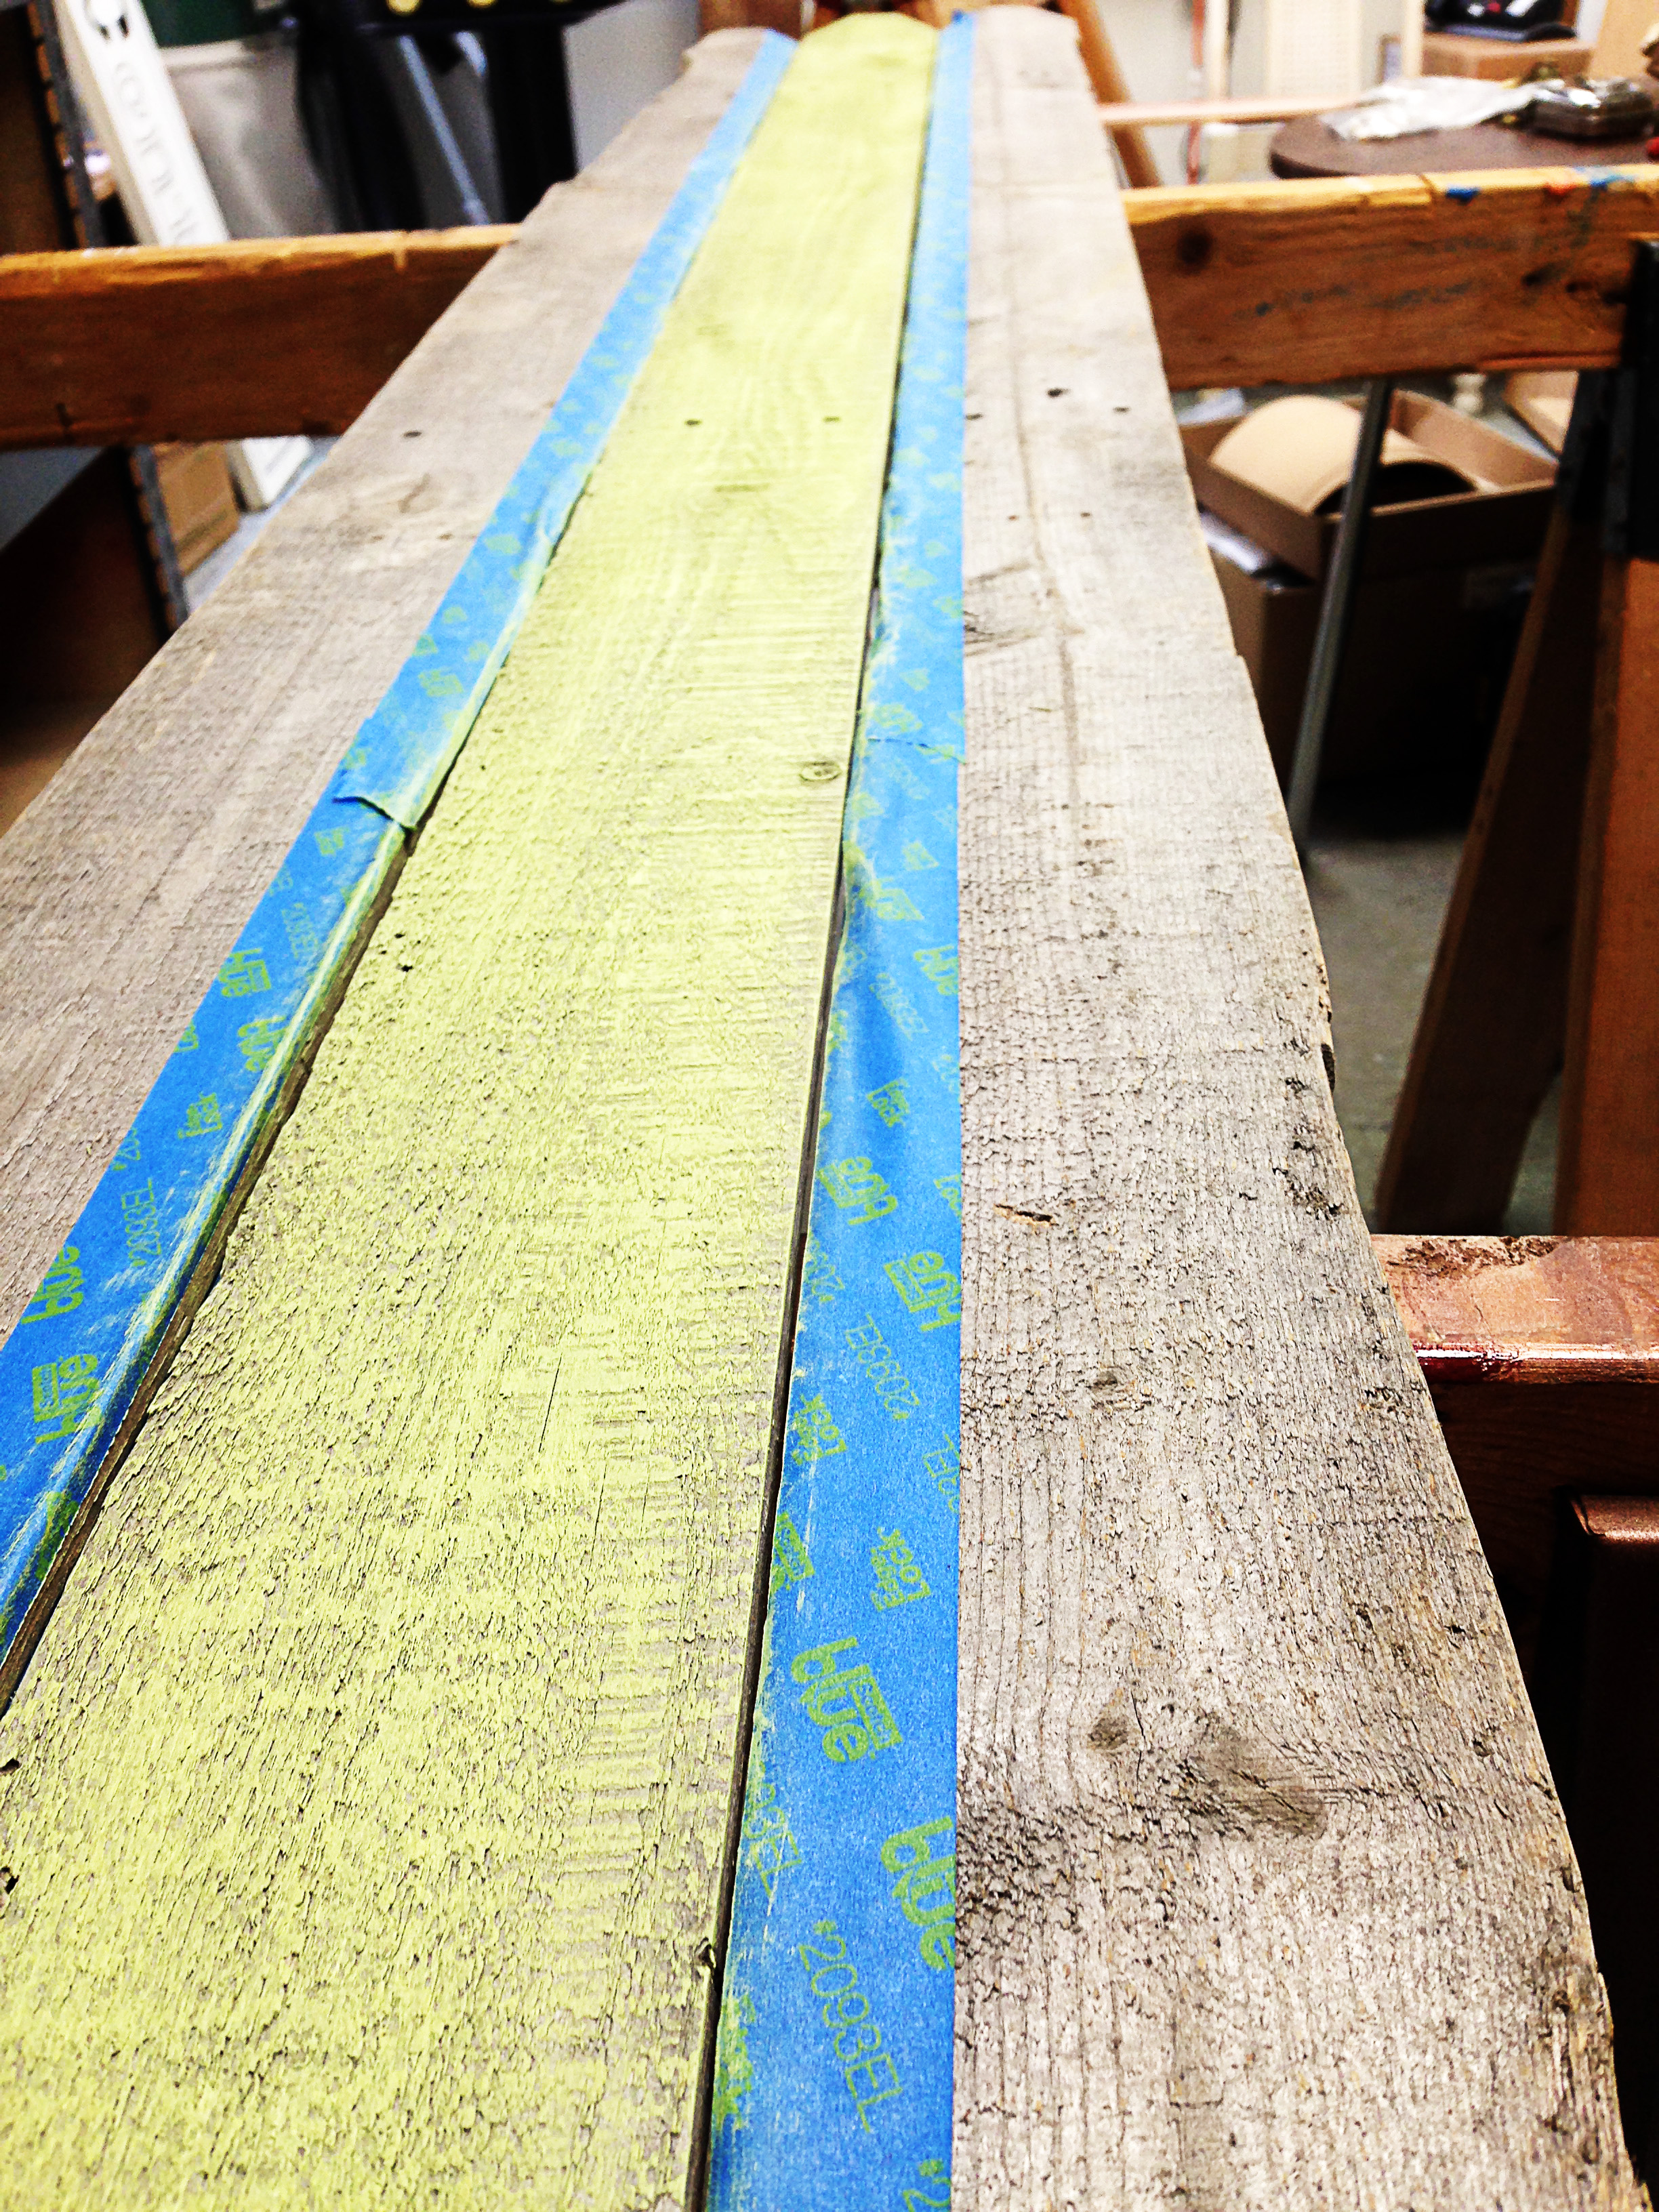
I thought this would be a perfect opportunity to incorporate that. I decided to use a different color for each panel. I started with the green. I used painters tape to protect from getting green on the other two panels. The trick with dry brushing is to apply as little paint as necessary so the paint acts more like a stain, letting the wood texture show through.
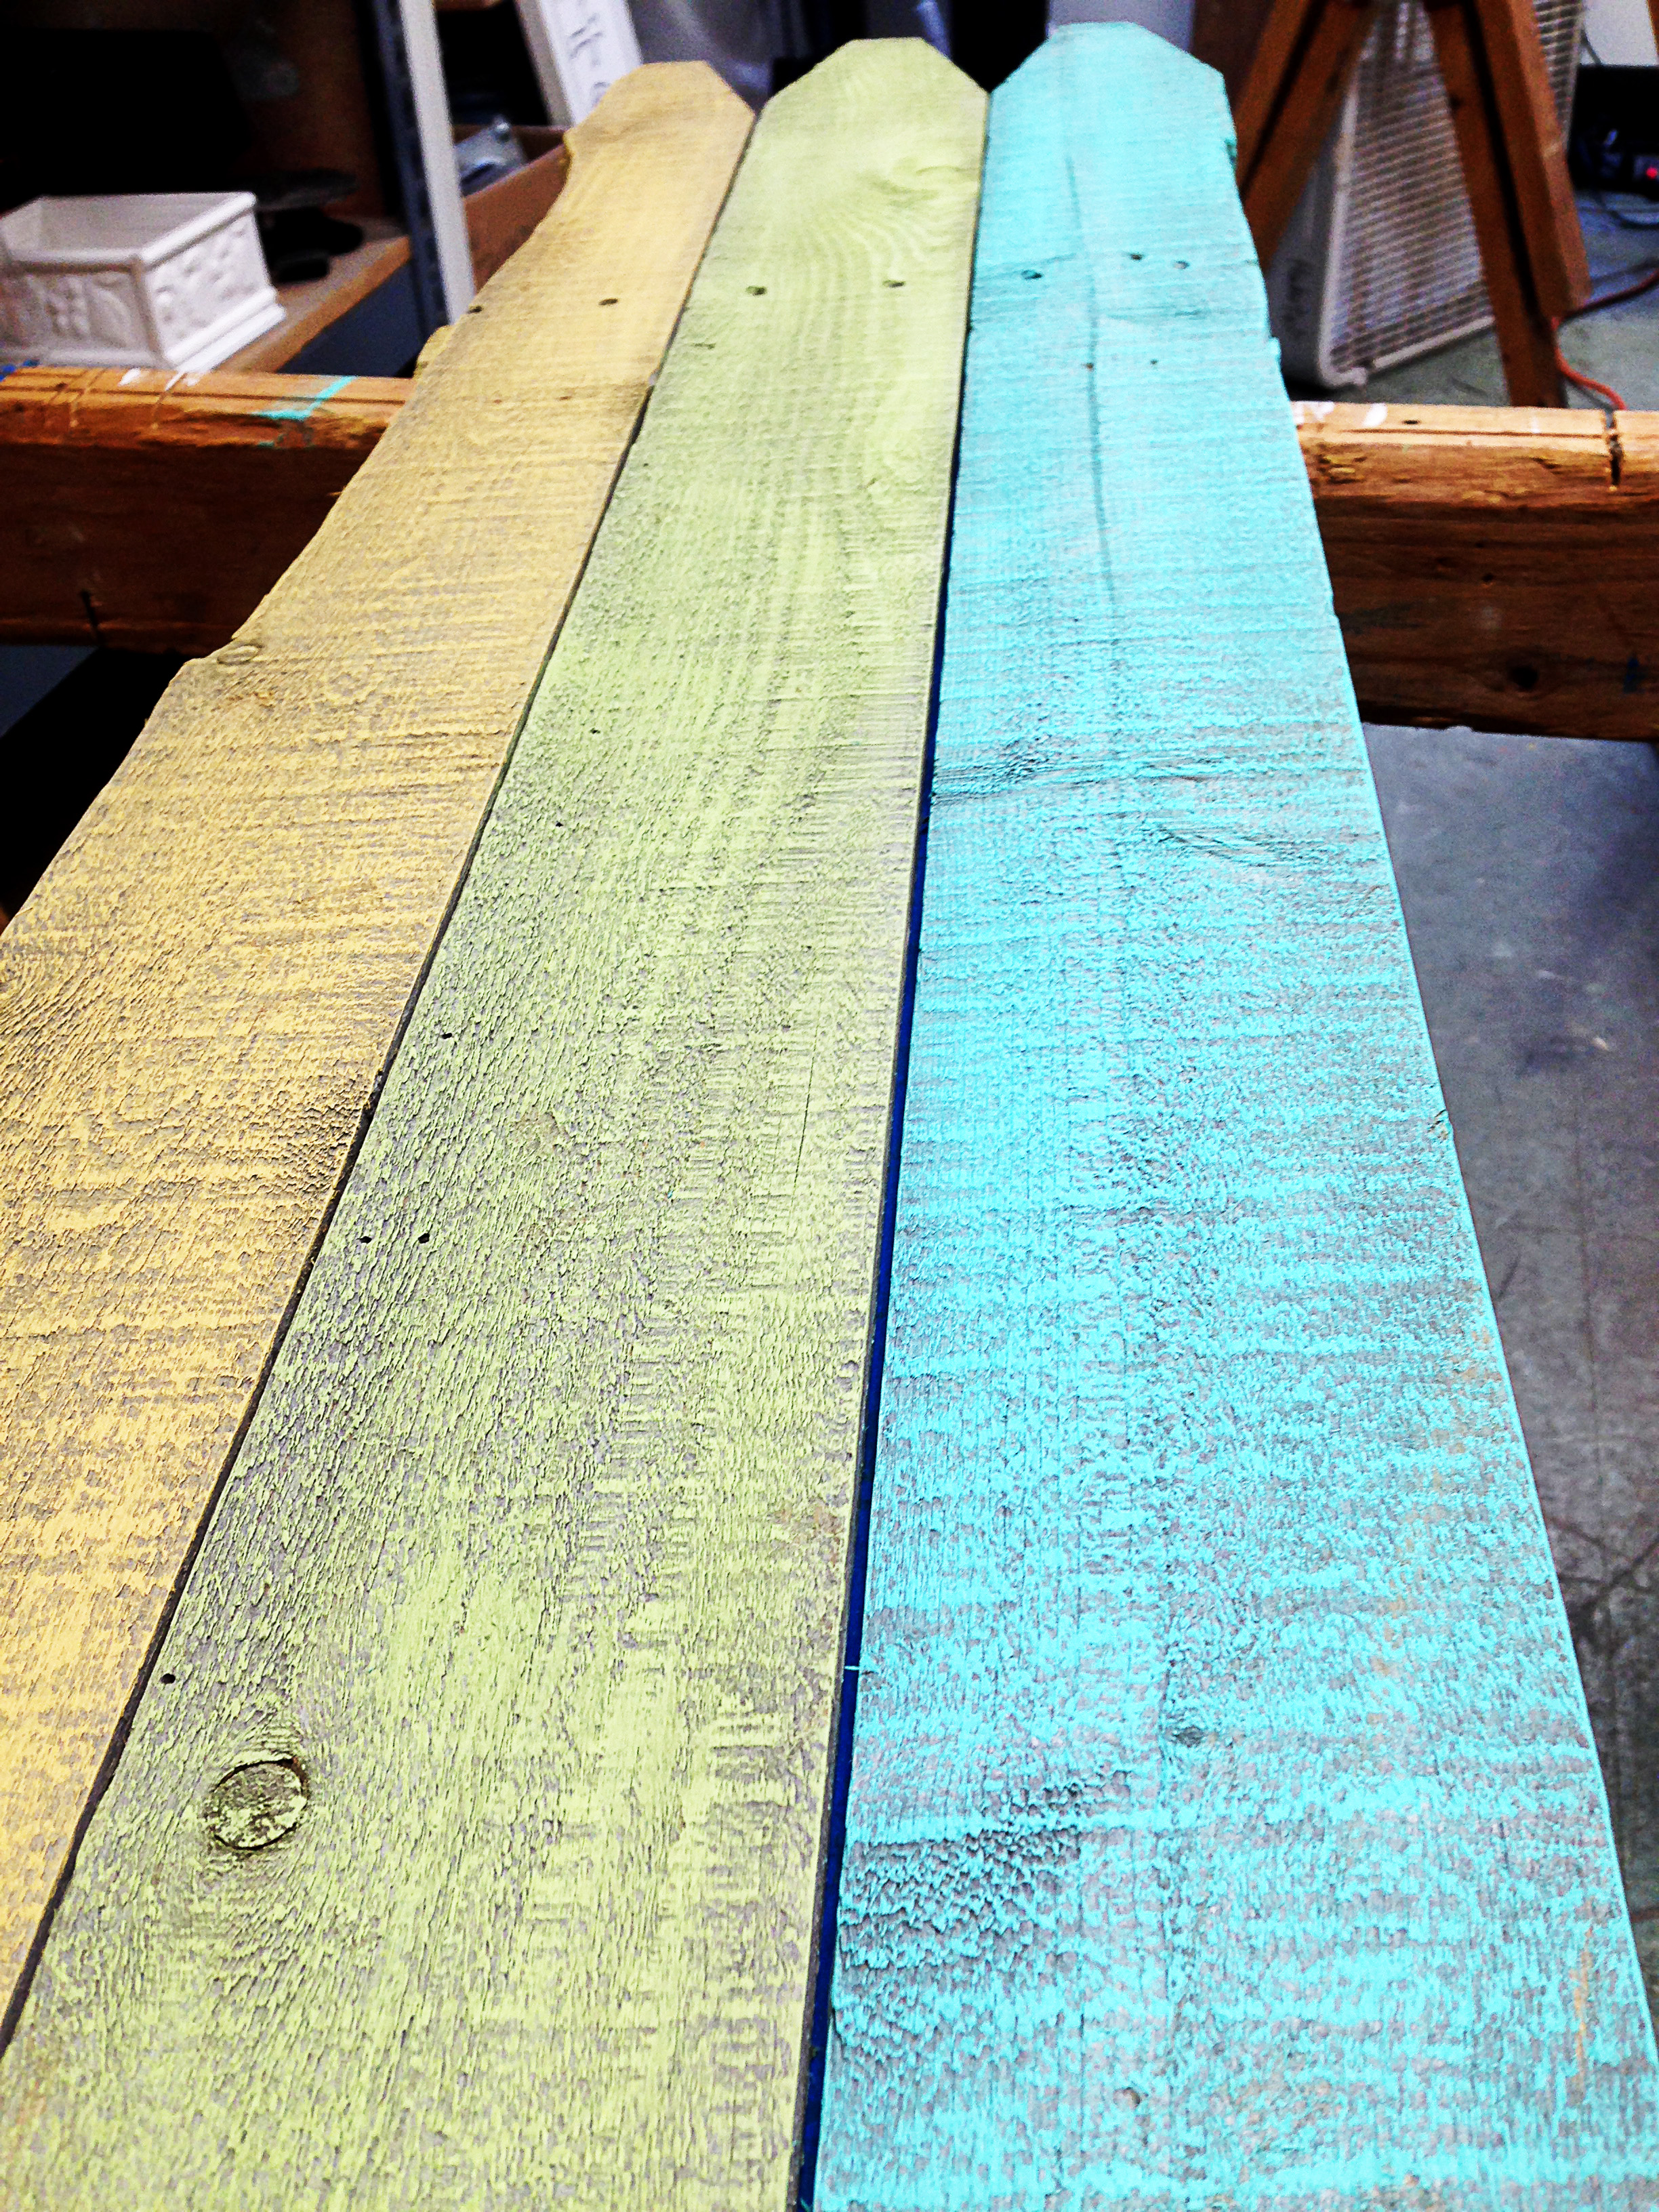
Then I followed with the yellow and blue. I really love how that blue looks. Beautiful.

Finally, I drilled small holes for the screws so I could attach the coat hooks. I decided to put two on the top, and two down below for lots of hanging space.


Stop into Milwaukee Restore to see if we have any extra fence laying around for your next coat rack! Then, post it on Restore’s Facebook Page. Mark your calendars for Demo Day on Saturday, June 21st 1PM!
Thanks for stopping! Have a lovely day!
![]()