
Hello All!
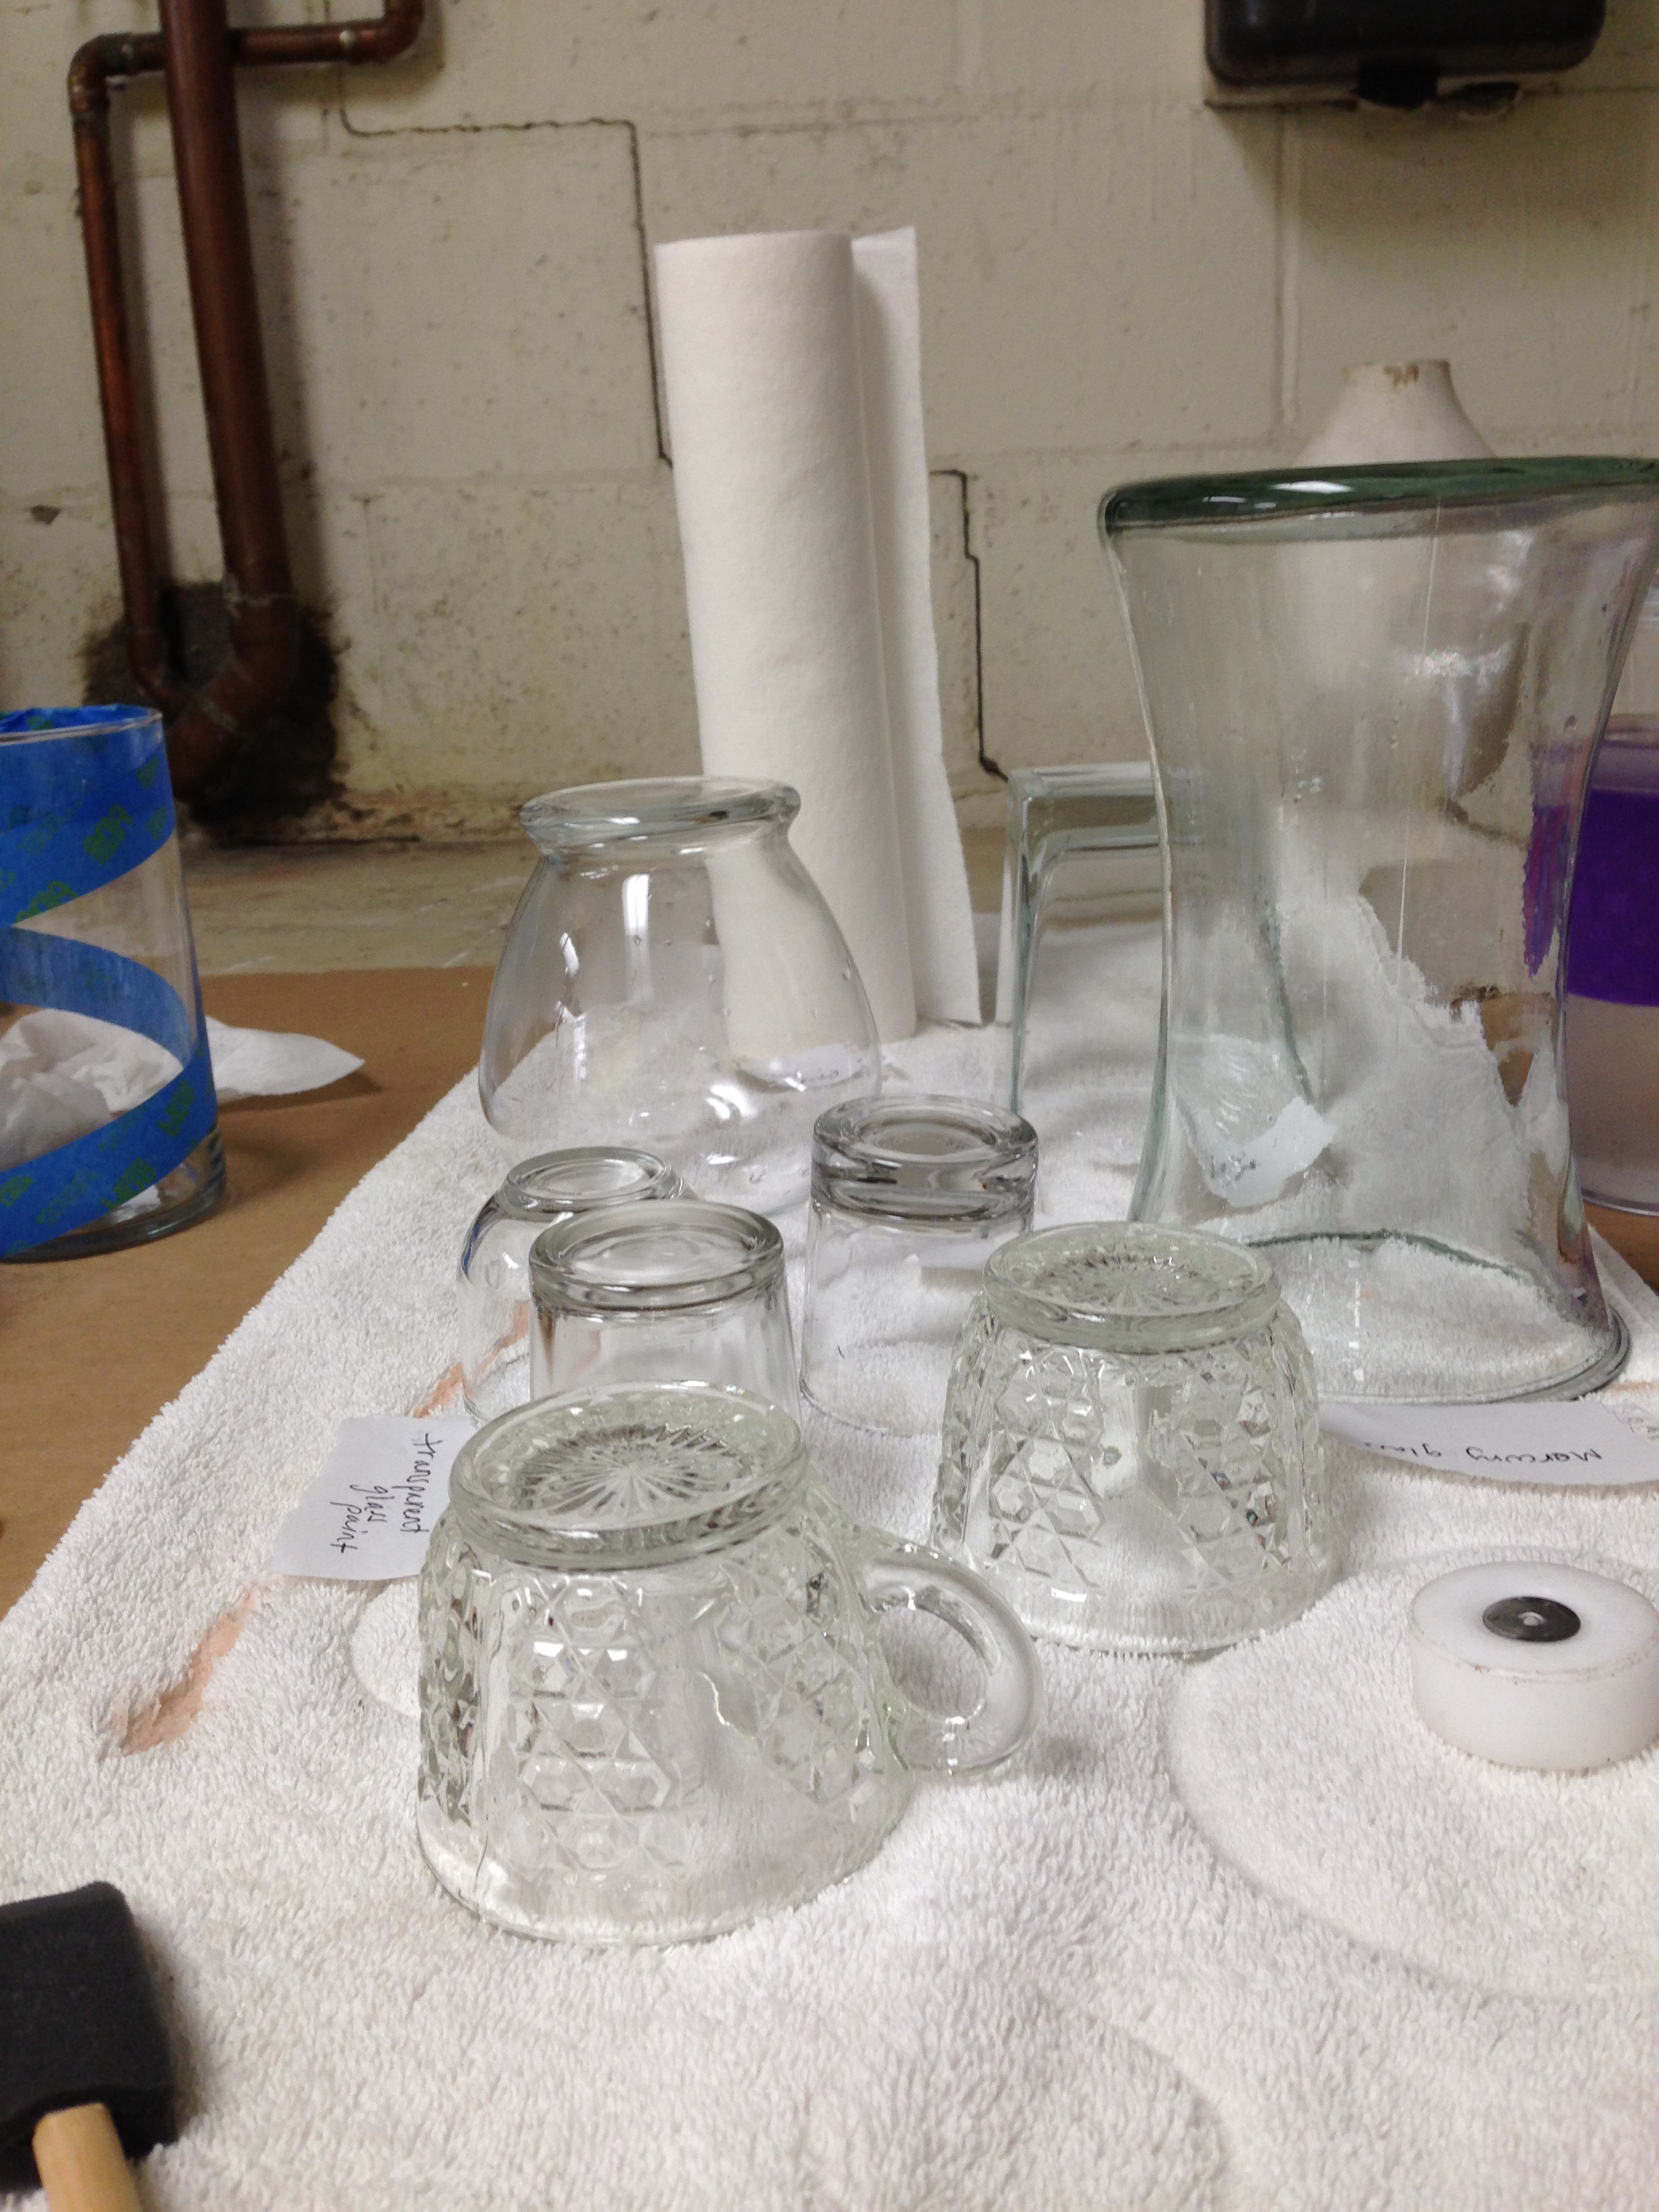
I hope you were able to make it to the demo this past Saturday. If not, here are the full tutorials of how you can accomplish what I showed. All of this glassware was found at ReStore, and you can pick up some for yourself too! These techniques for repurposing clear glassware include…
Food Colored Candle Holders
Glittered Vase
Poured Paint Vases
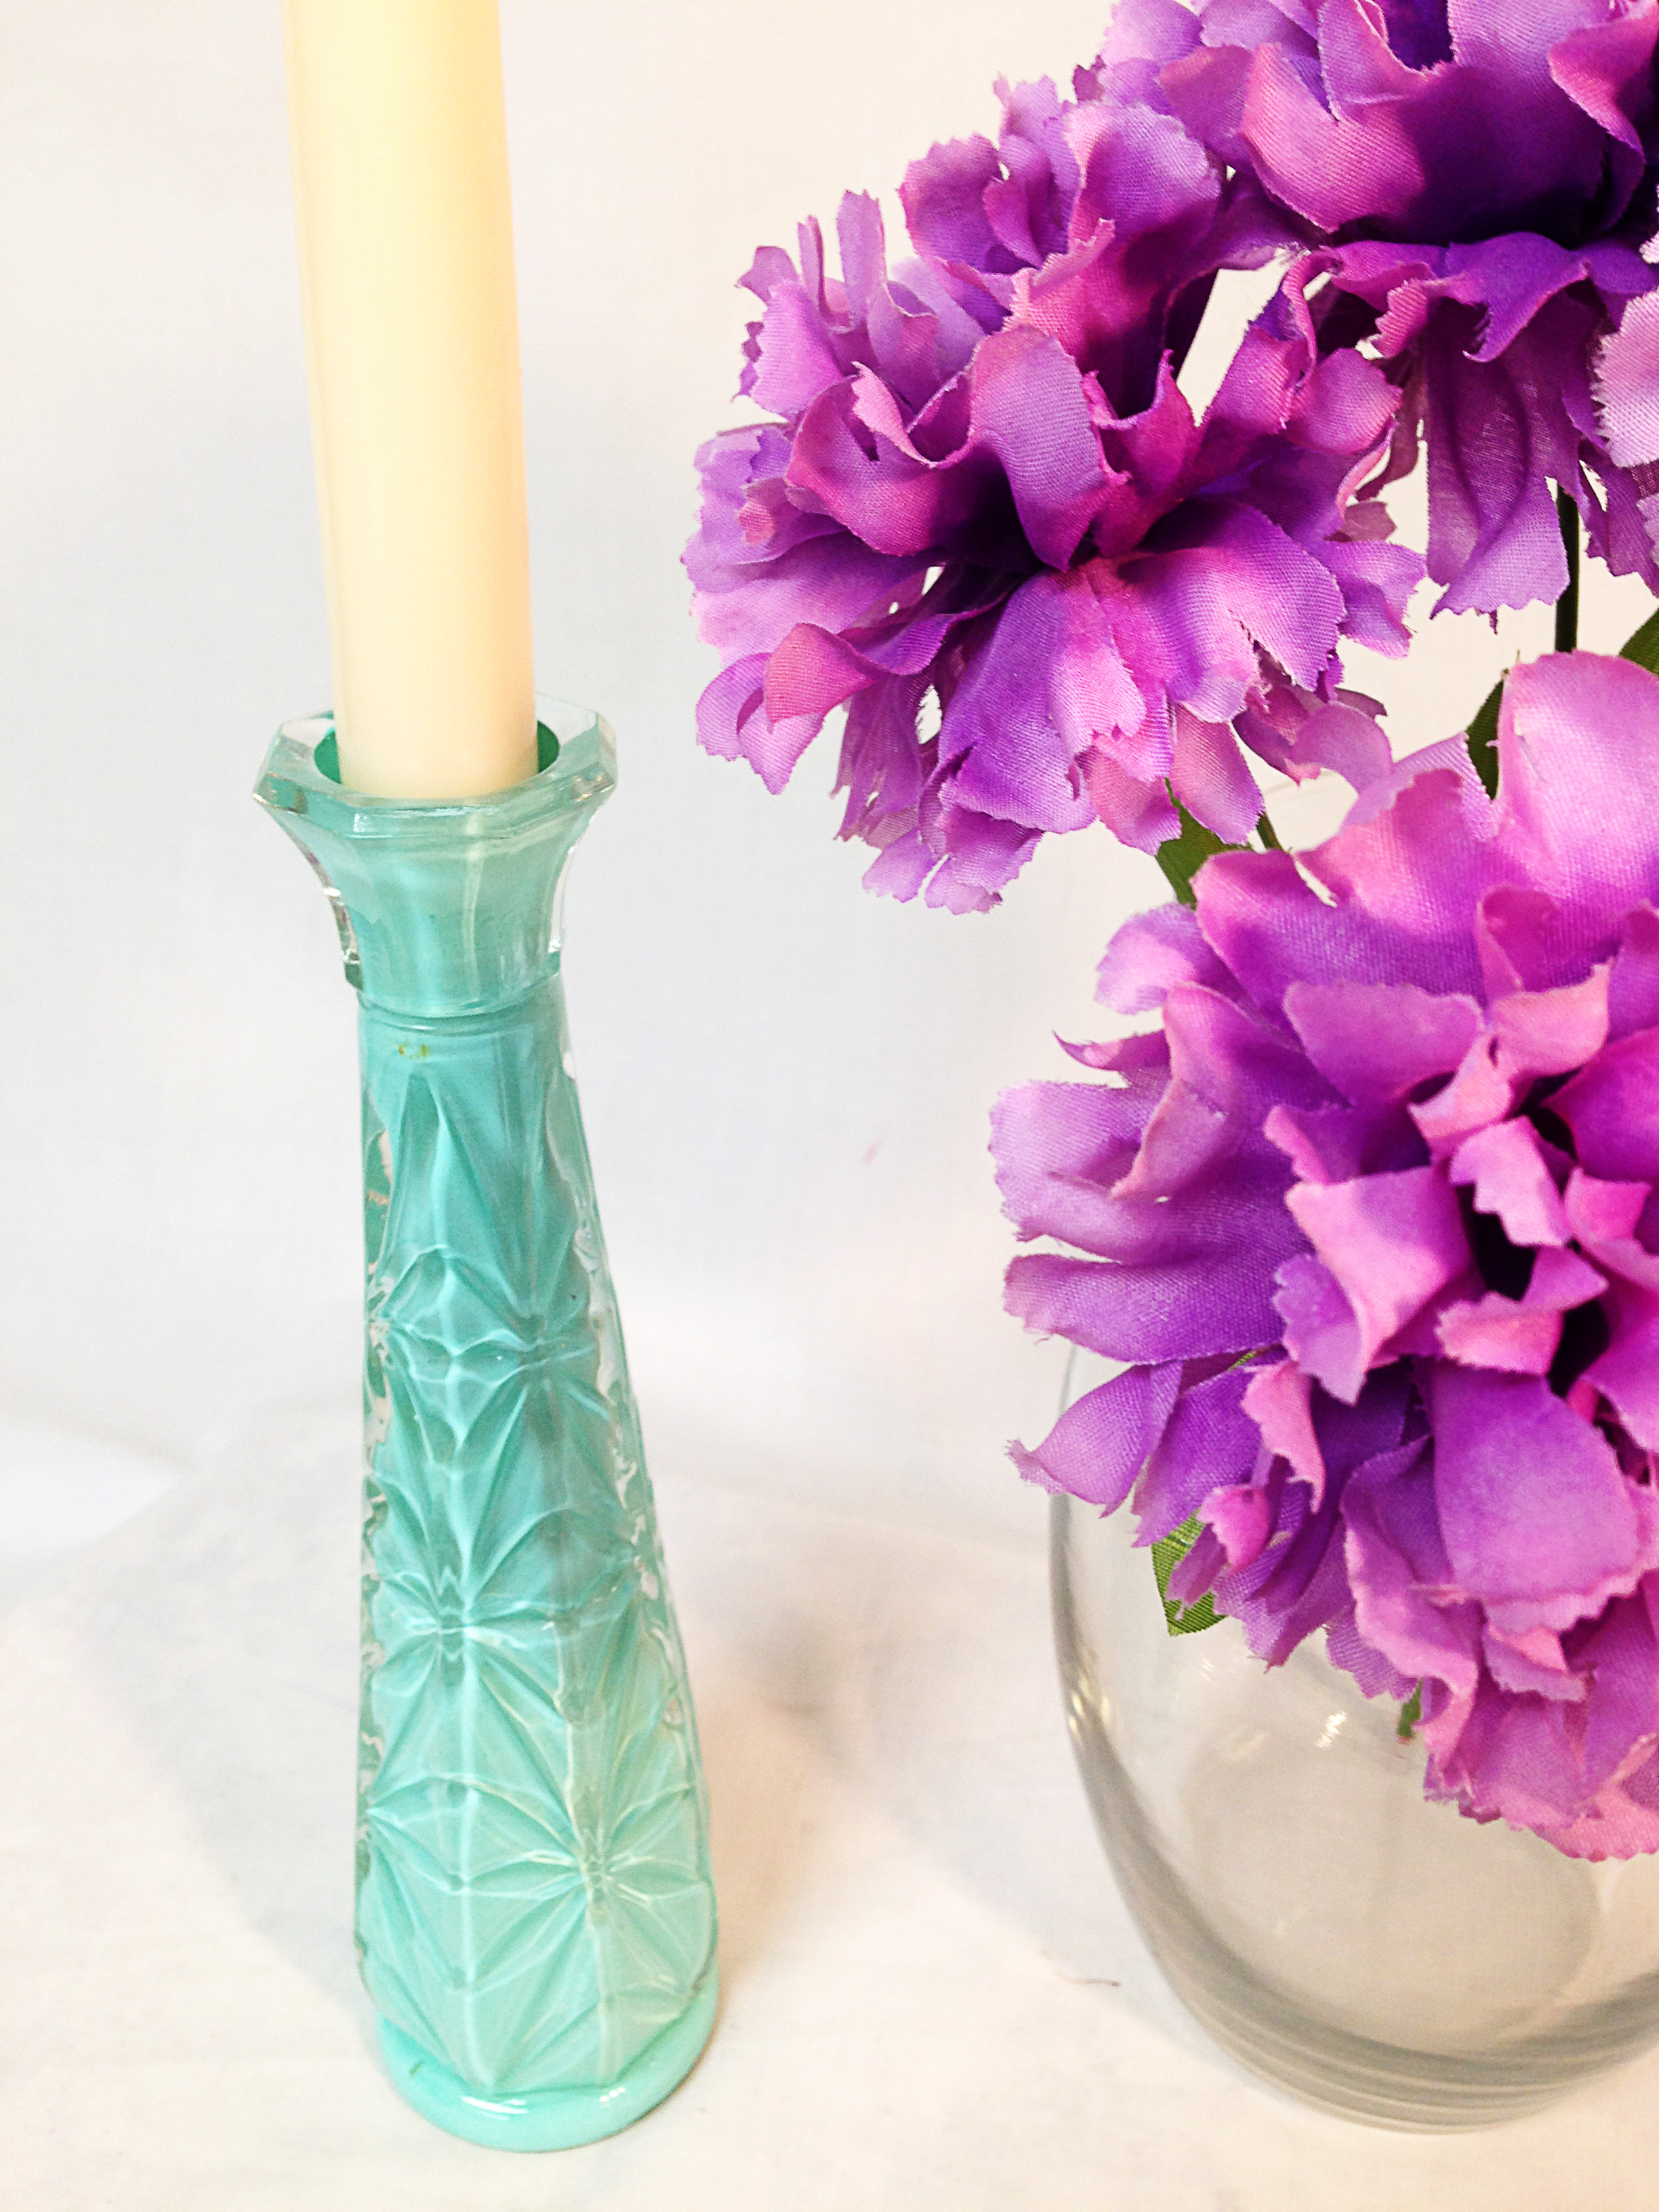
Transparent Paint Candle Holder and Vase
Gold Dipped Vase
White Striped Vase
Mercury Glass Vase
Rope Wrapped Vase
Glue Gun Dotted Vase
This post will probably get quite long, but I thought it was best to contain it all into one.
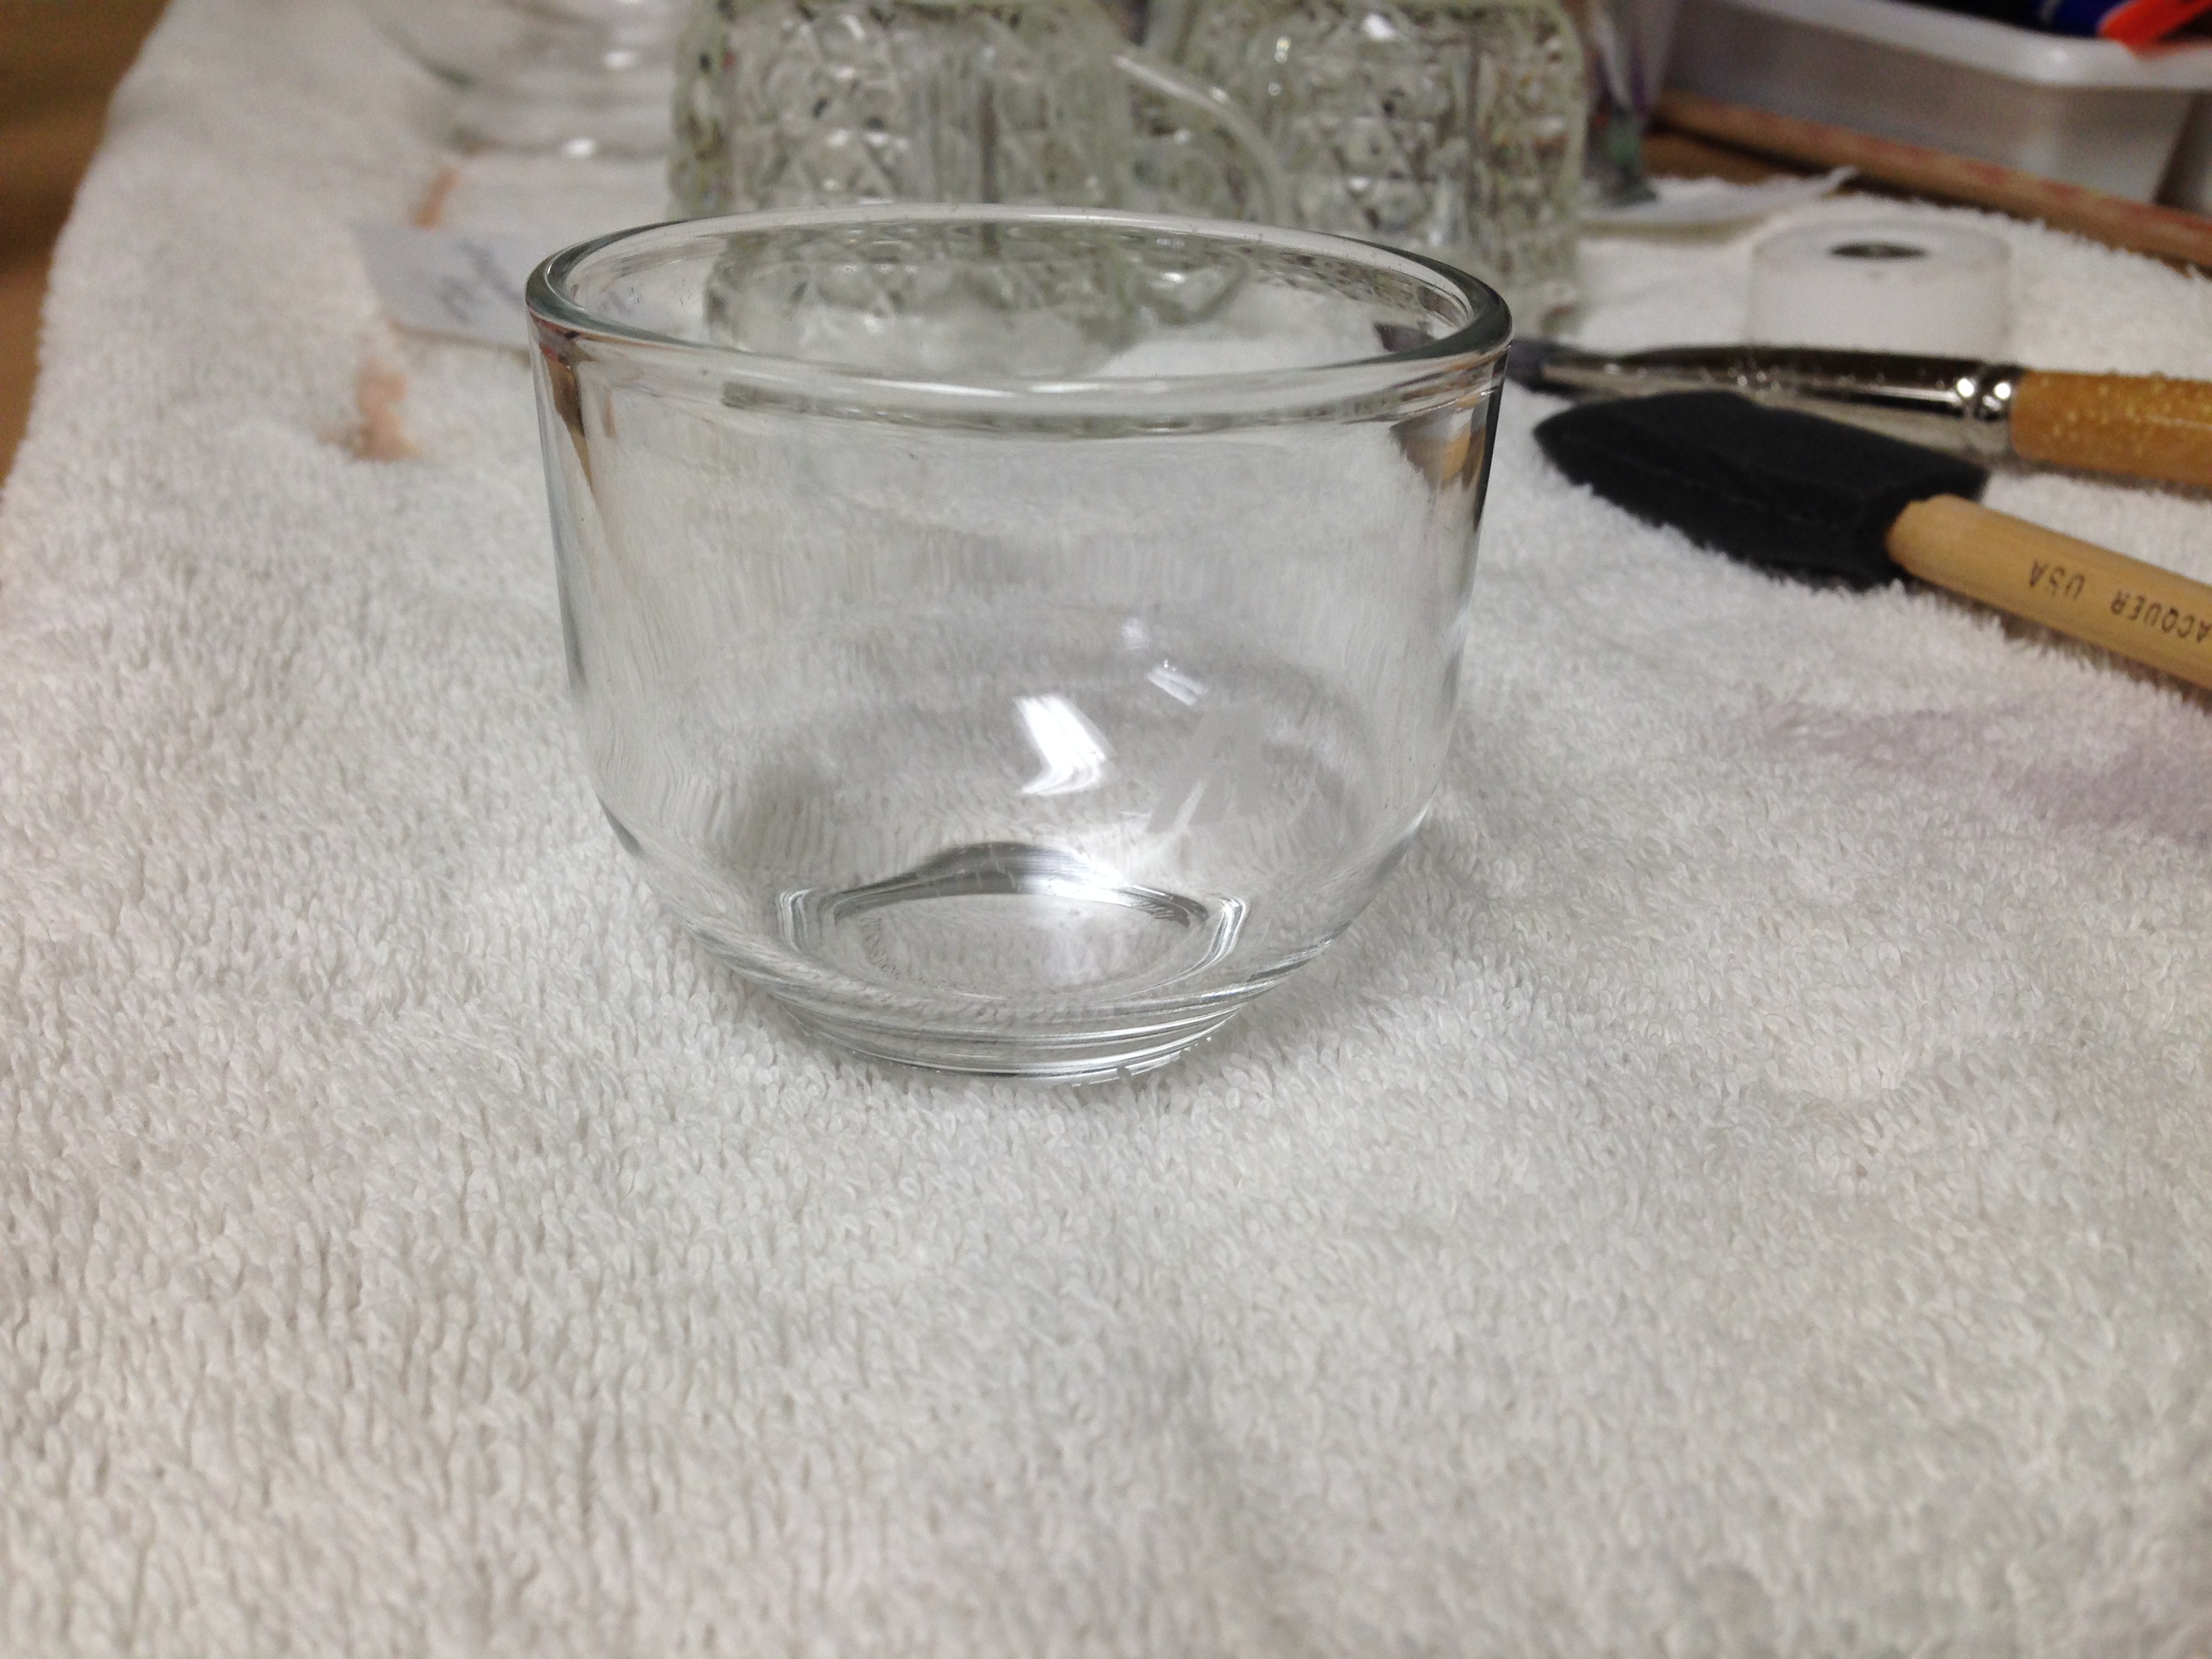
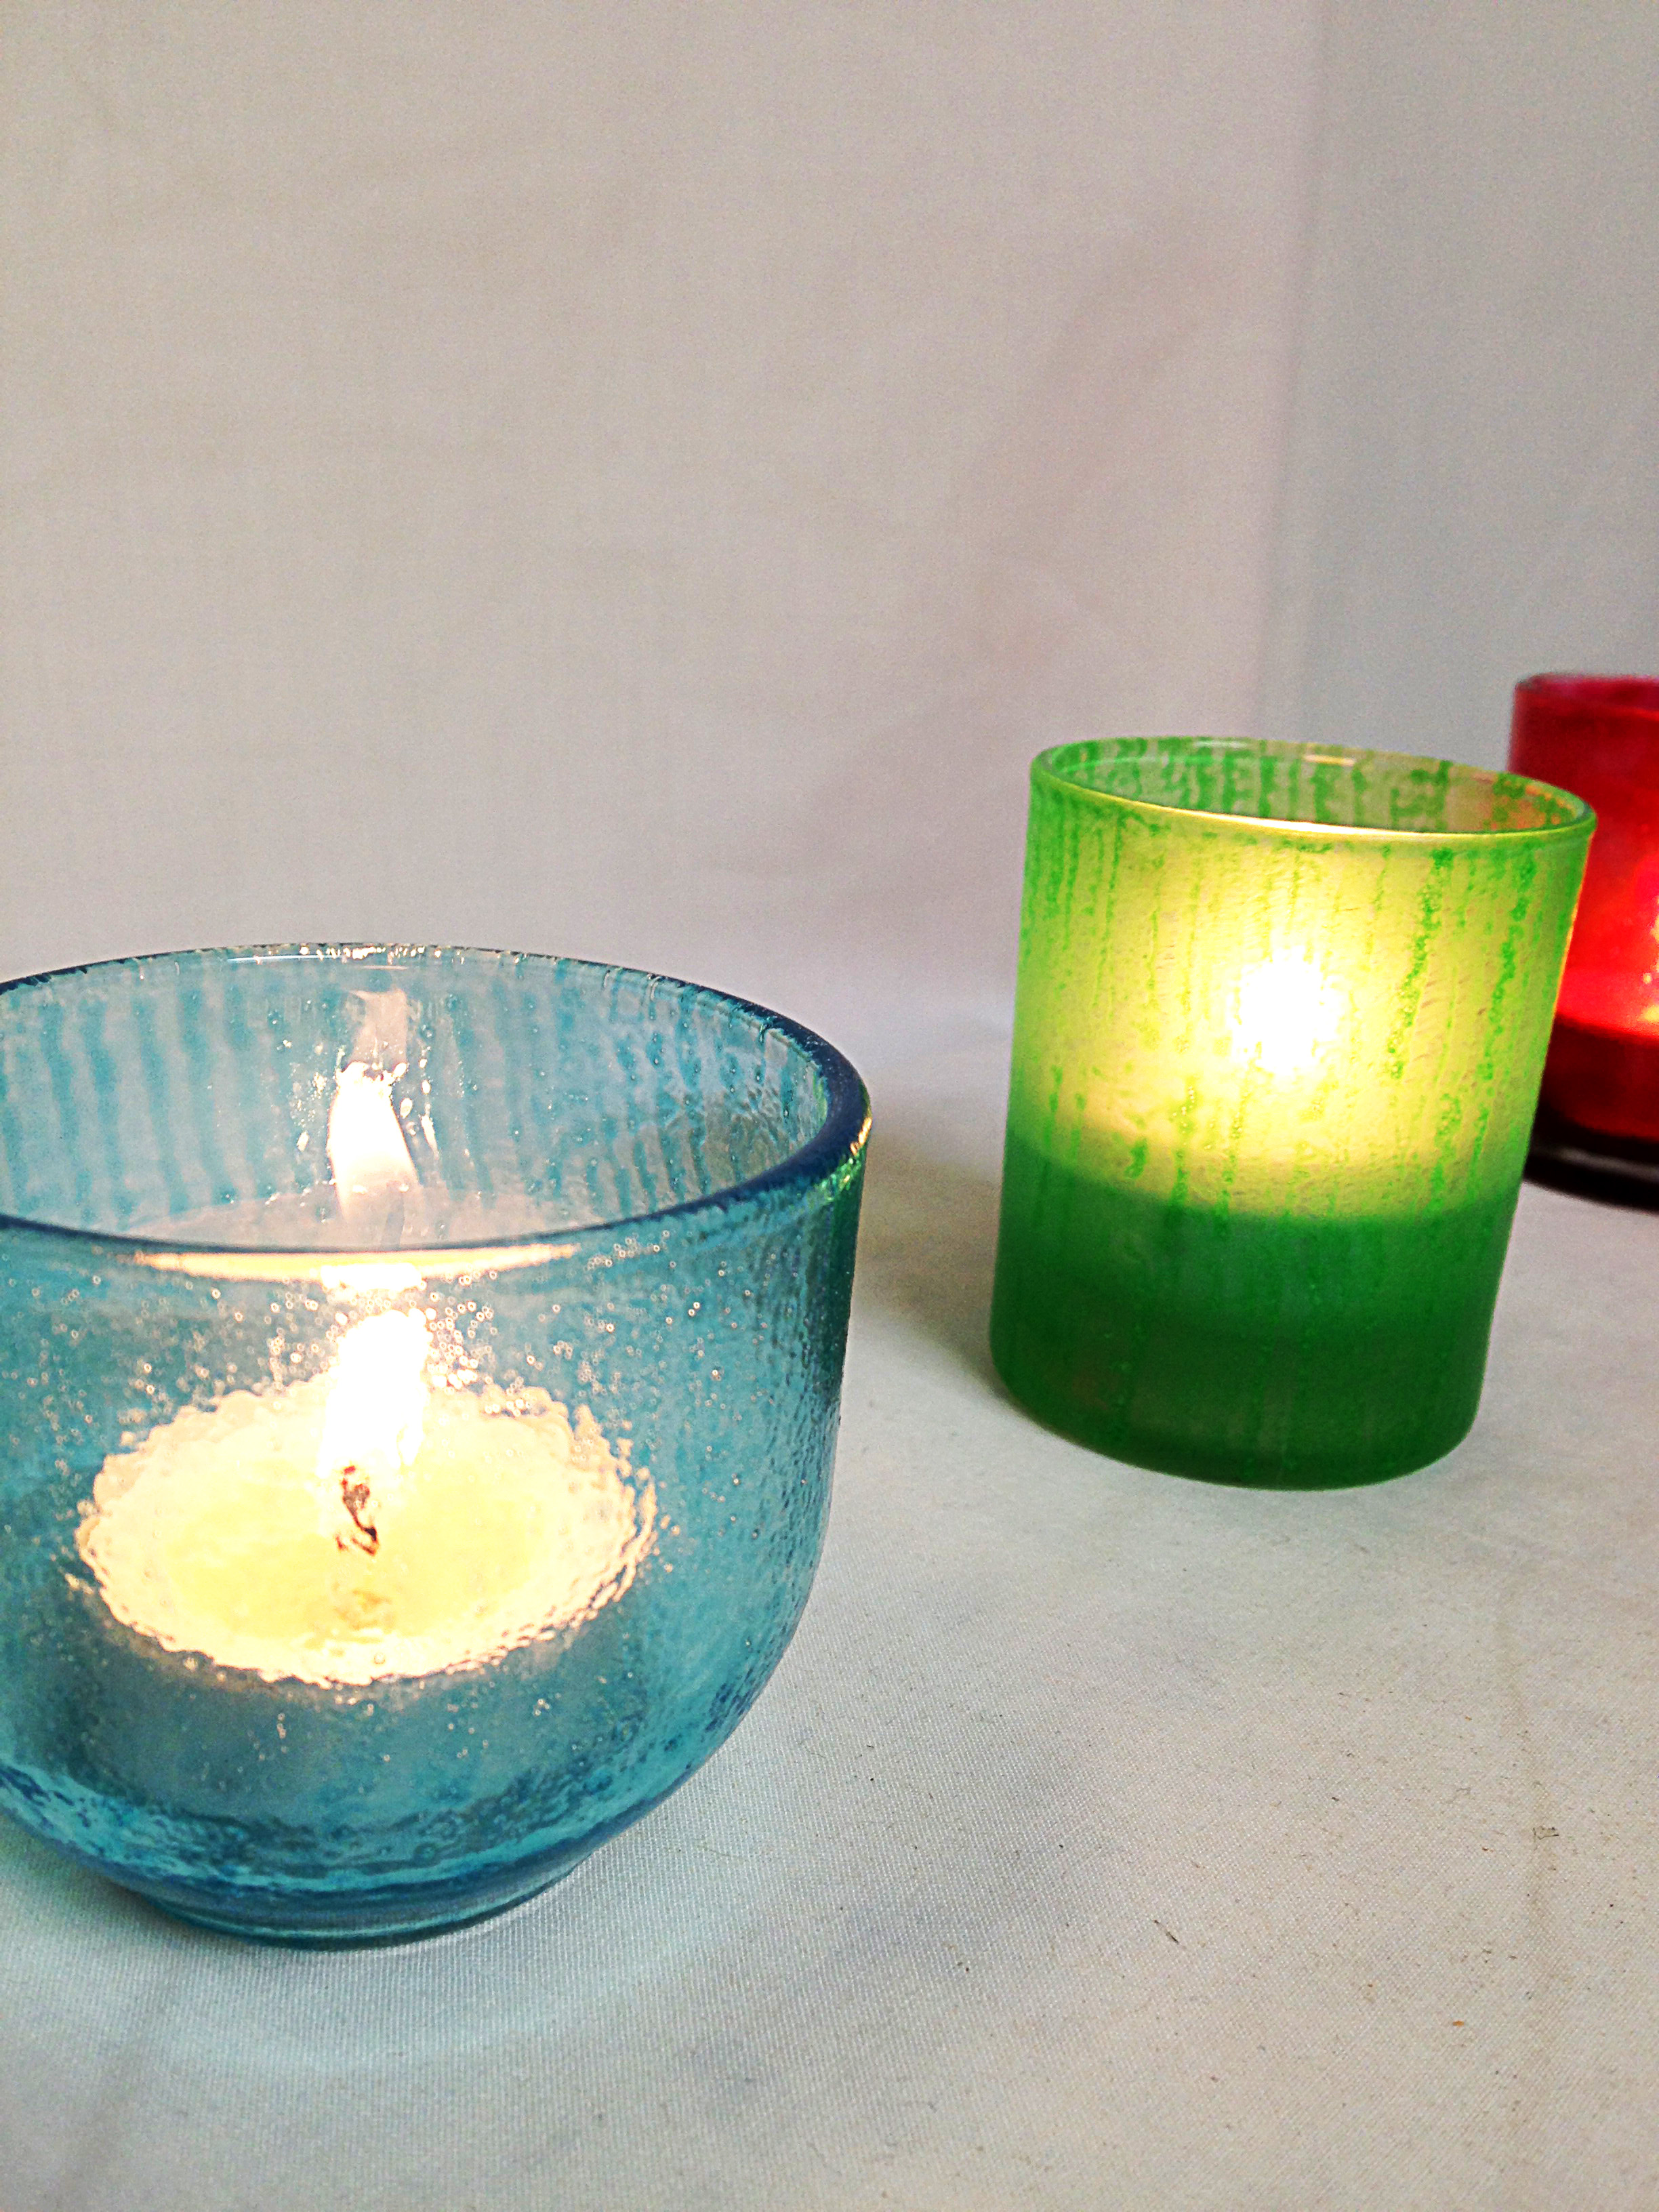
First, the Food Colored Candle Holders. These are actually tea glasses, but I thought they would make perfect candle holders.
Supplies Needed
Liquid Food Coloring
Mod Podge
Paint Brush
Clear Candle Holders or Vase
Here’s how the candle holders started out.
Then, I poured in a mixture of Mod Podge and one drop of food coloring into each and mixed it together well and spread along all the sides of the glass with the brush.

When the Mod Podge is wet, it isn’t clear and the food coloring looks pastel, but it dries darker and the Mod Podge becomes clear.
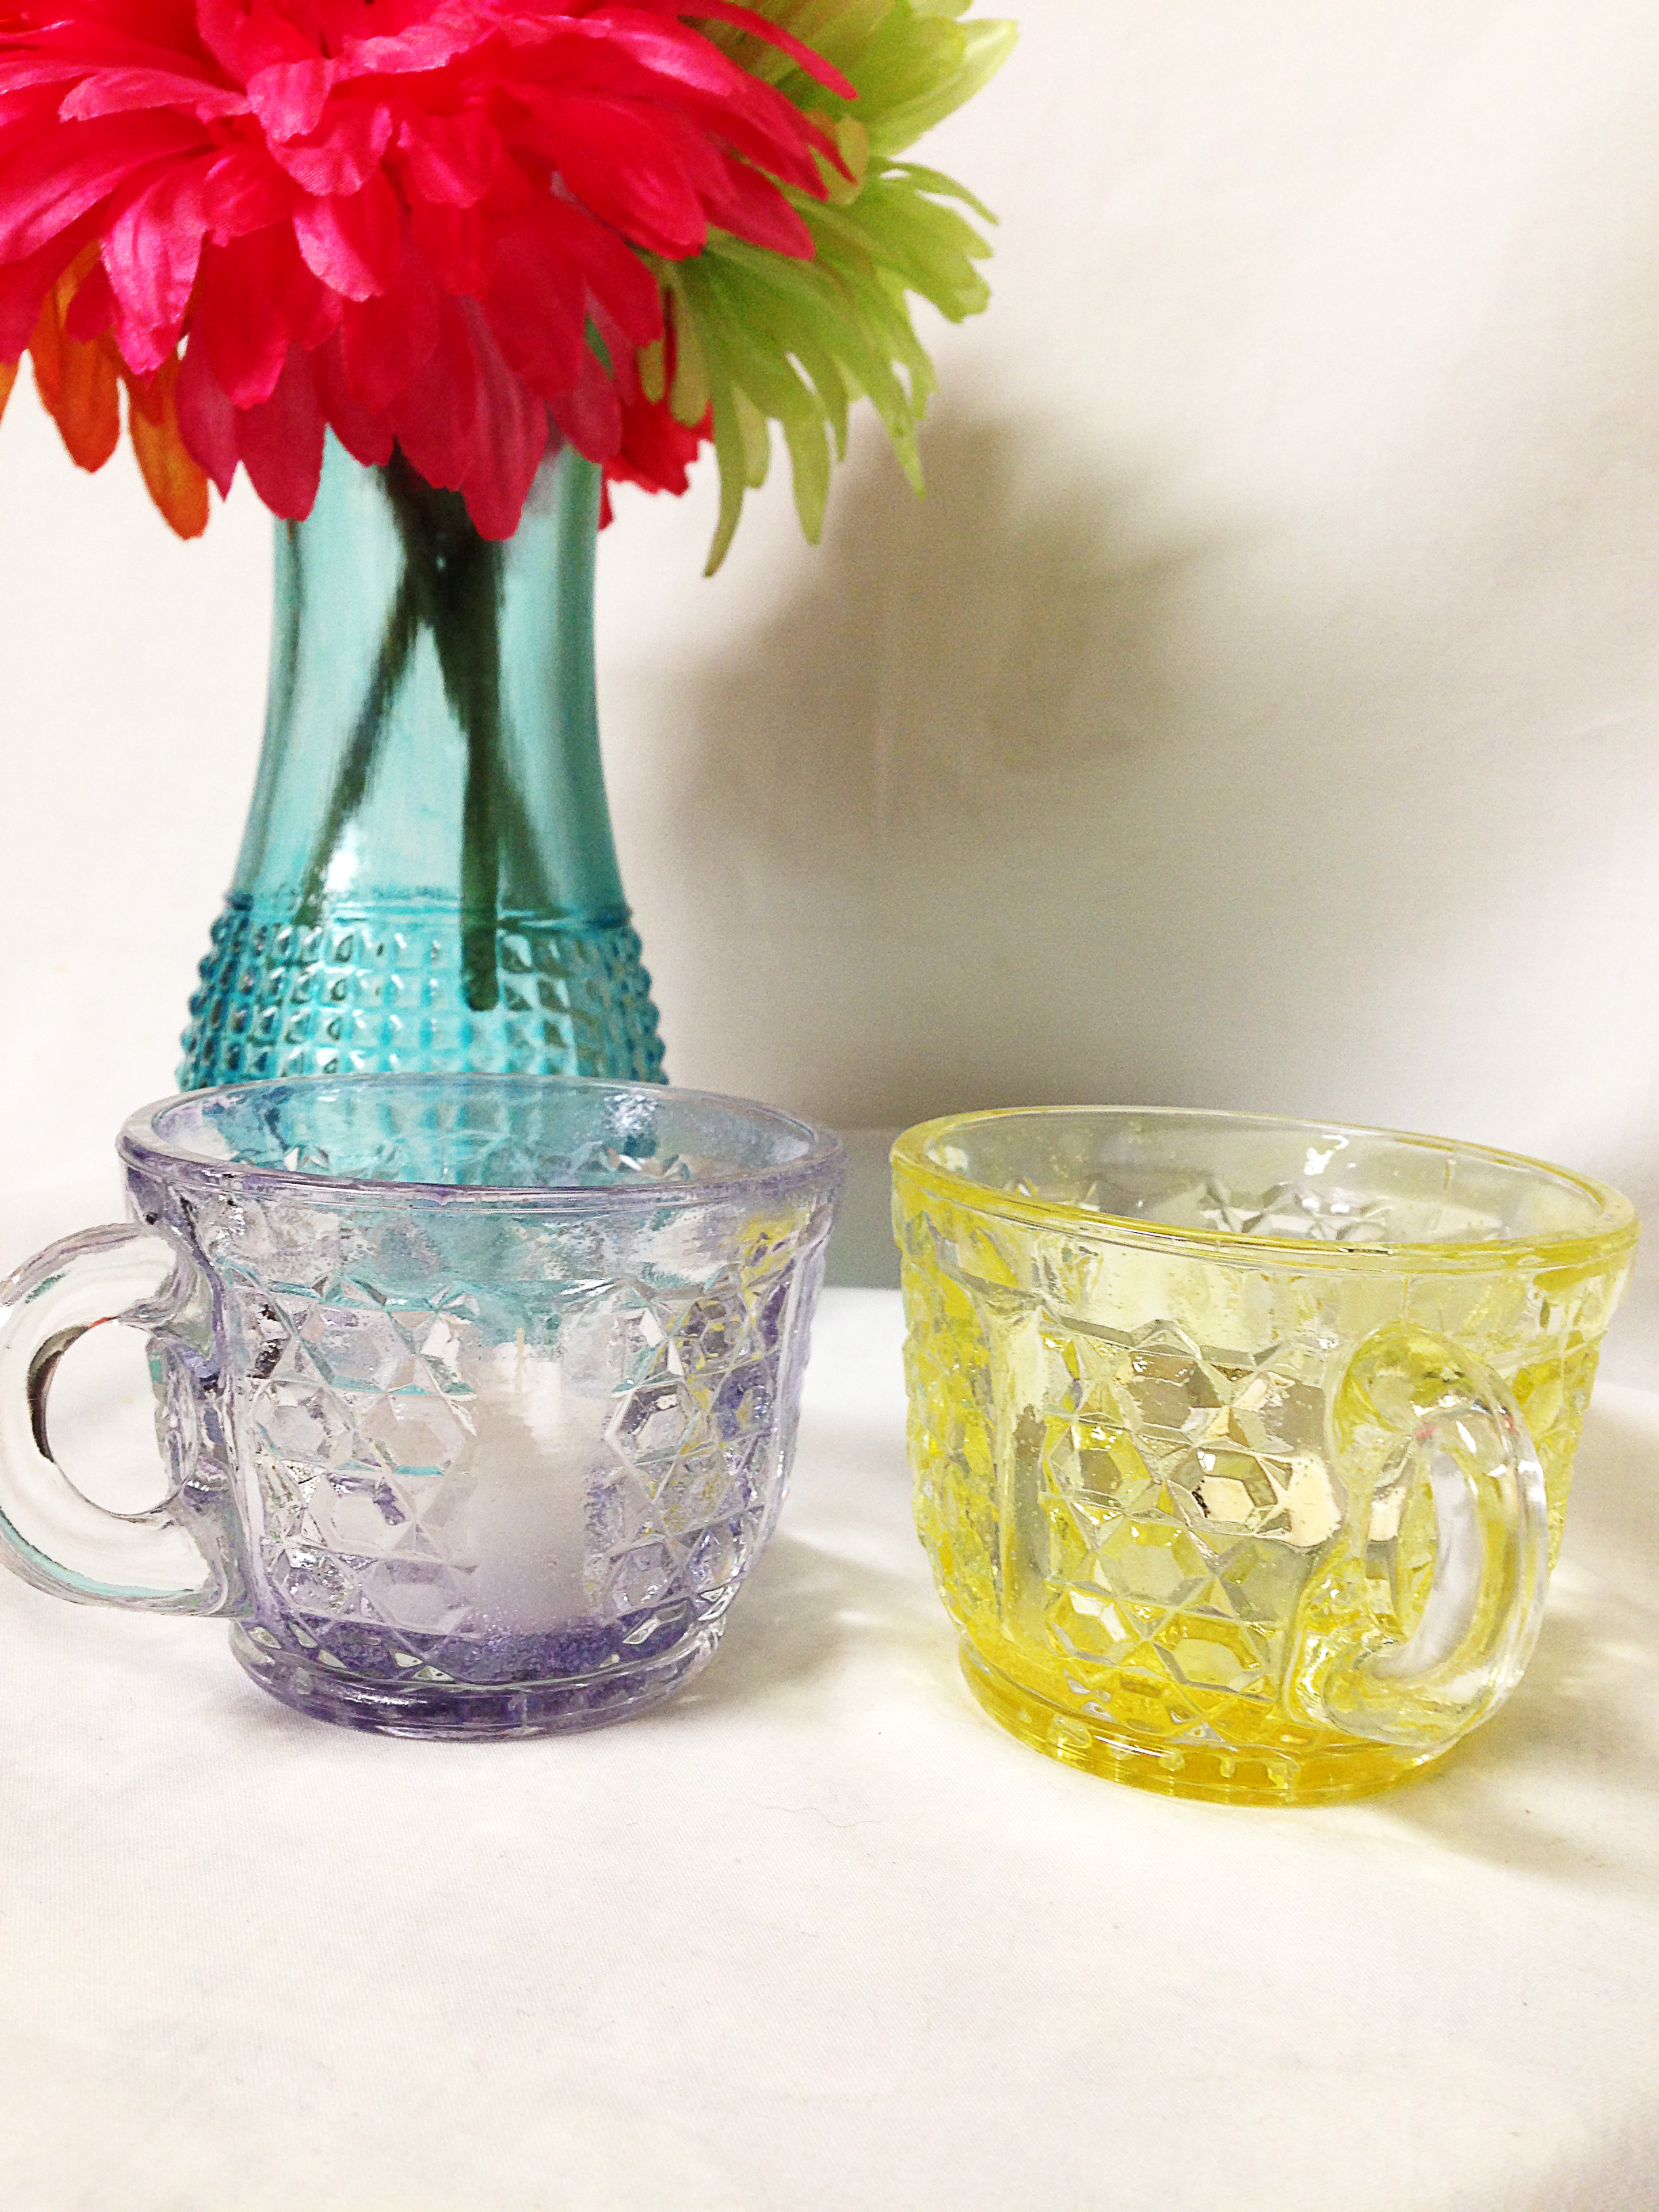
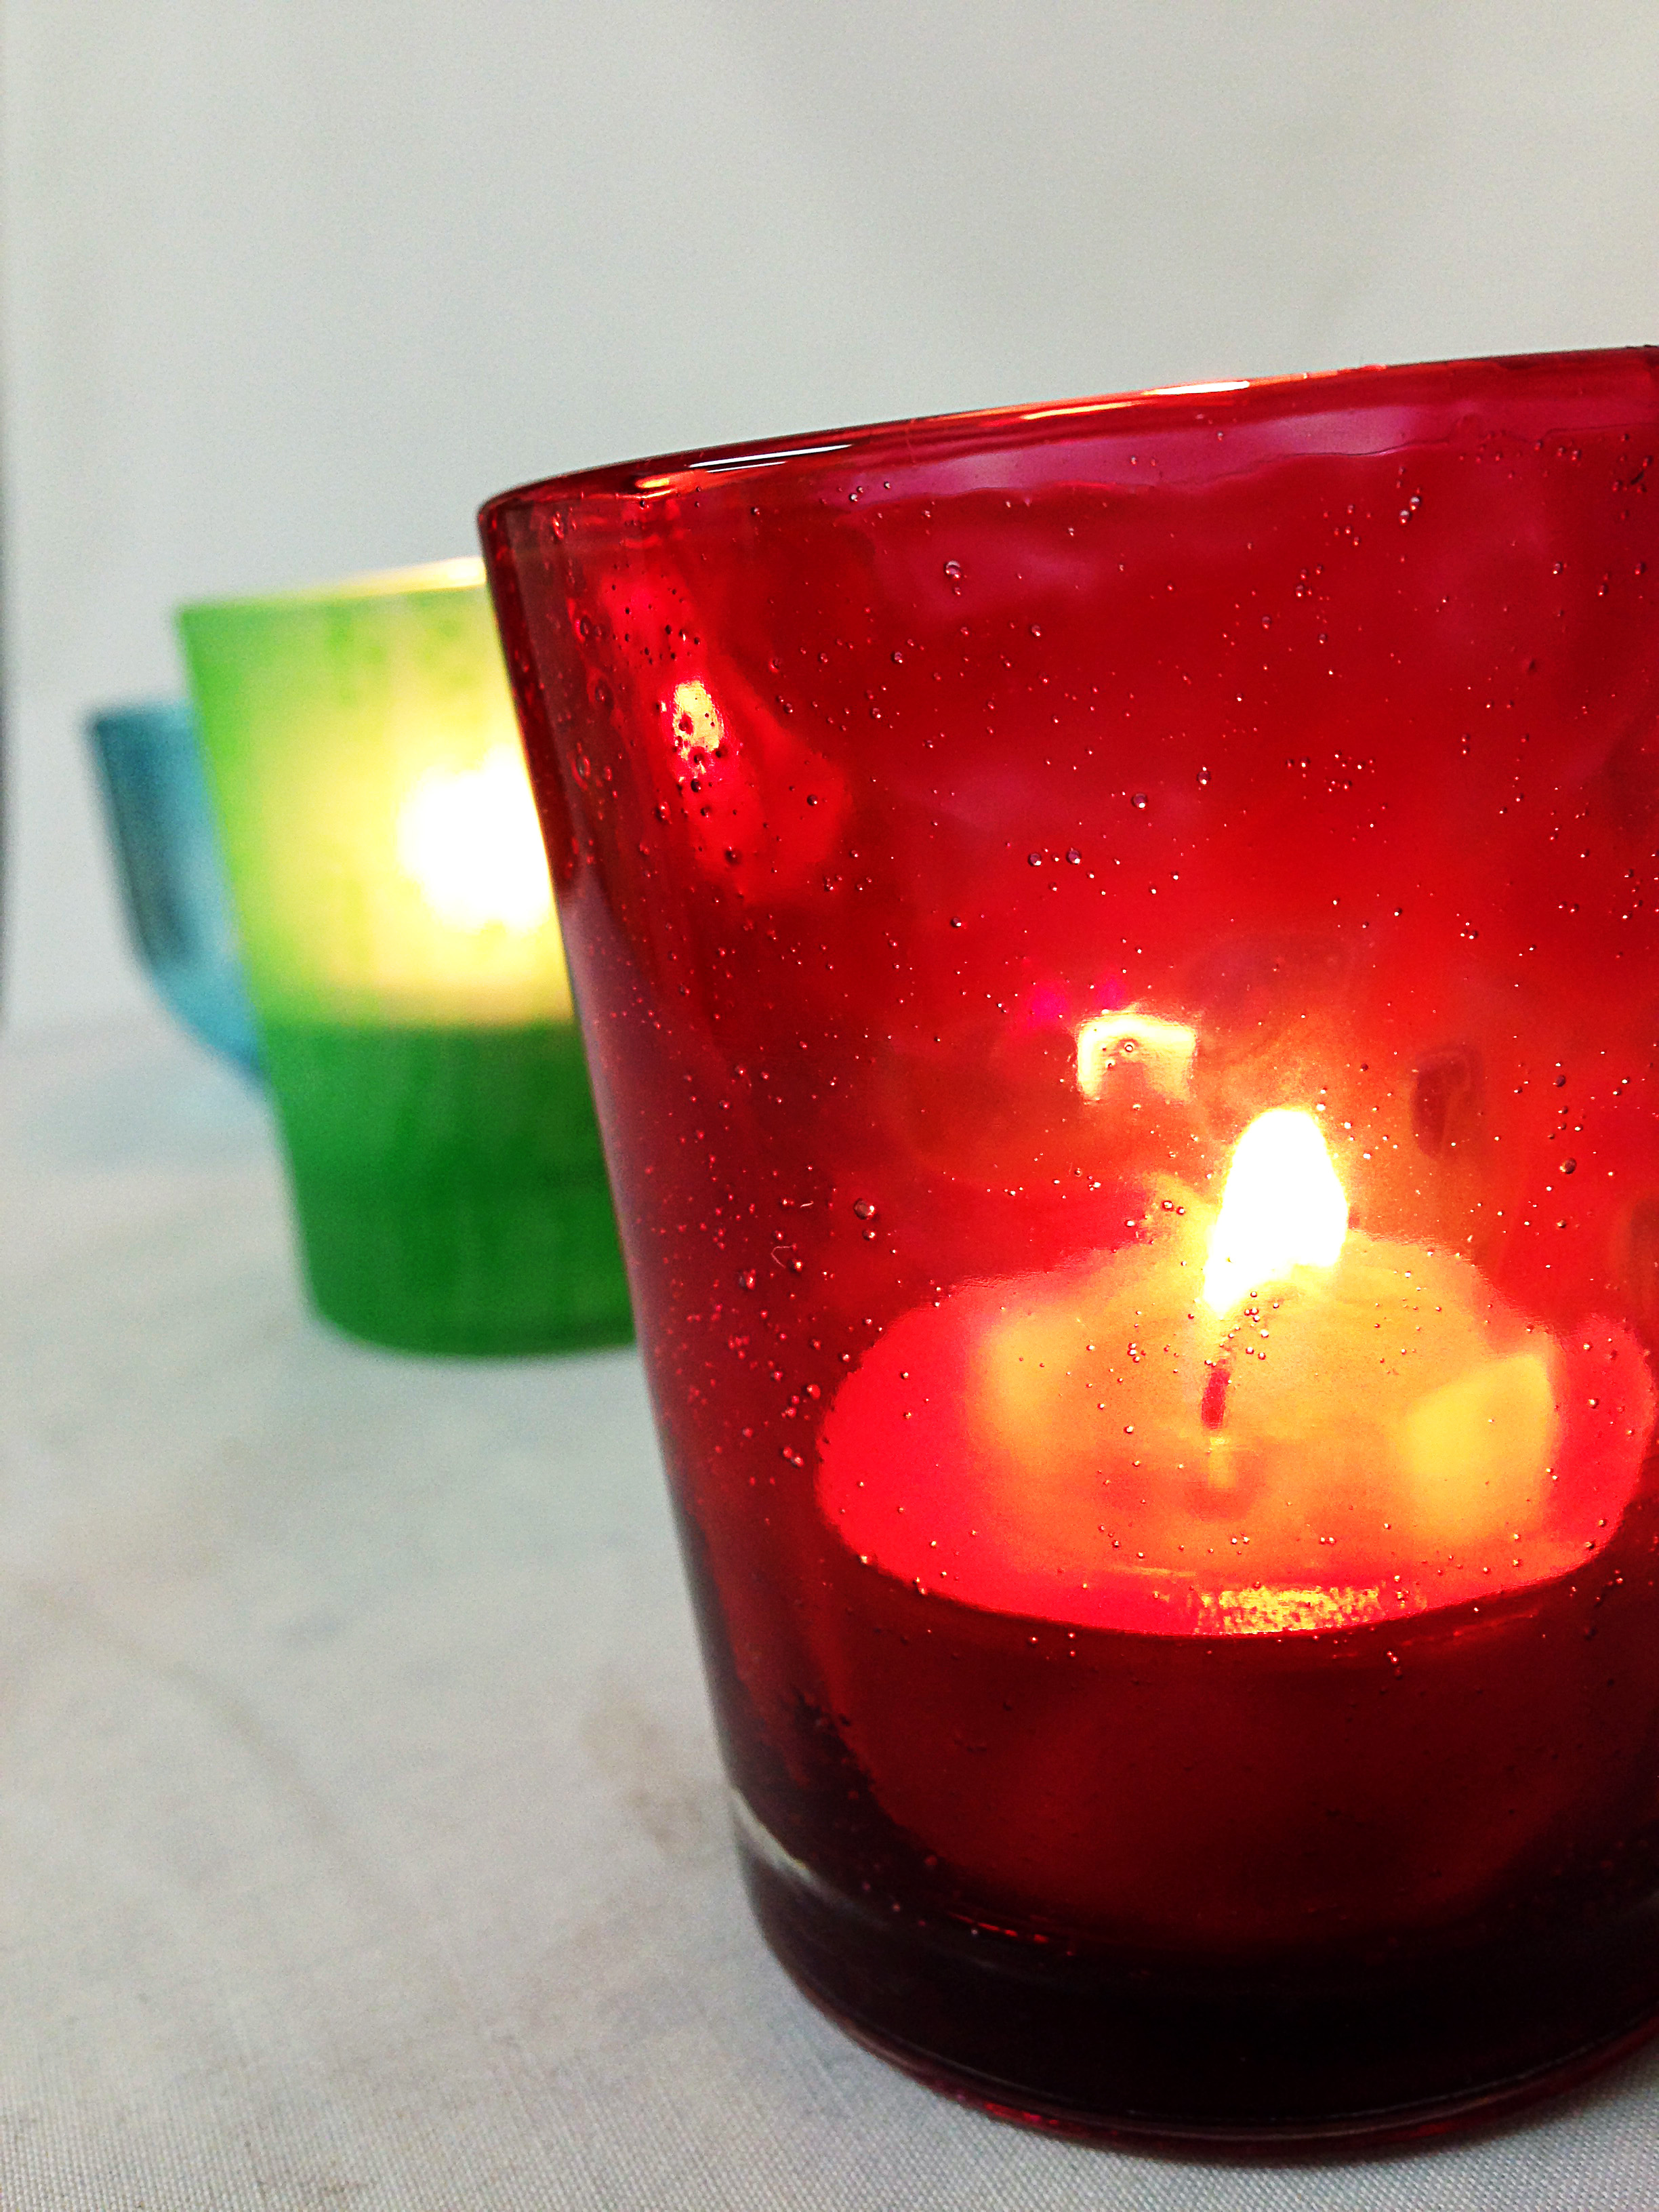
After it’s dry they look like this! It has a really pretty stained glass effect. To become waterproof, bake in the oven at 275 degrees for 30 minutes.
The Glittered Vase also uses Mod Podge.
Supplies Needed
Super Fine (Velvet) Glitter
Mod Podge
Brush
Clear Vase
I started using the same process, pouring in Mod Podge and glitter, then mixing them together well and spreading around the inside of the vase. It’s best to use lots of glitter, but even with that, I needed to do another coat after it dried to completely fill the inside with glitter. This is after one coat. Same as above, the Mod Podge will dry clear.
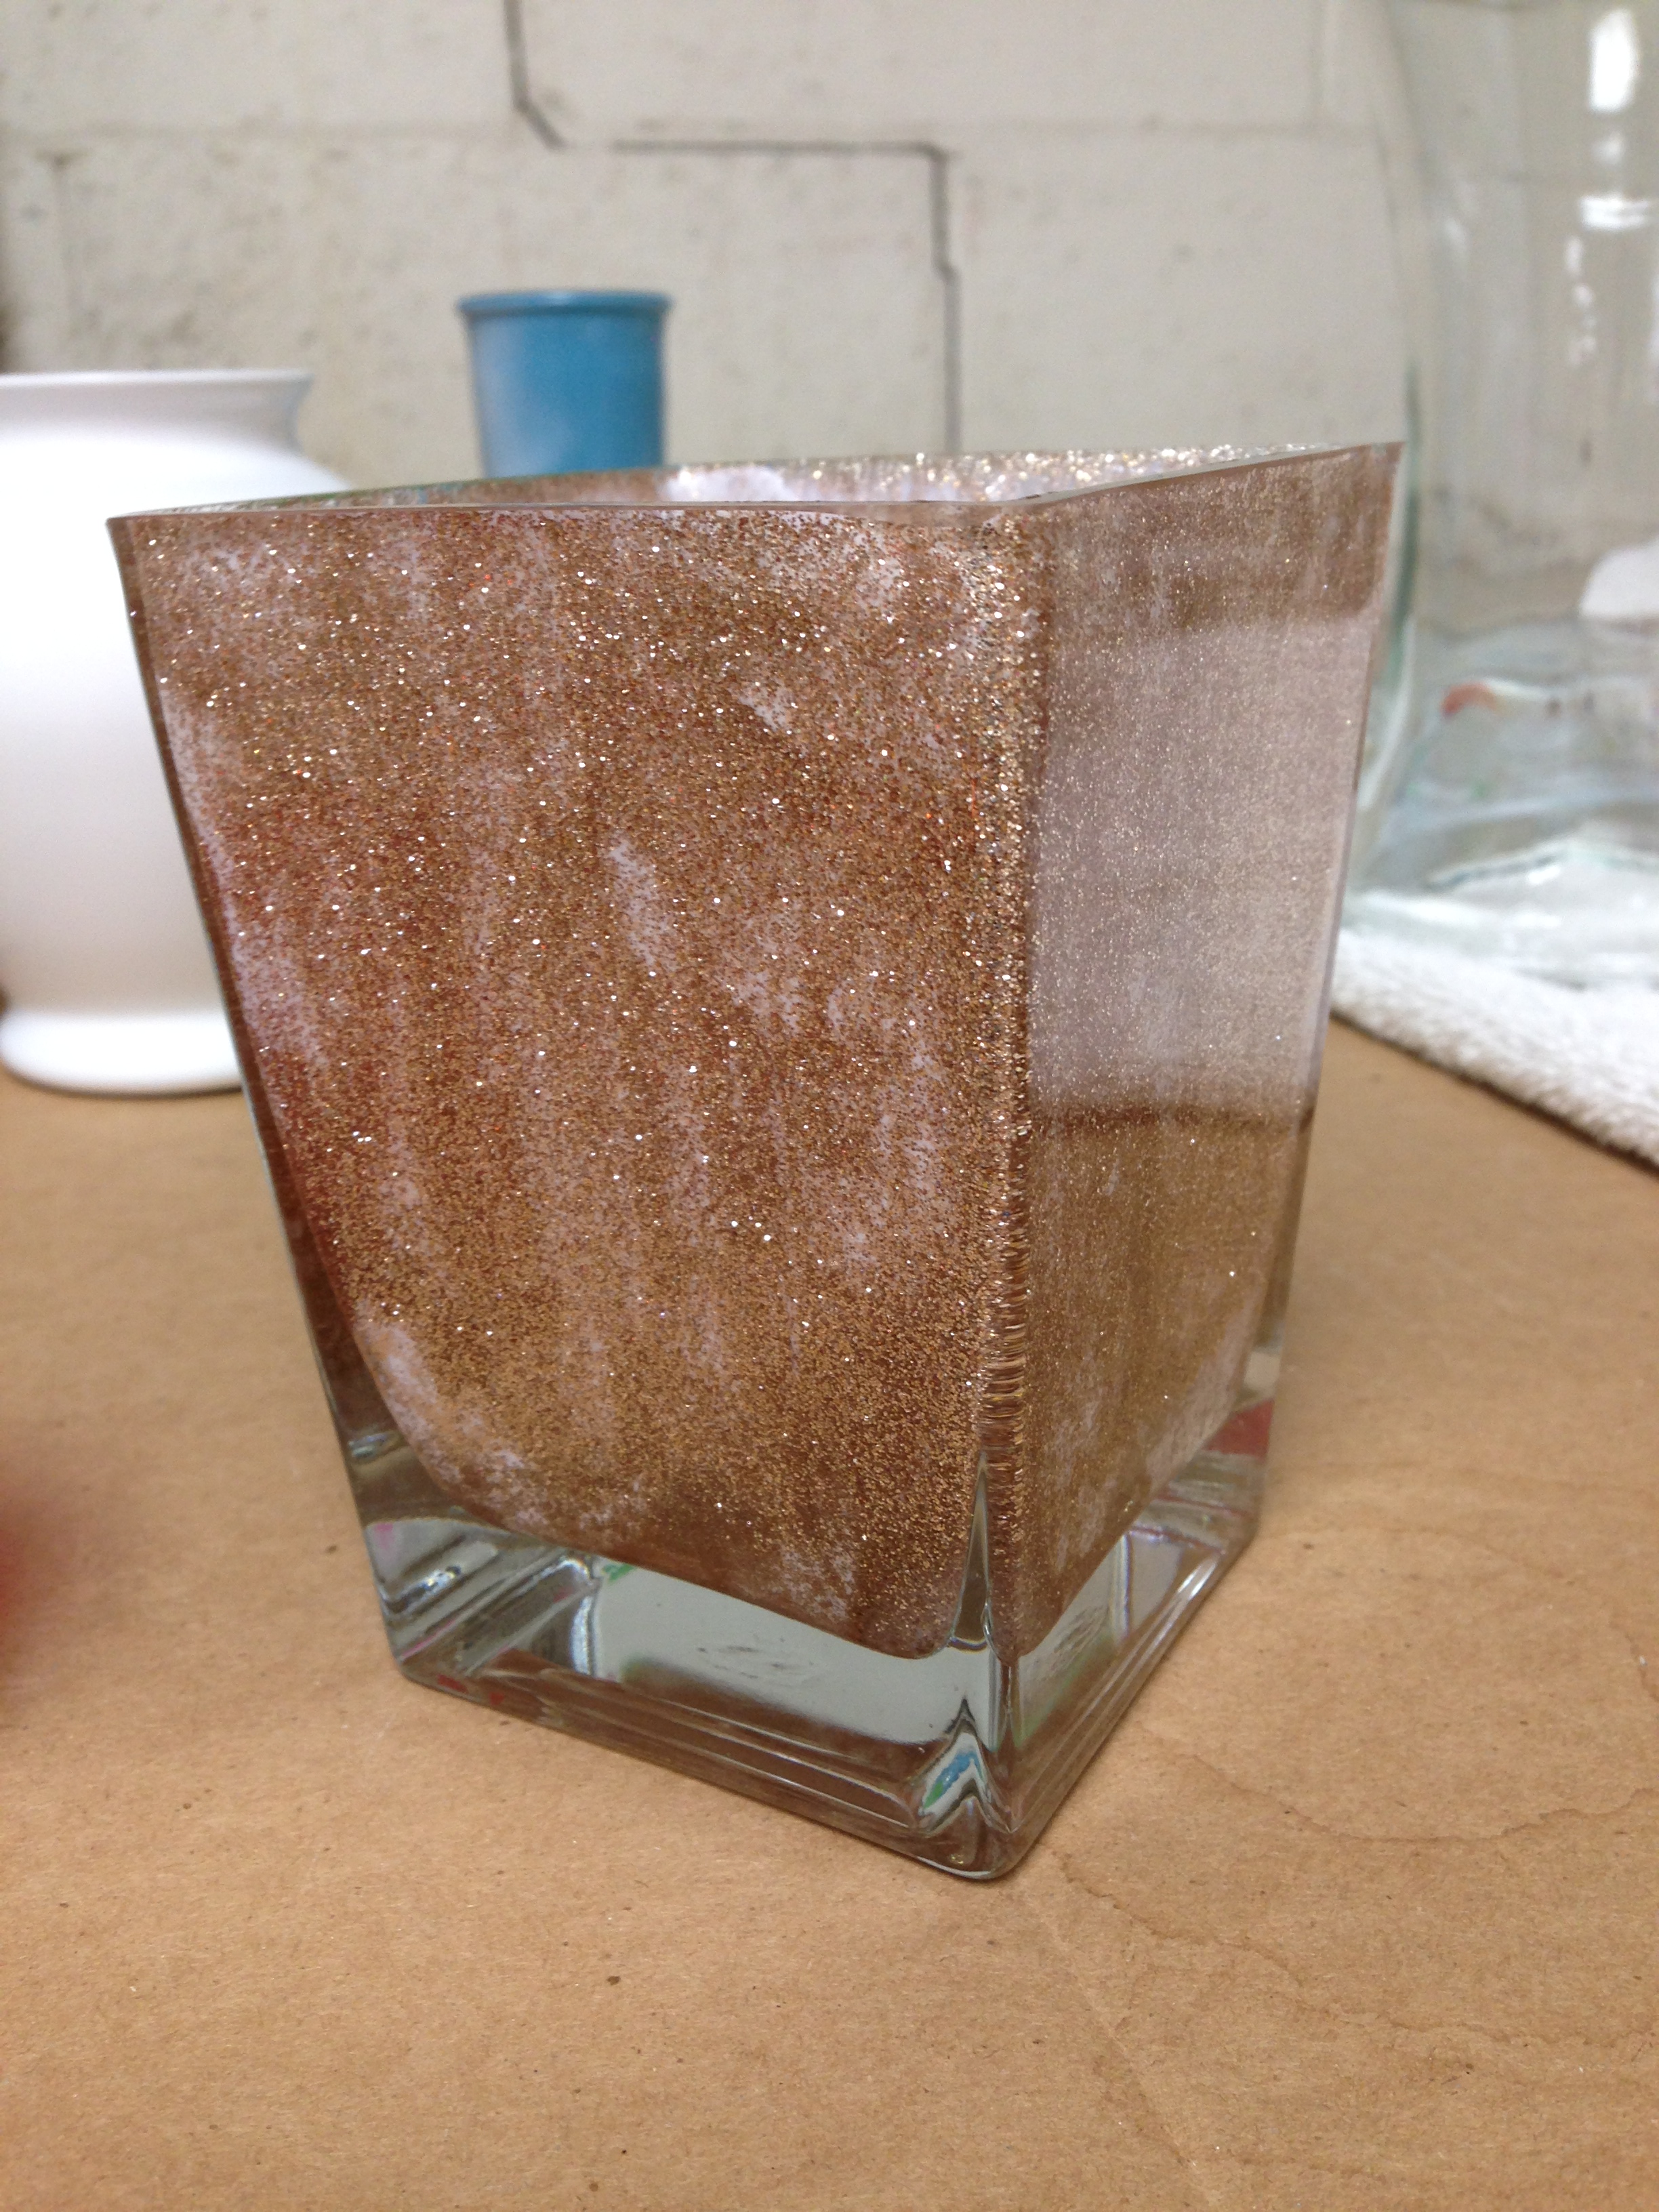
And here is the final product. With some floral pens, of course.
Poured Paint Vases are the easiest of them all, and a good project for kids to help as well.
Supplies Needed
Acrylic Craft Glass Paint (from craft store or Walmart)
Long Brush
Clear Vase
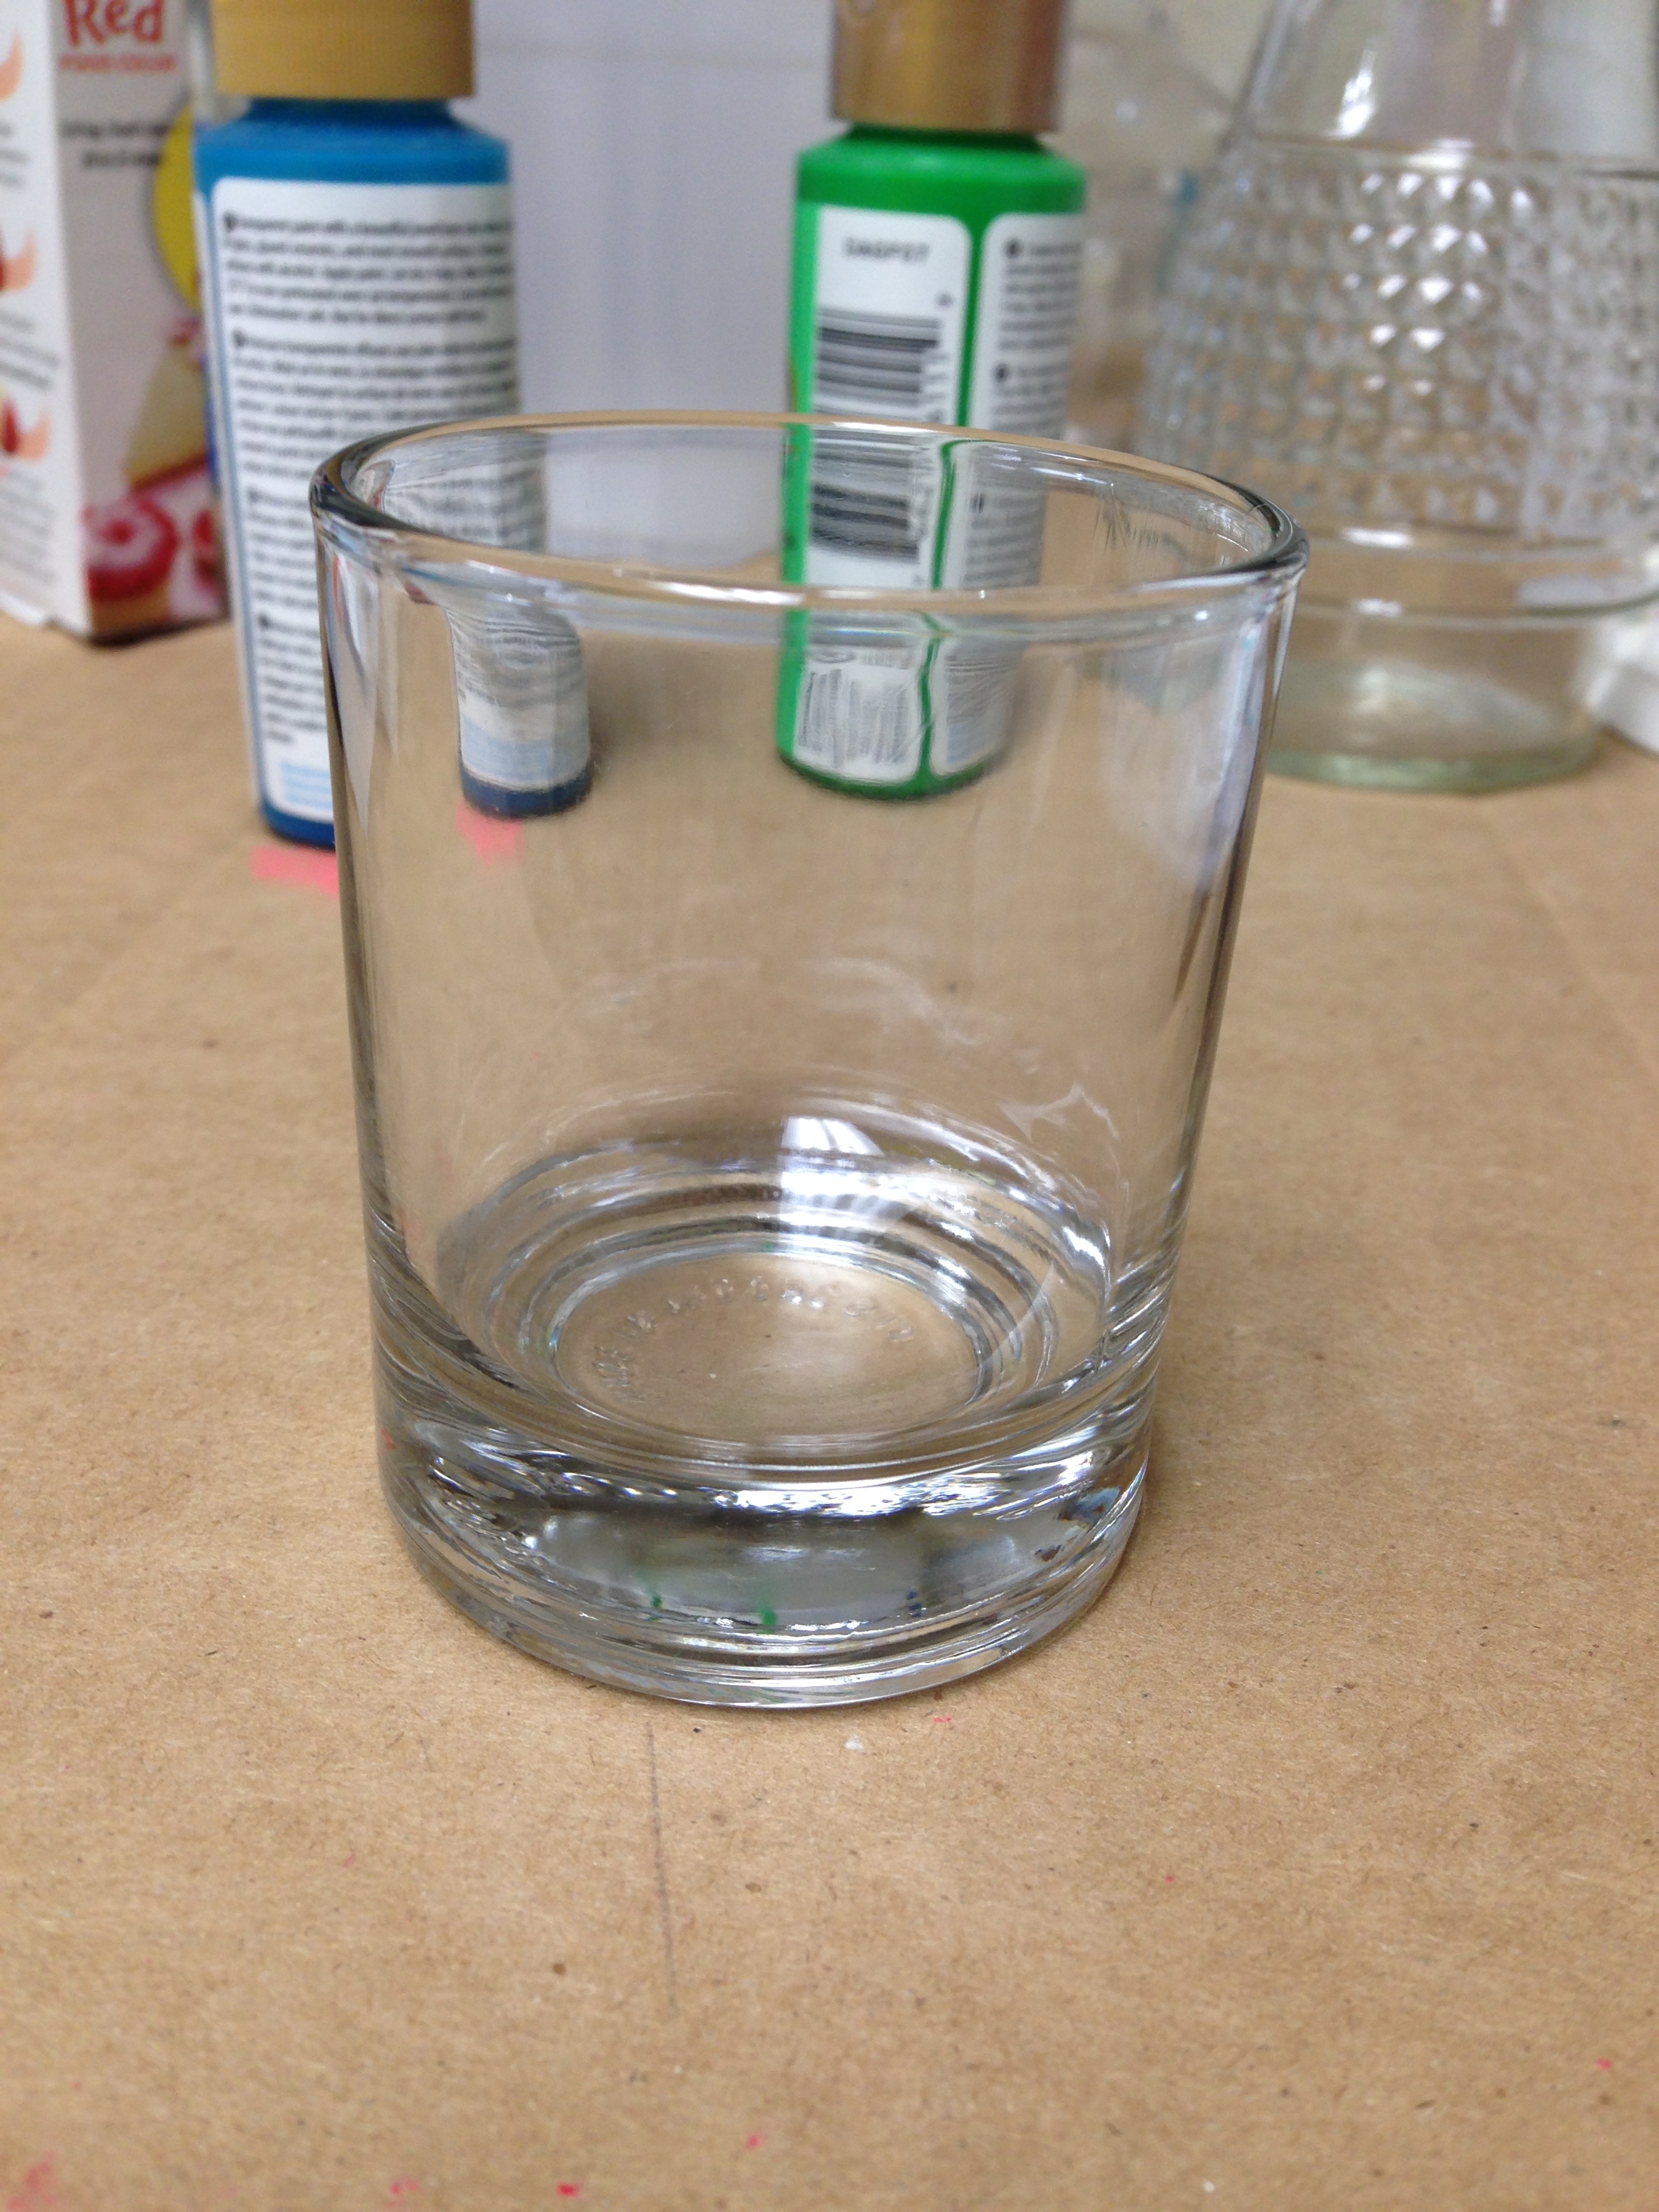
Start out with any clear vases.

And start pour paint inside and swirling it around so it drips down covering all the inside of the glass.

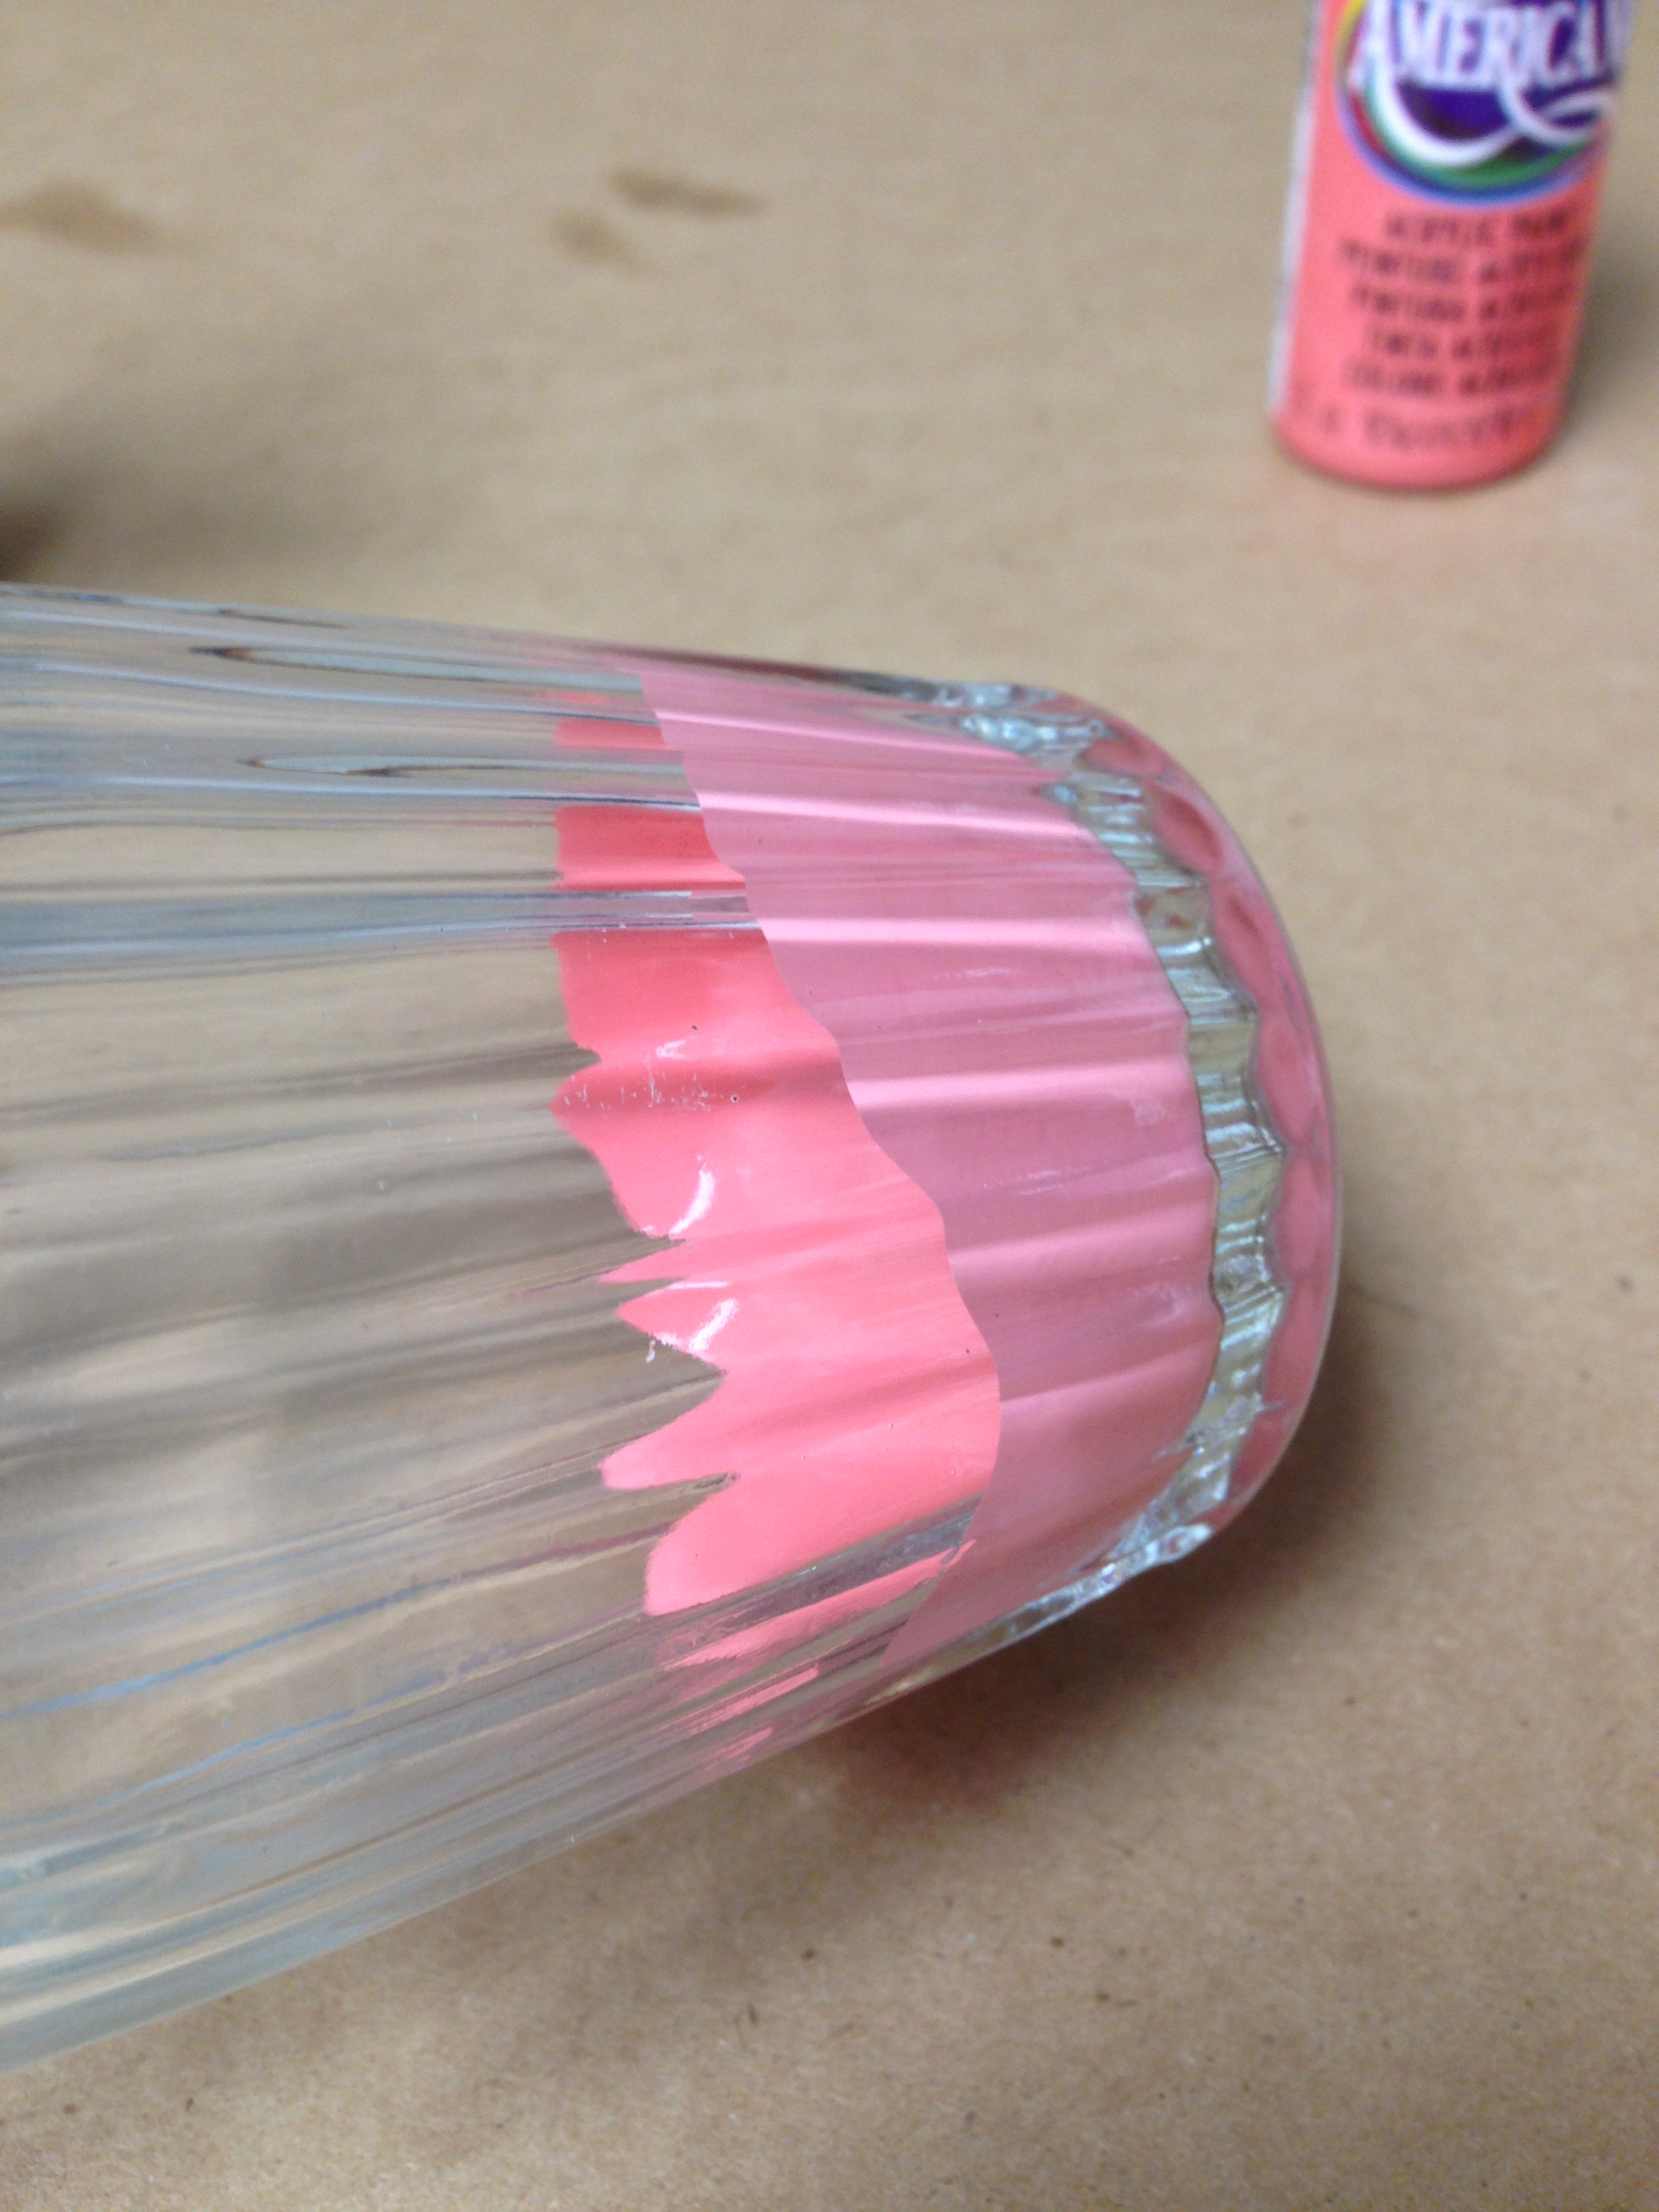
This can be rather tedious, so if you are getting impatient you can use a long brush to fill in the empty spots. Once it’s completely covered, let it sit upside down for about 15-20 minutes for the excess paint to drip down.
Let it dry for a day or two before putting anything inside of it. To become waterproof, bake in the oven at 275 degrees for 30 minutes.
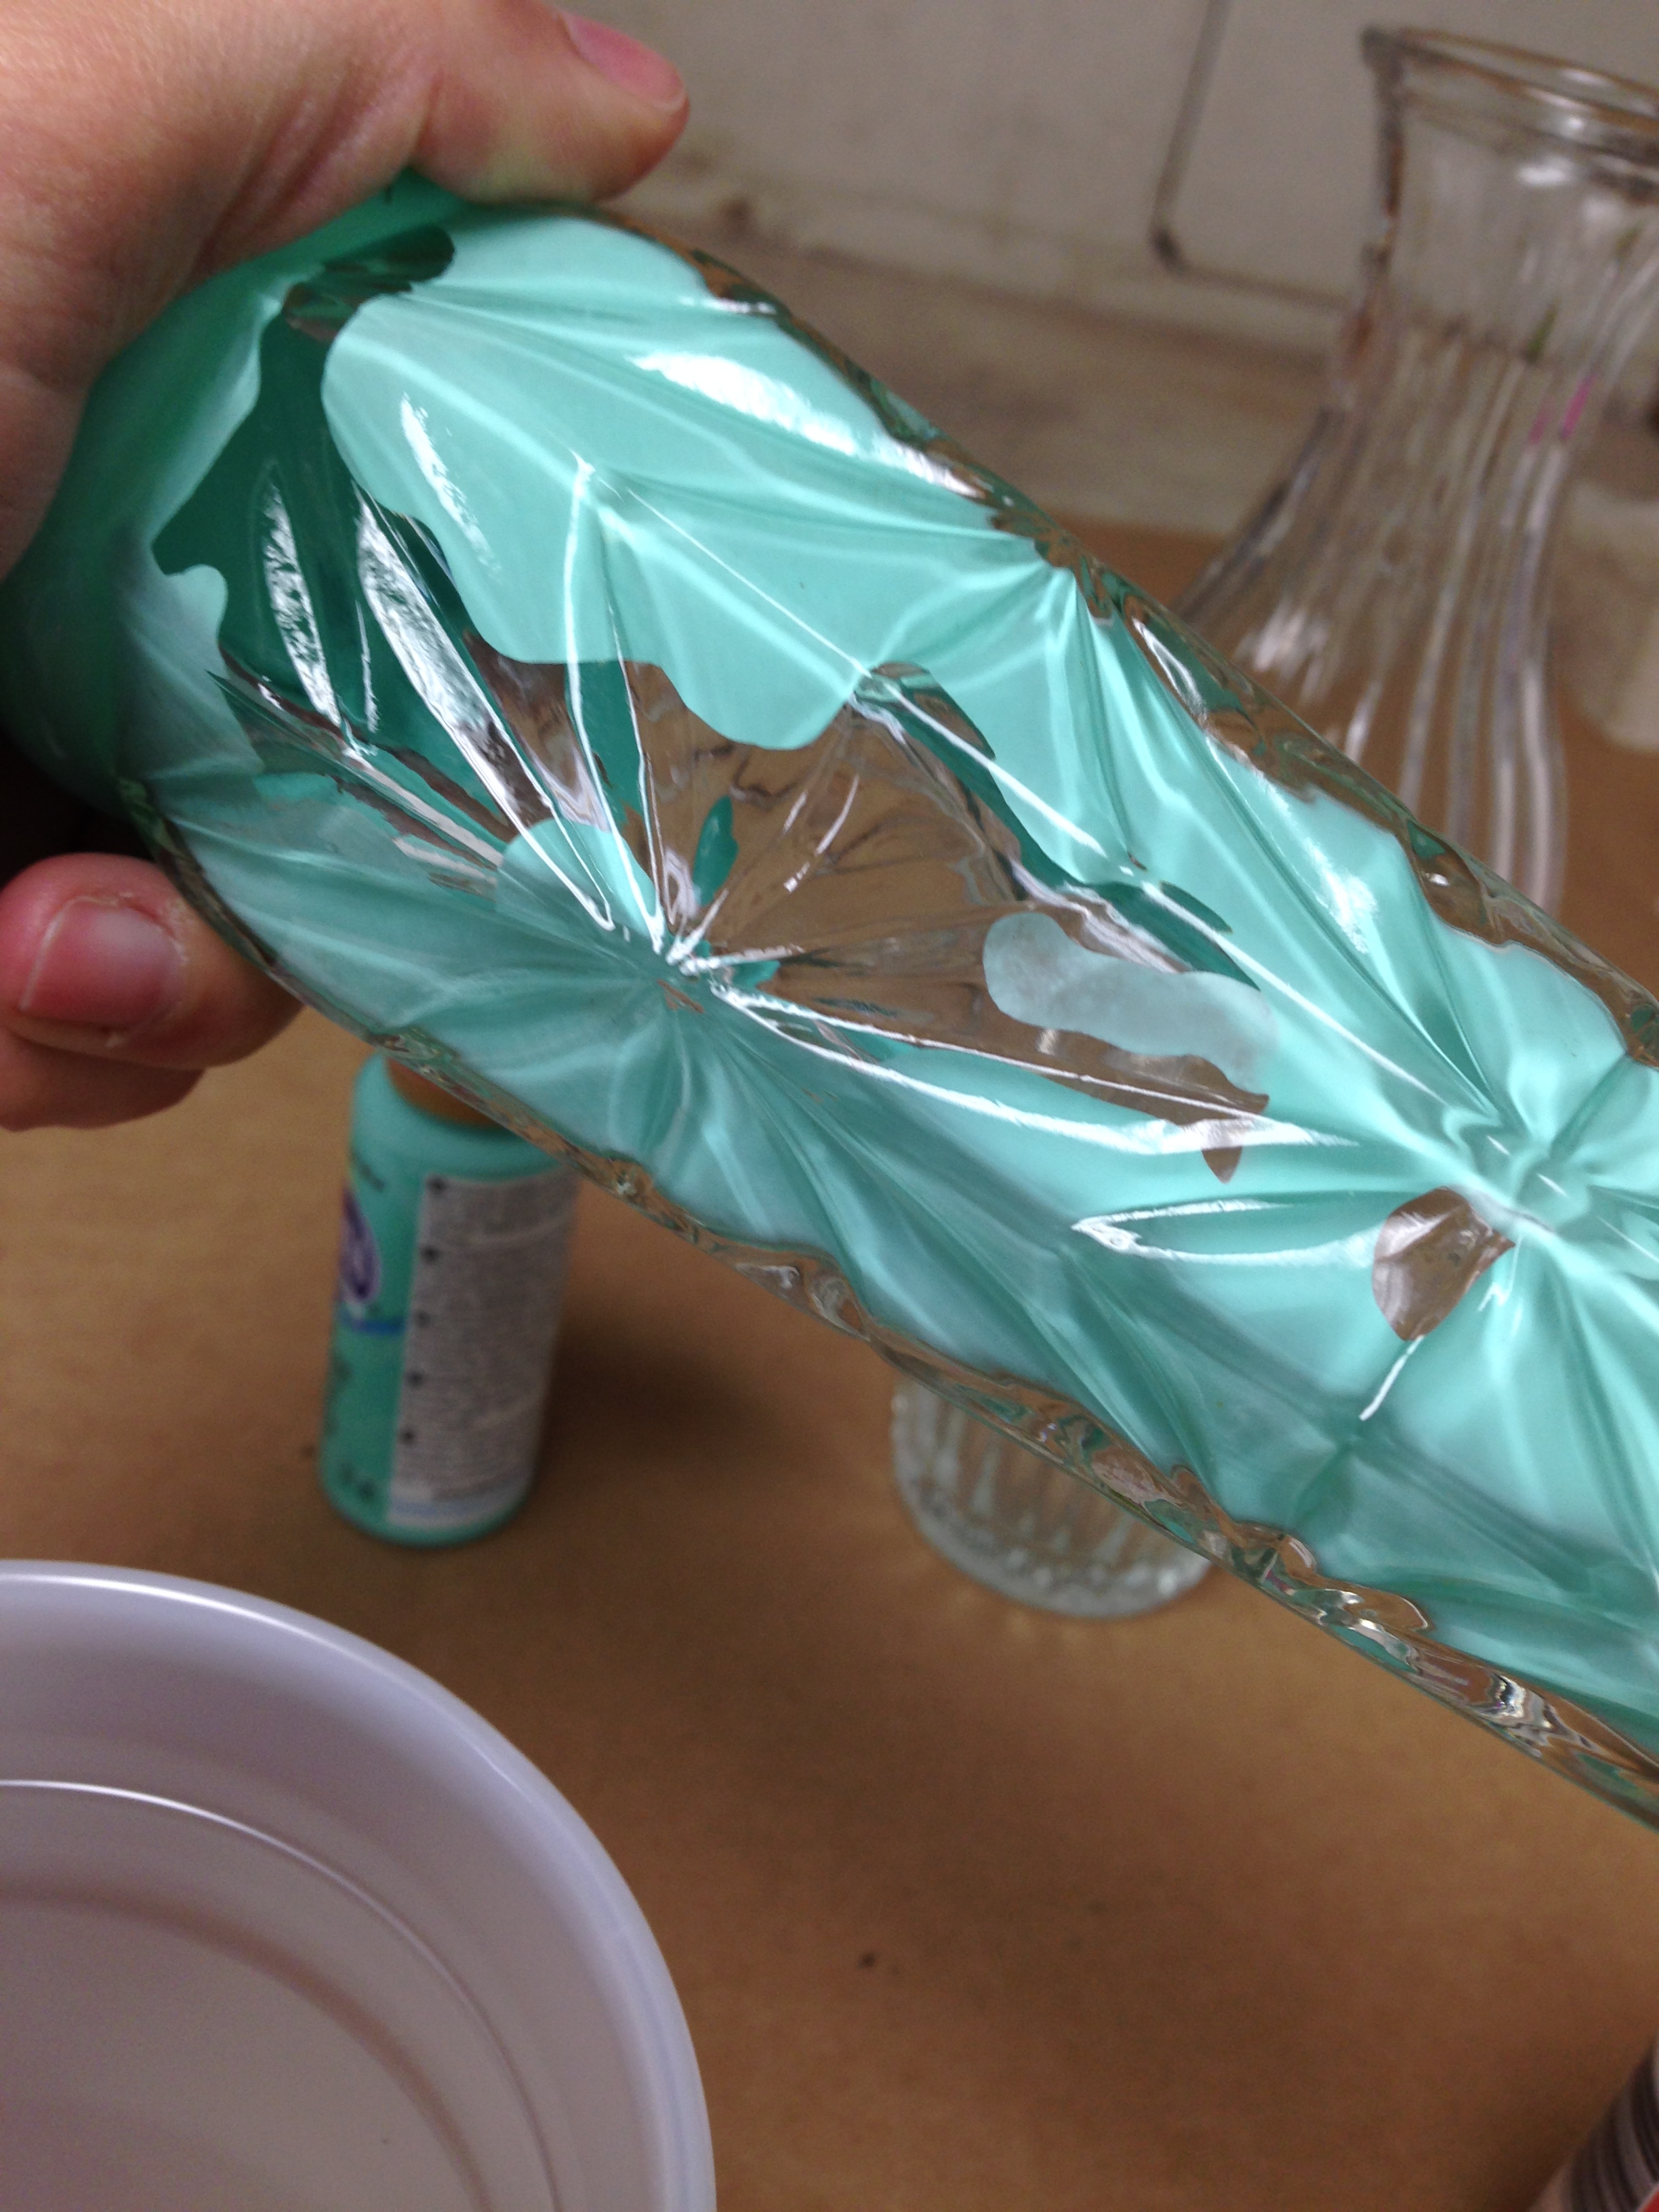
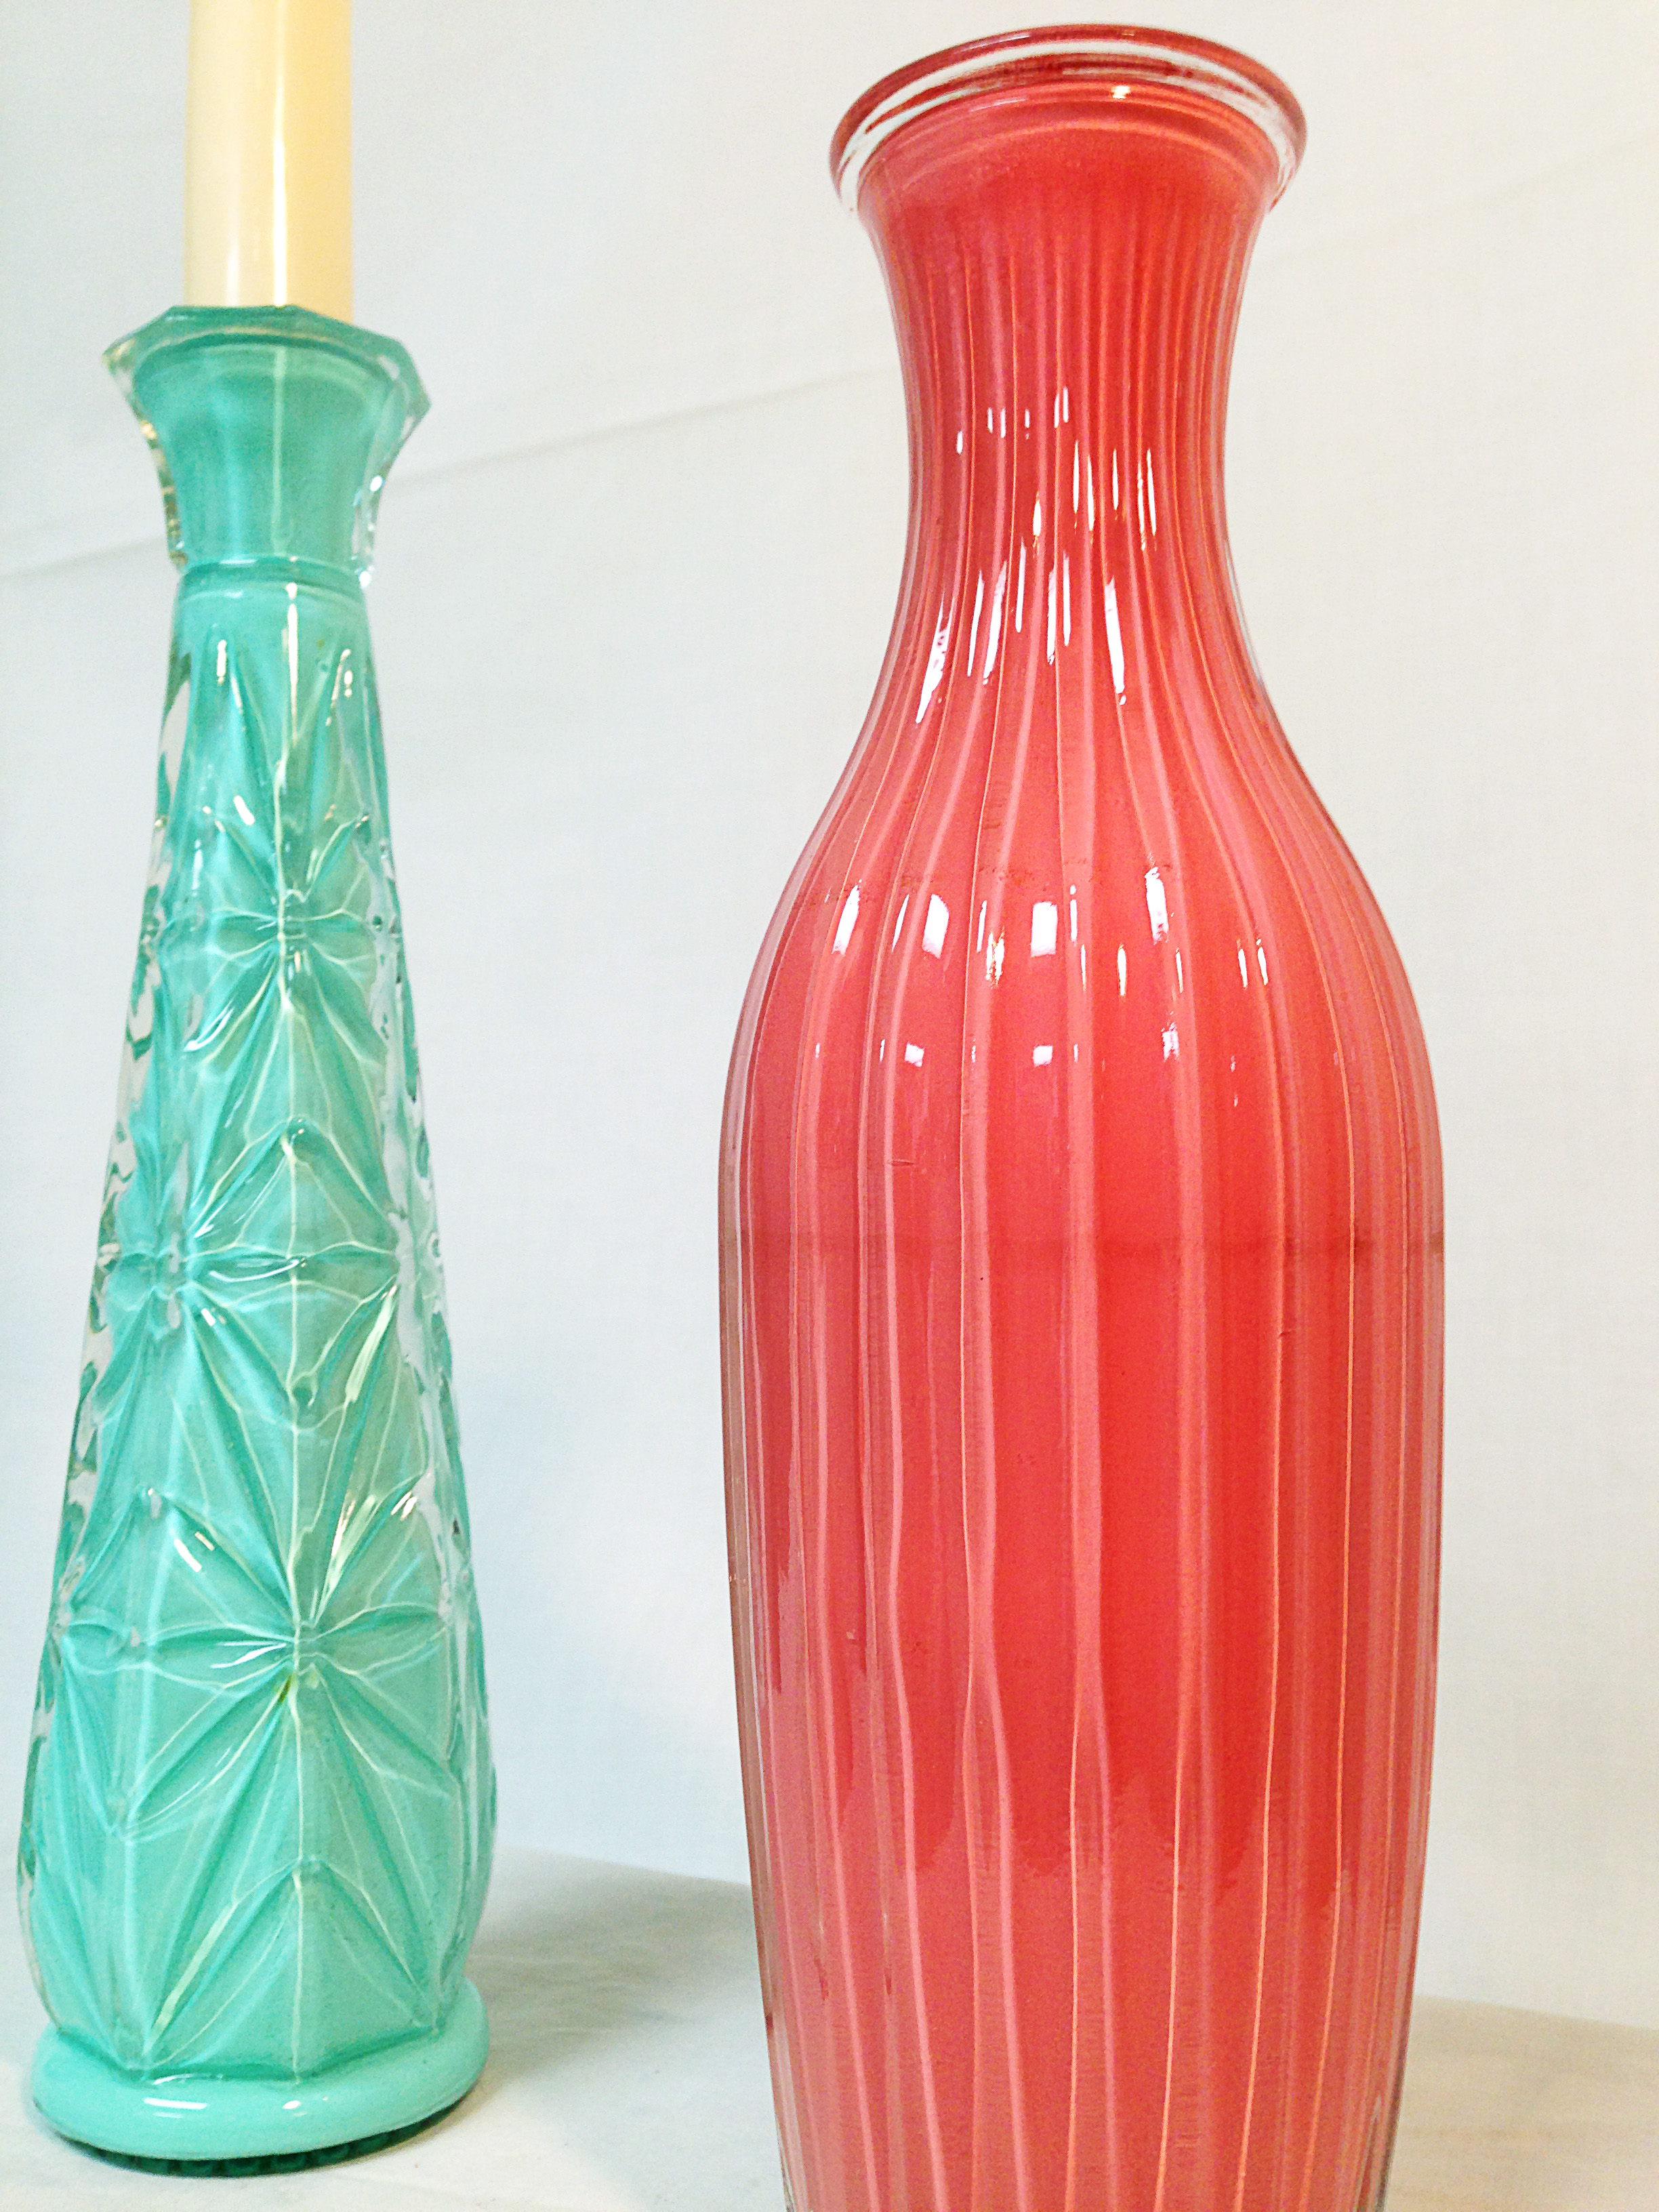
Next, I will show the Transparent Painted Candle Holder/Vase
Supplies Needed
Transparent Paint (from craft store)
Brush
Clear Vase/Candle Holder
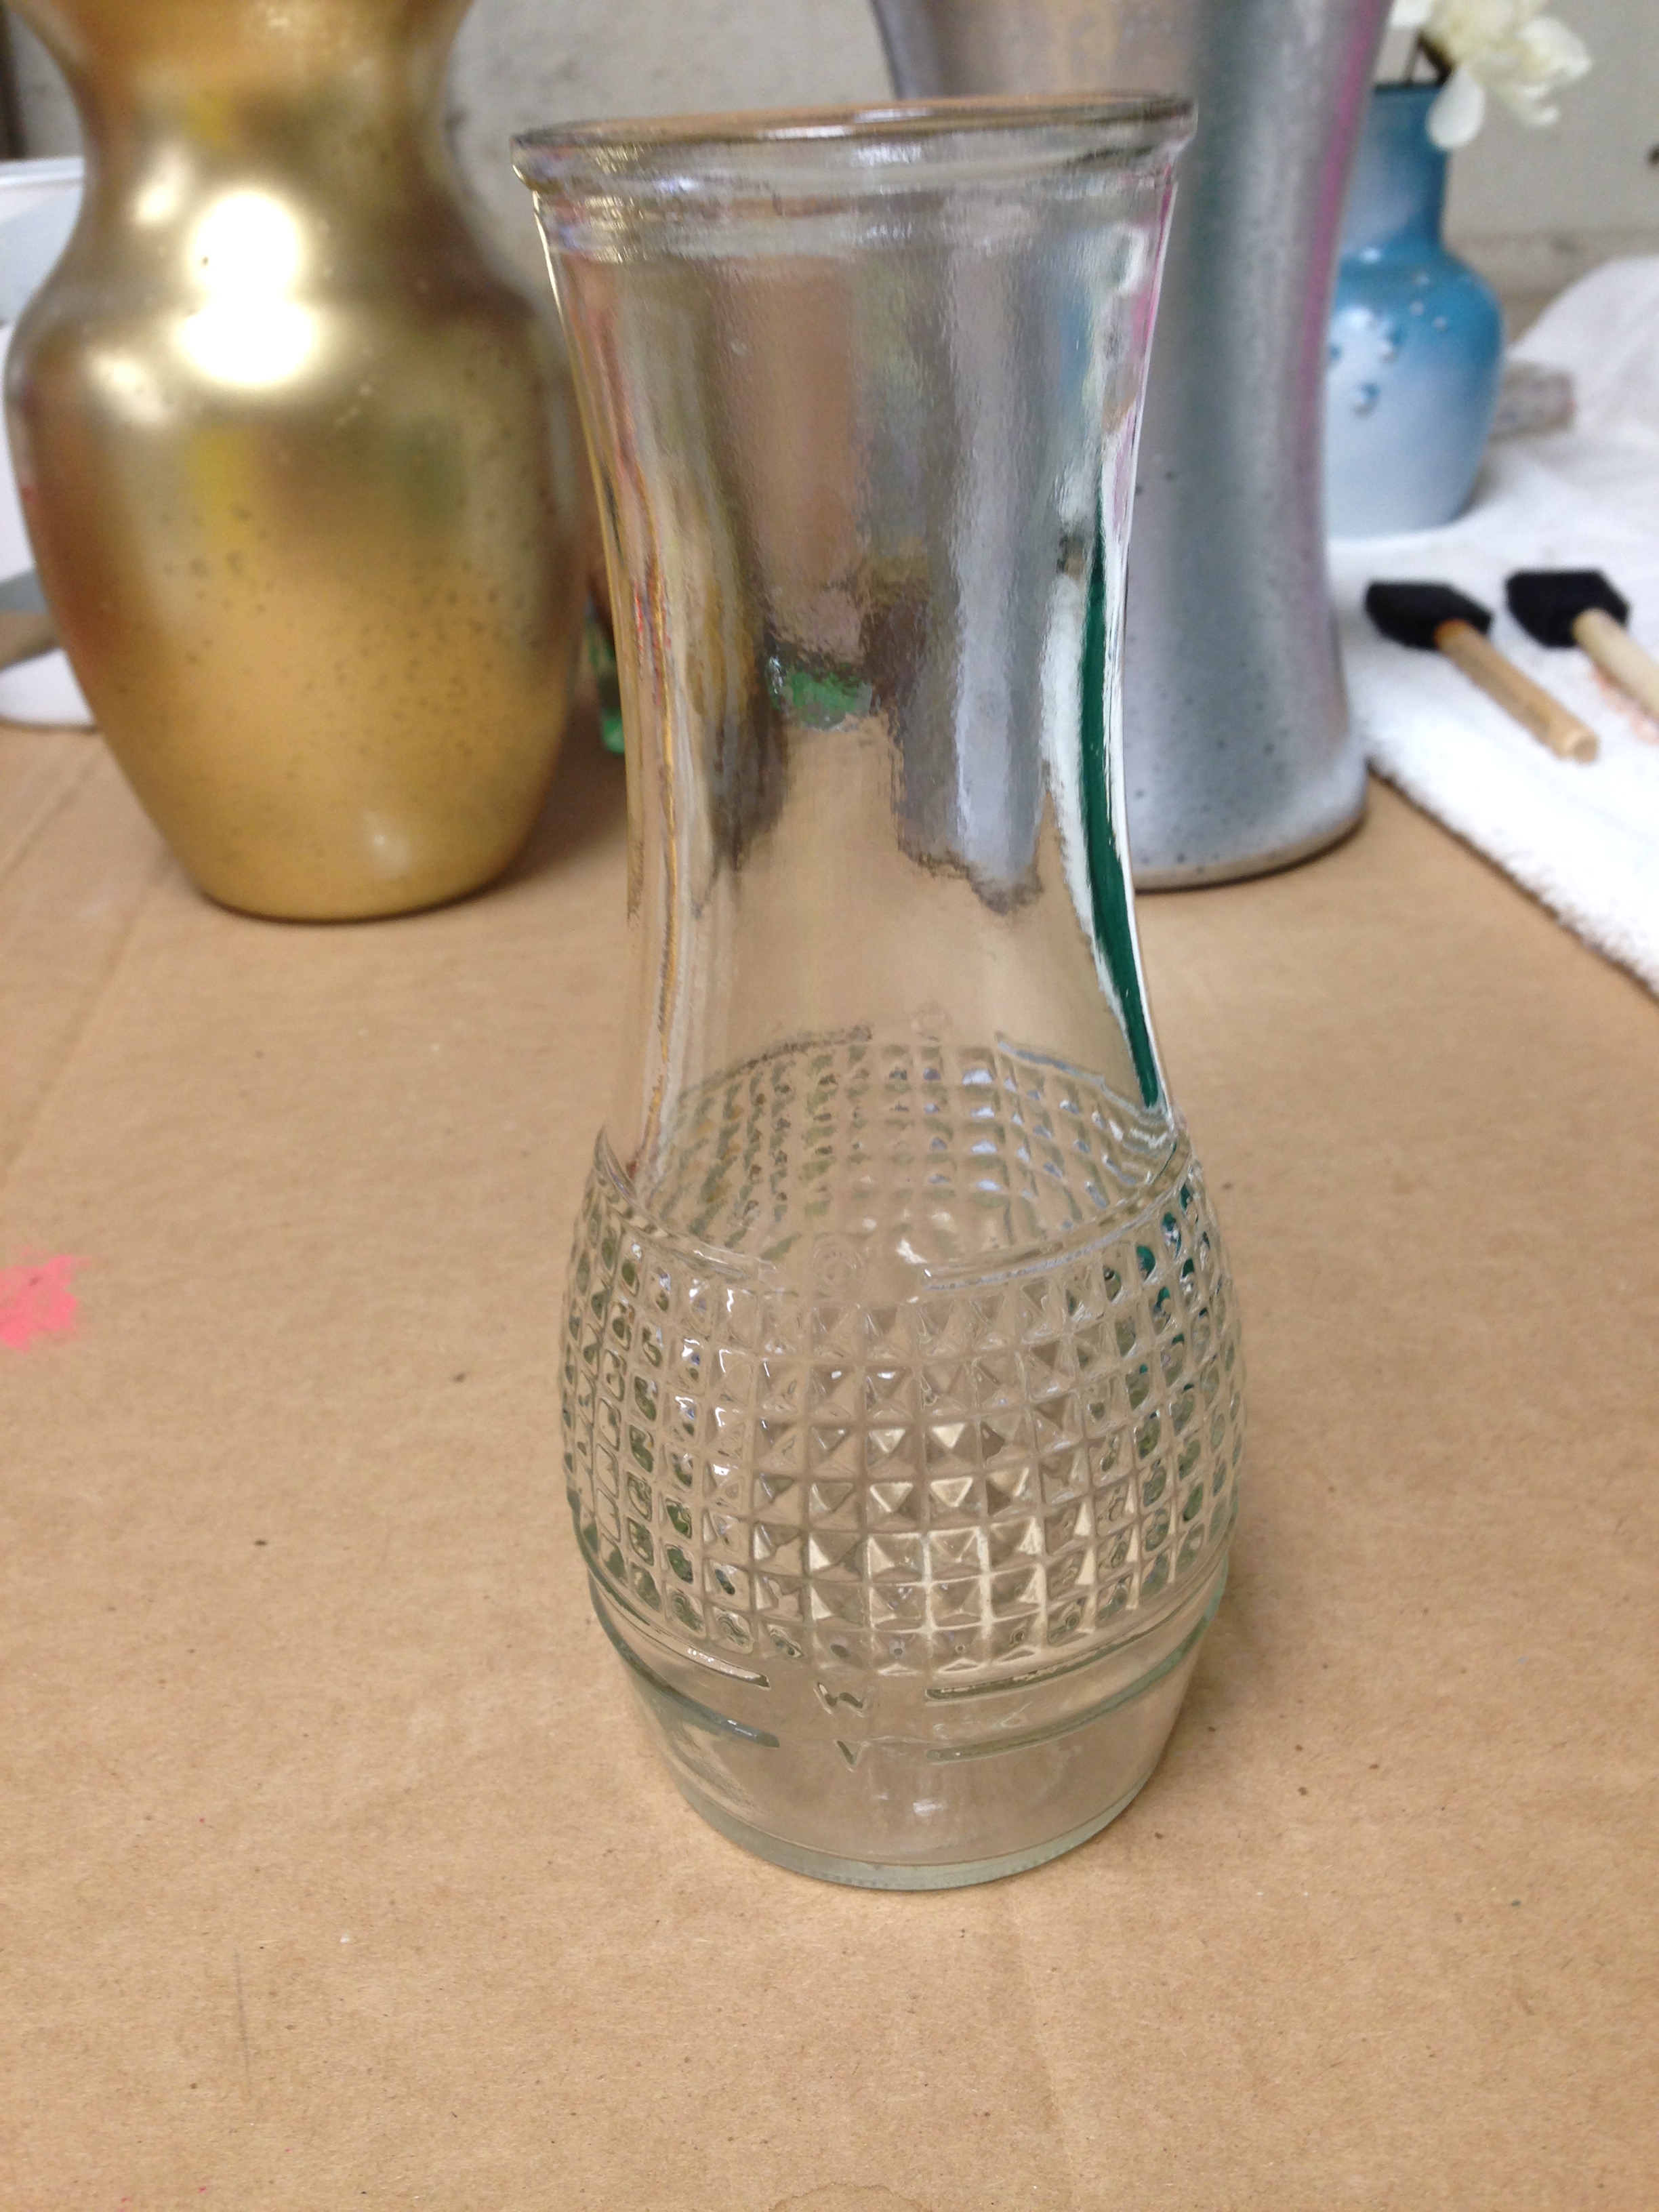
Here’s how they looked before.
I used a foam brush and painted the outside of the glass. For the Candle Holders I tried a dabbing method to create a texture with the foam brush. The vase I just brushed on and tried to smooth out brush strokes, but it was unavoidable. To become waterproof, bake in the oven at 275 degrees for 30 minutes.
The finished Candle Holders have a pretty beach vibe that I love, and the vase looks a little vintage to me.
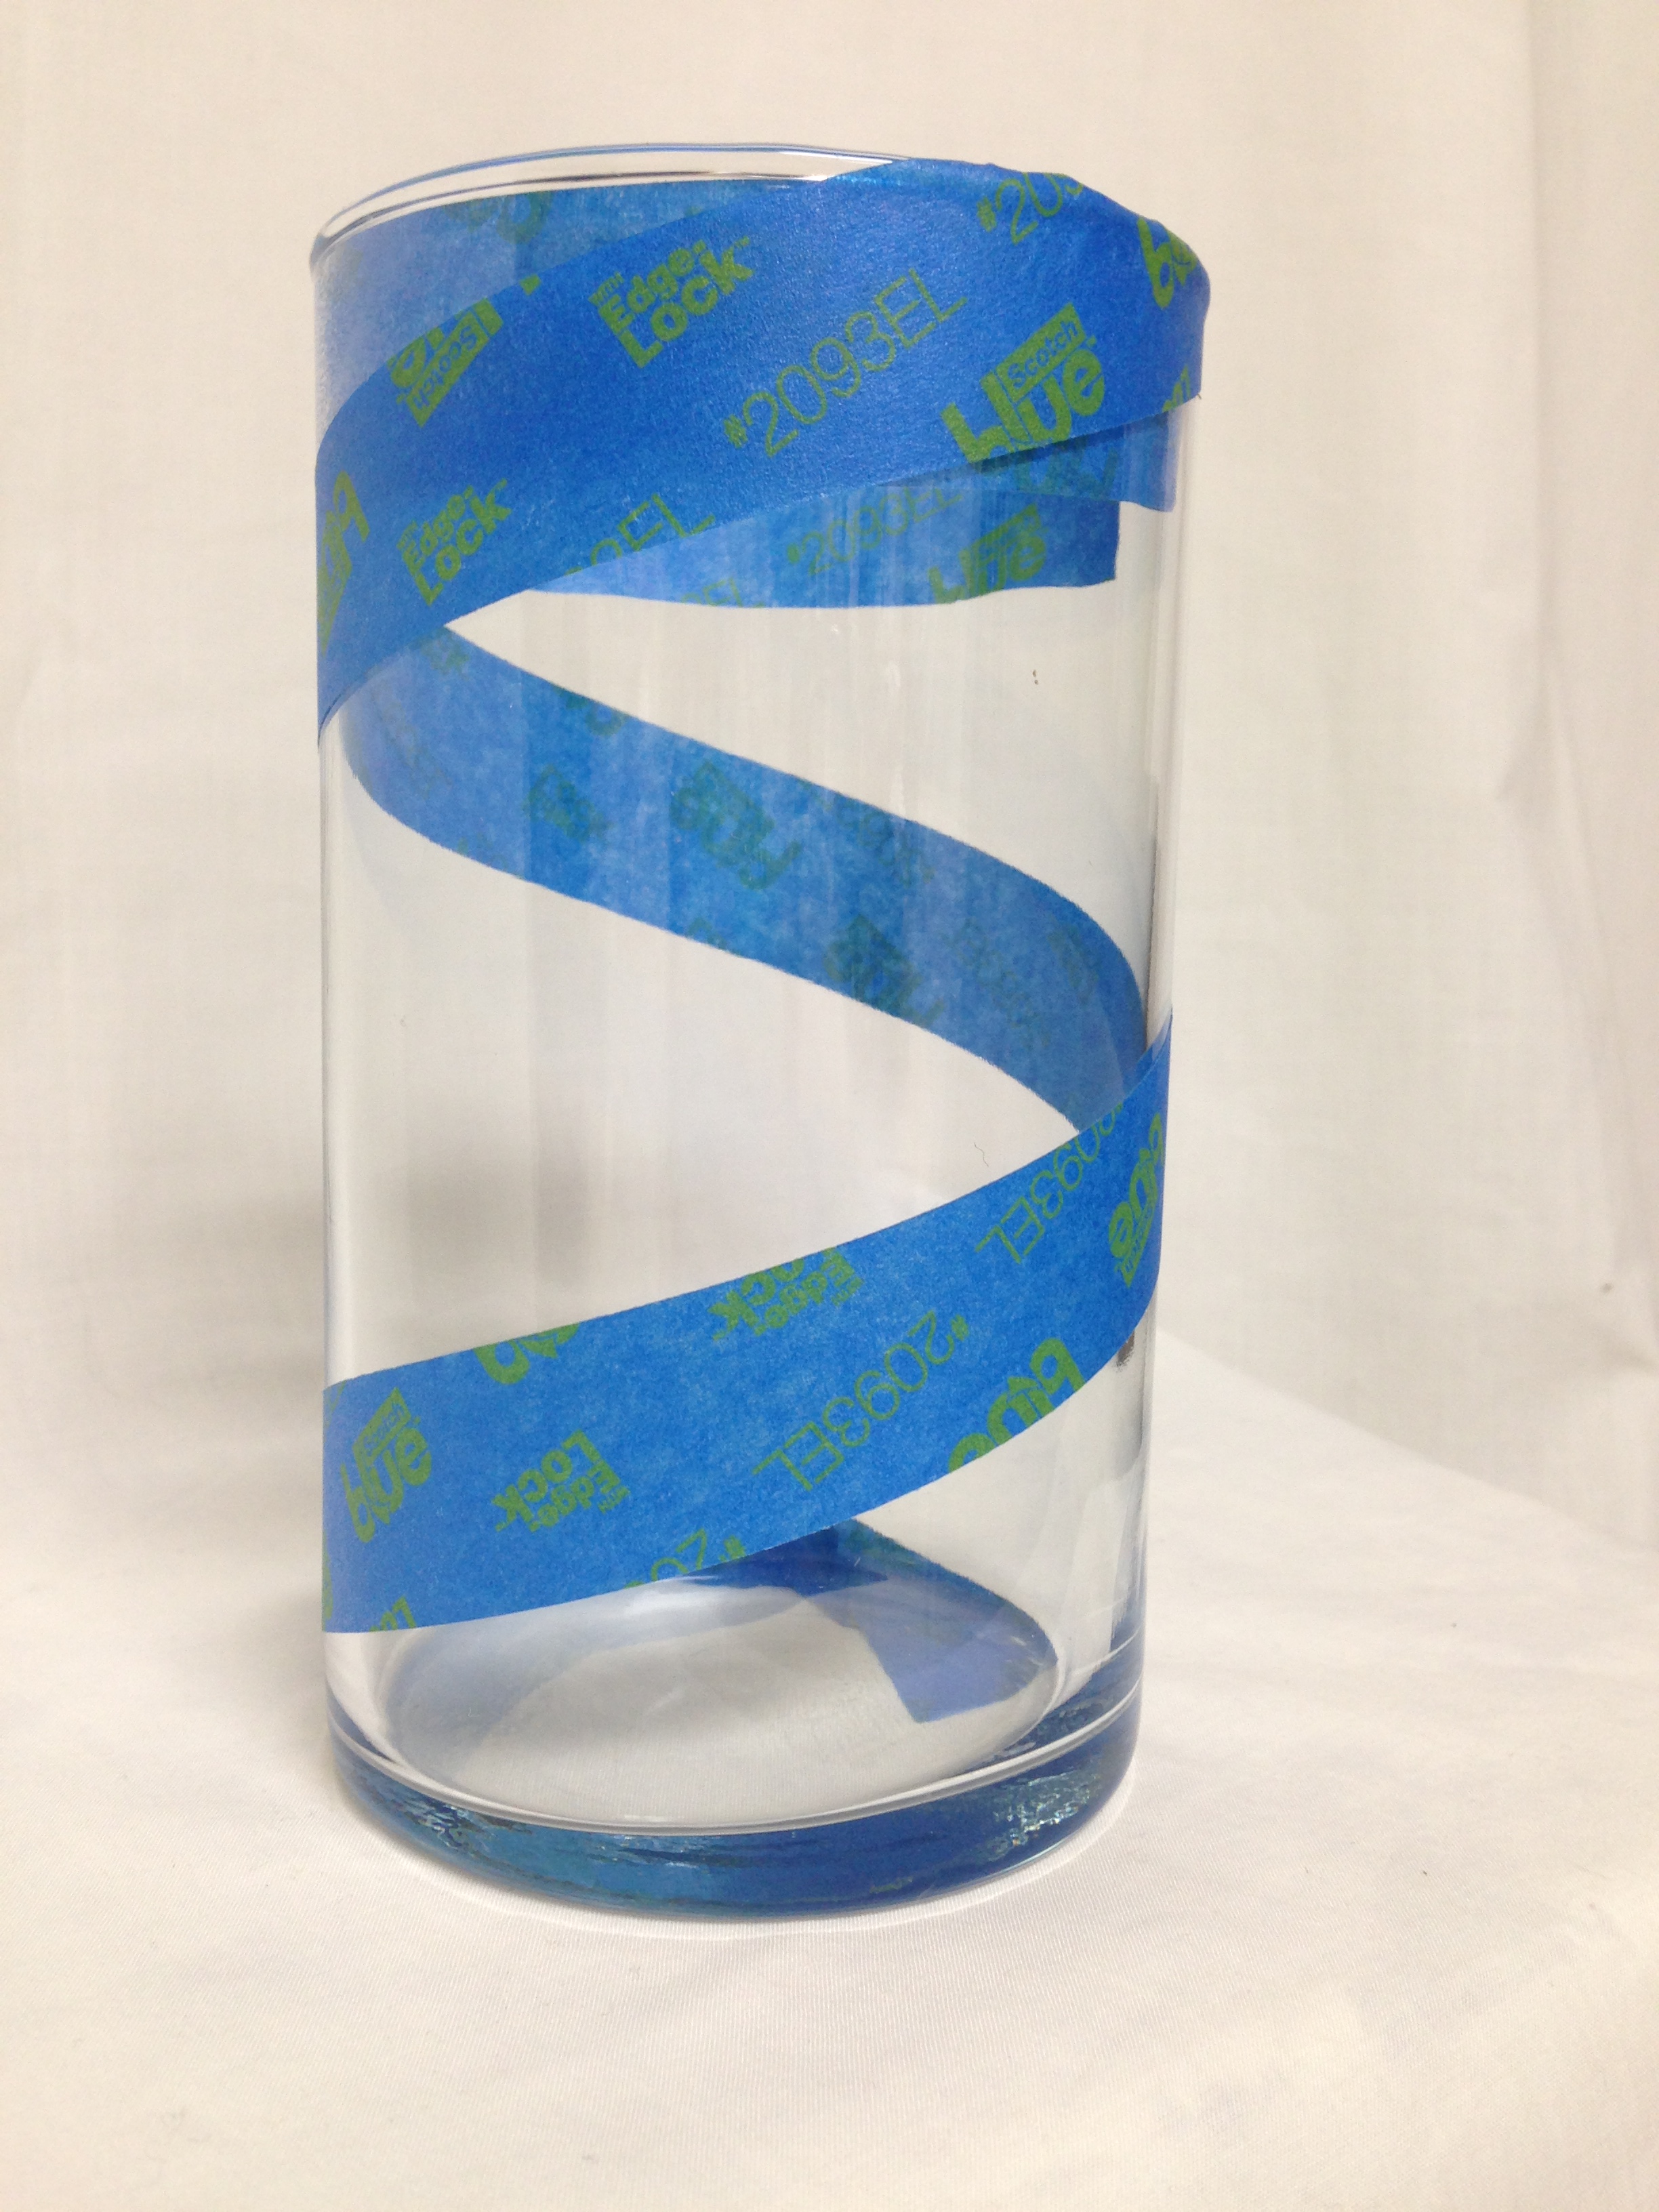
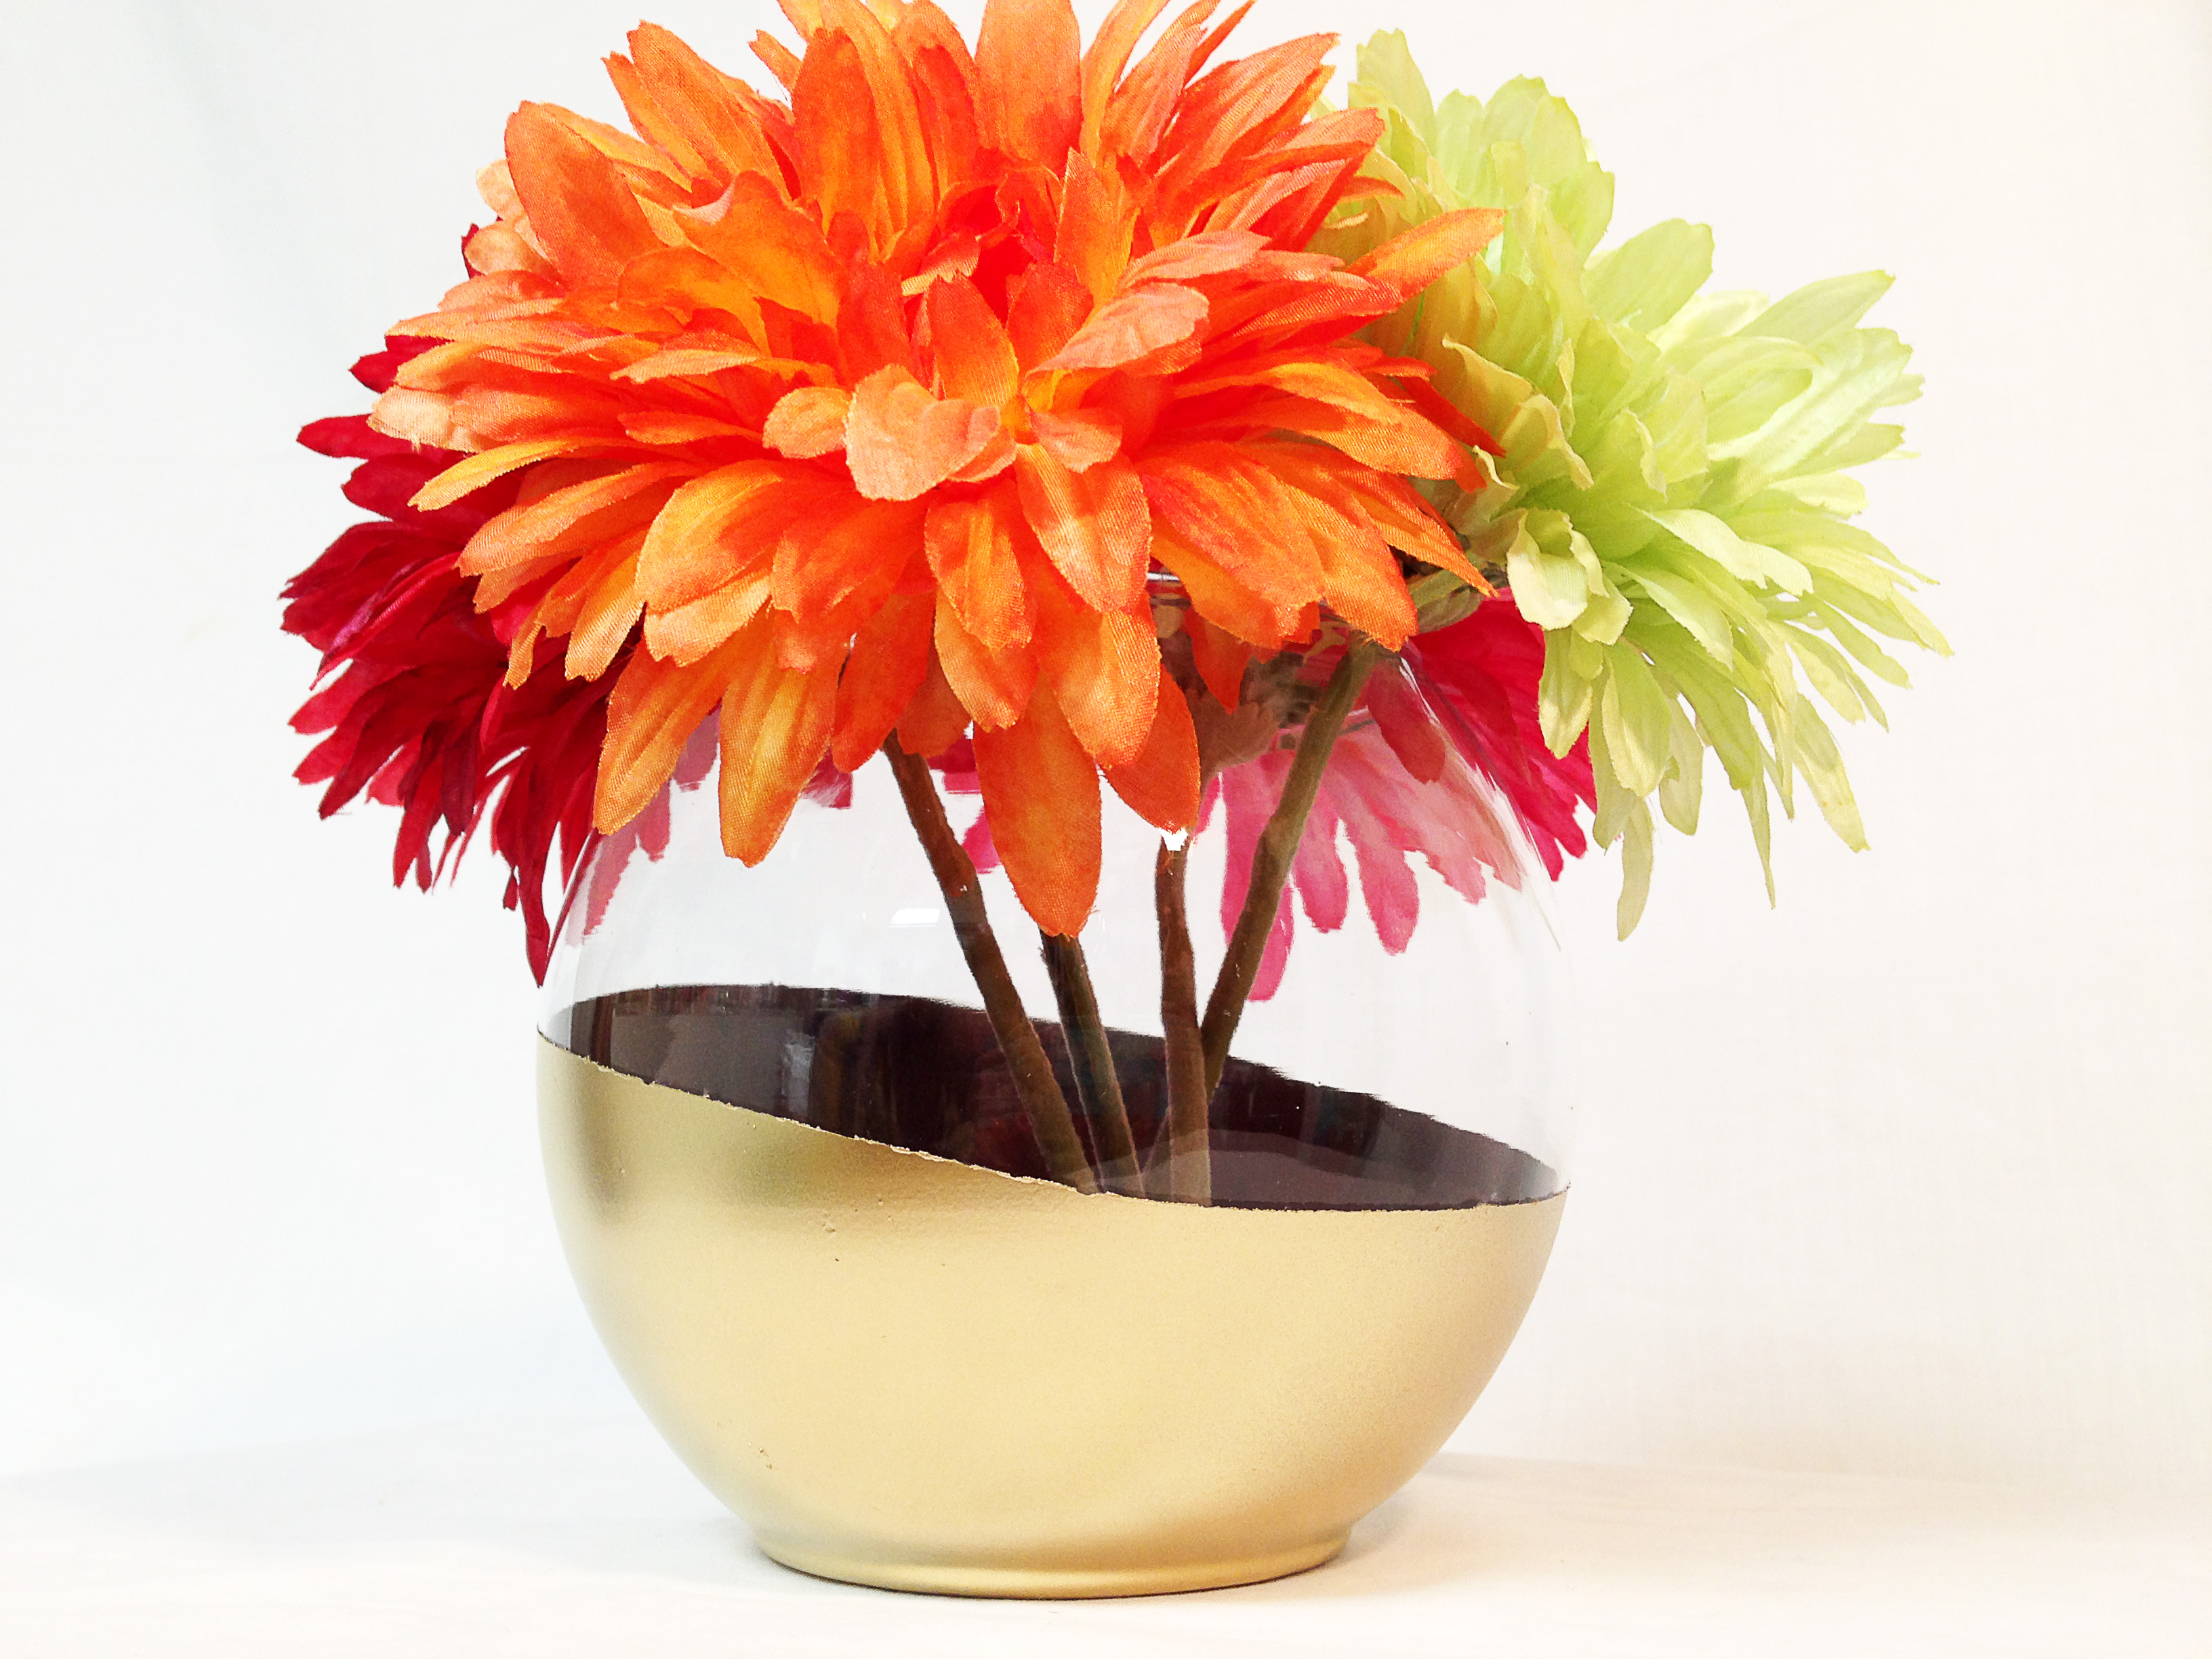
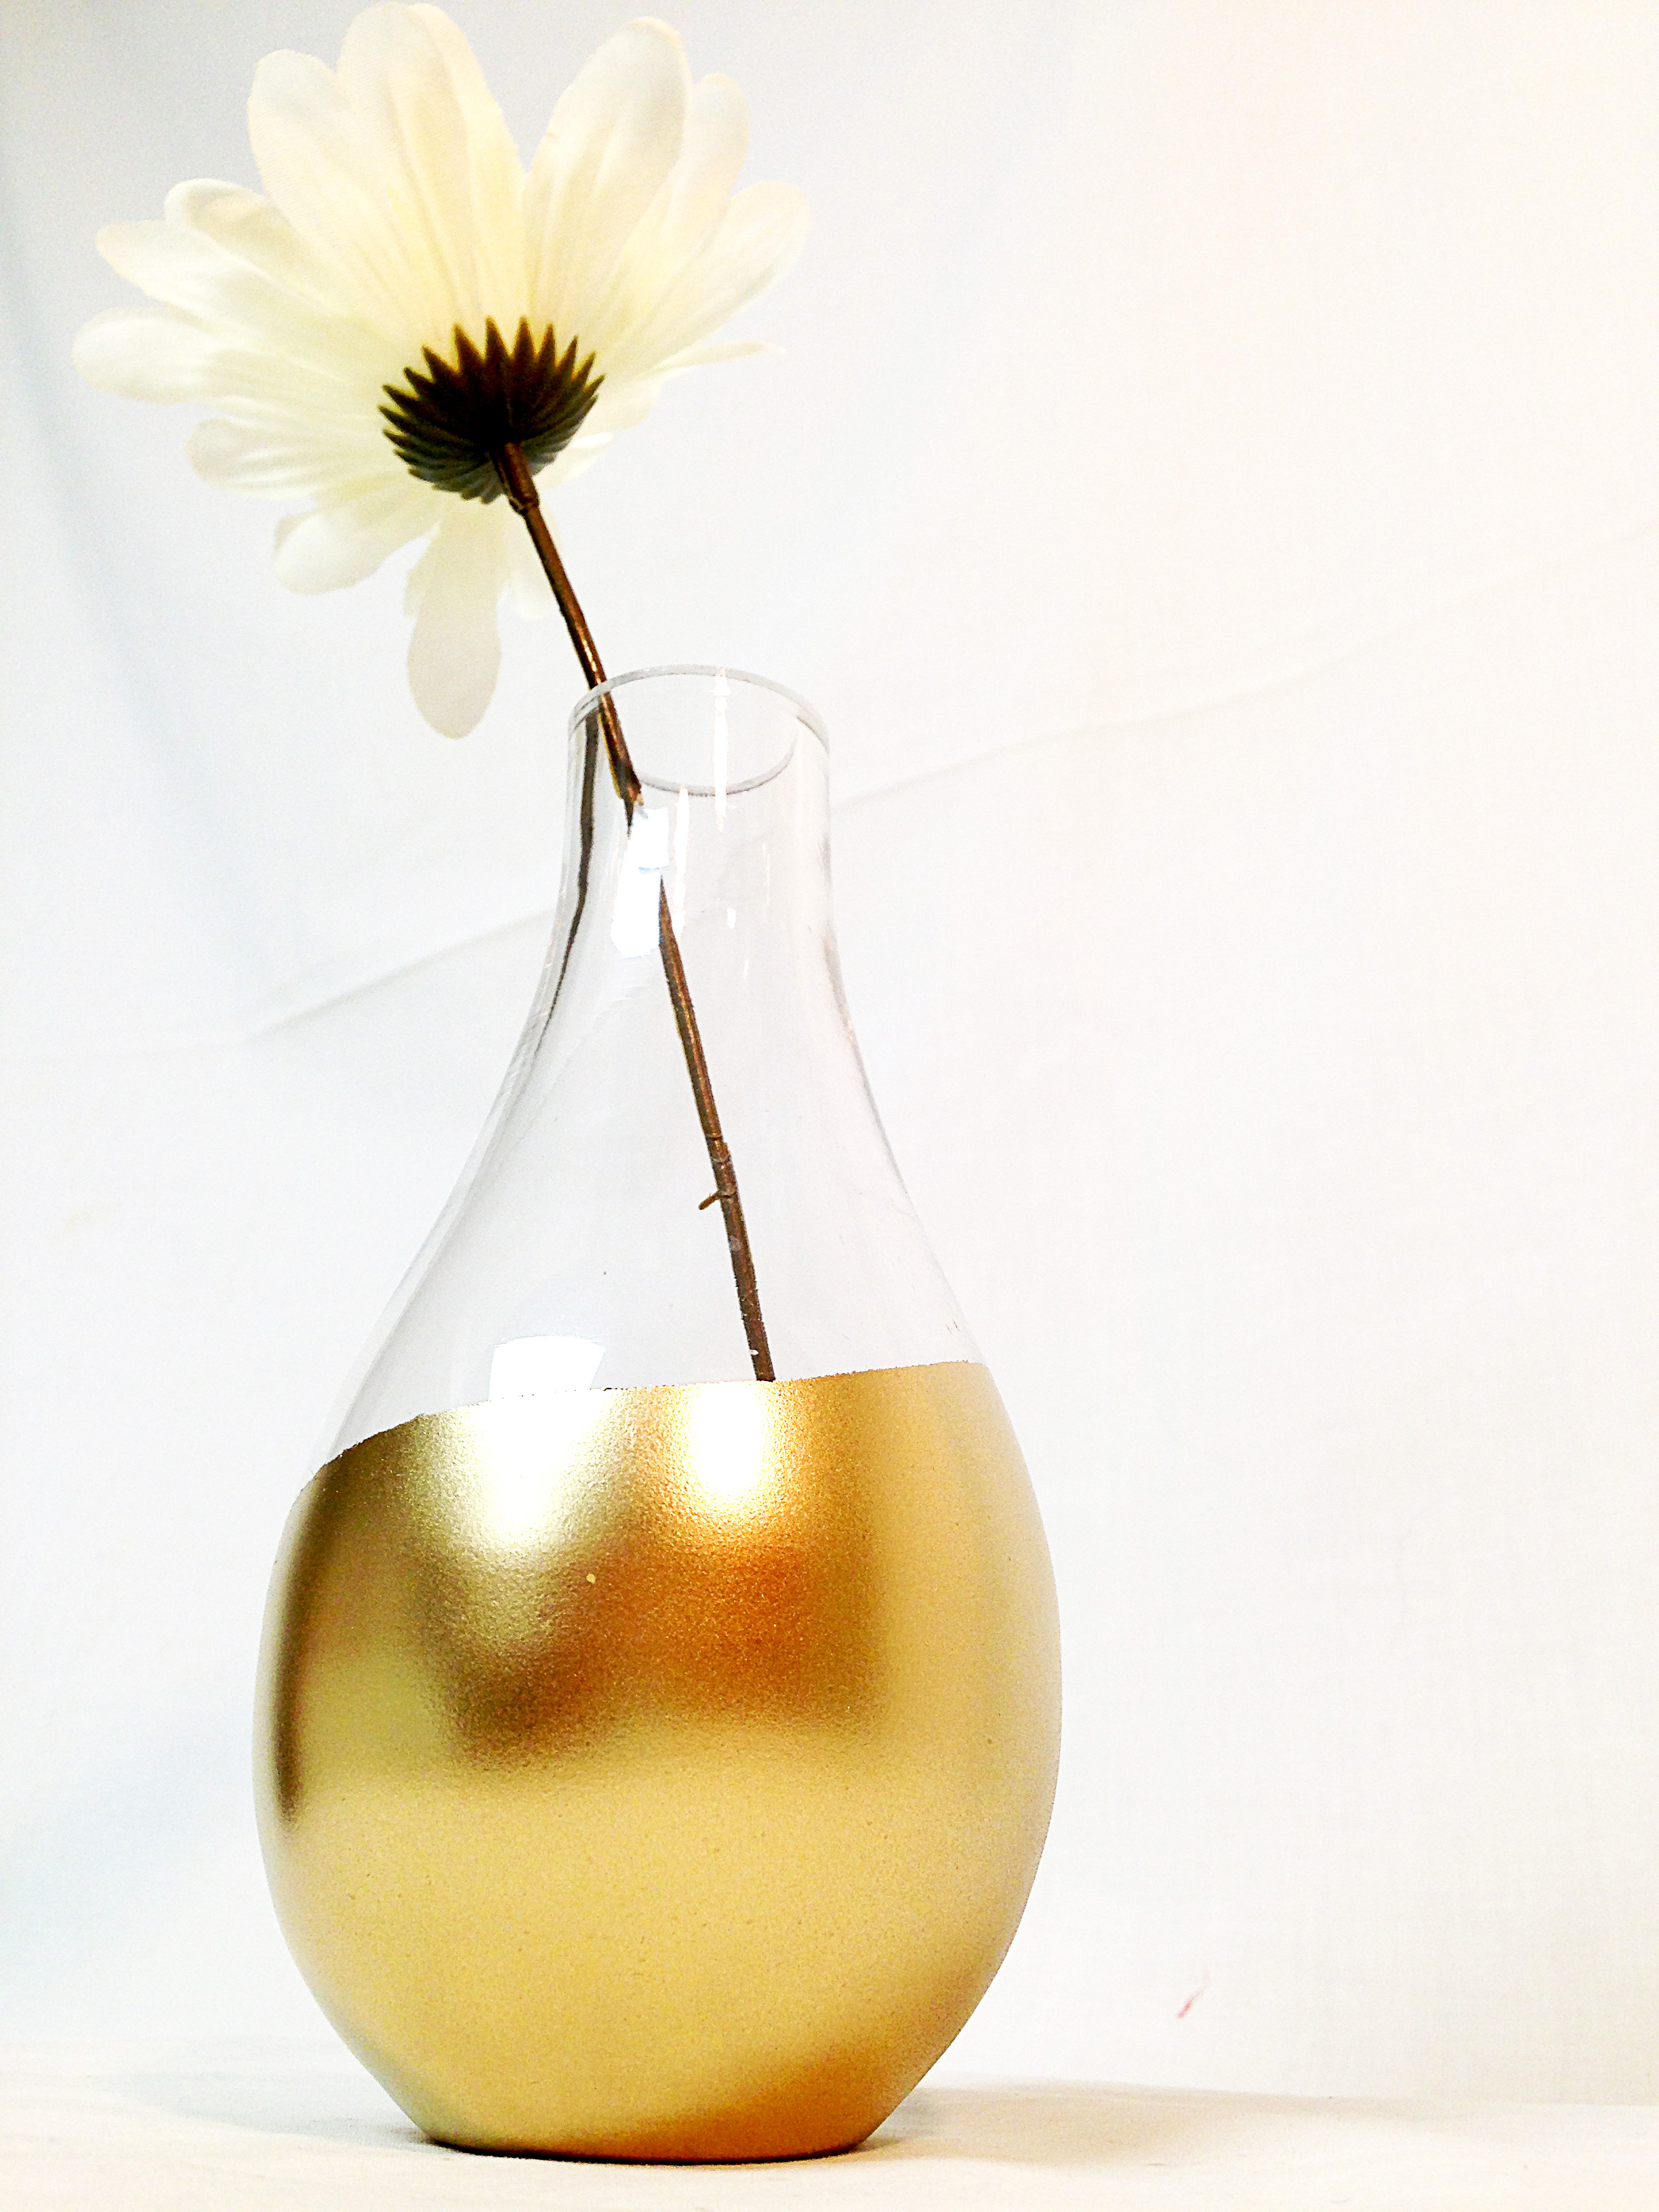
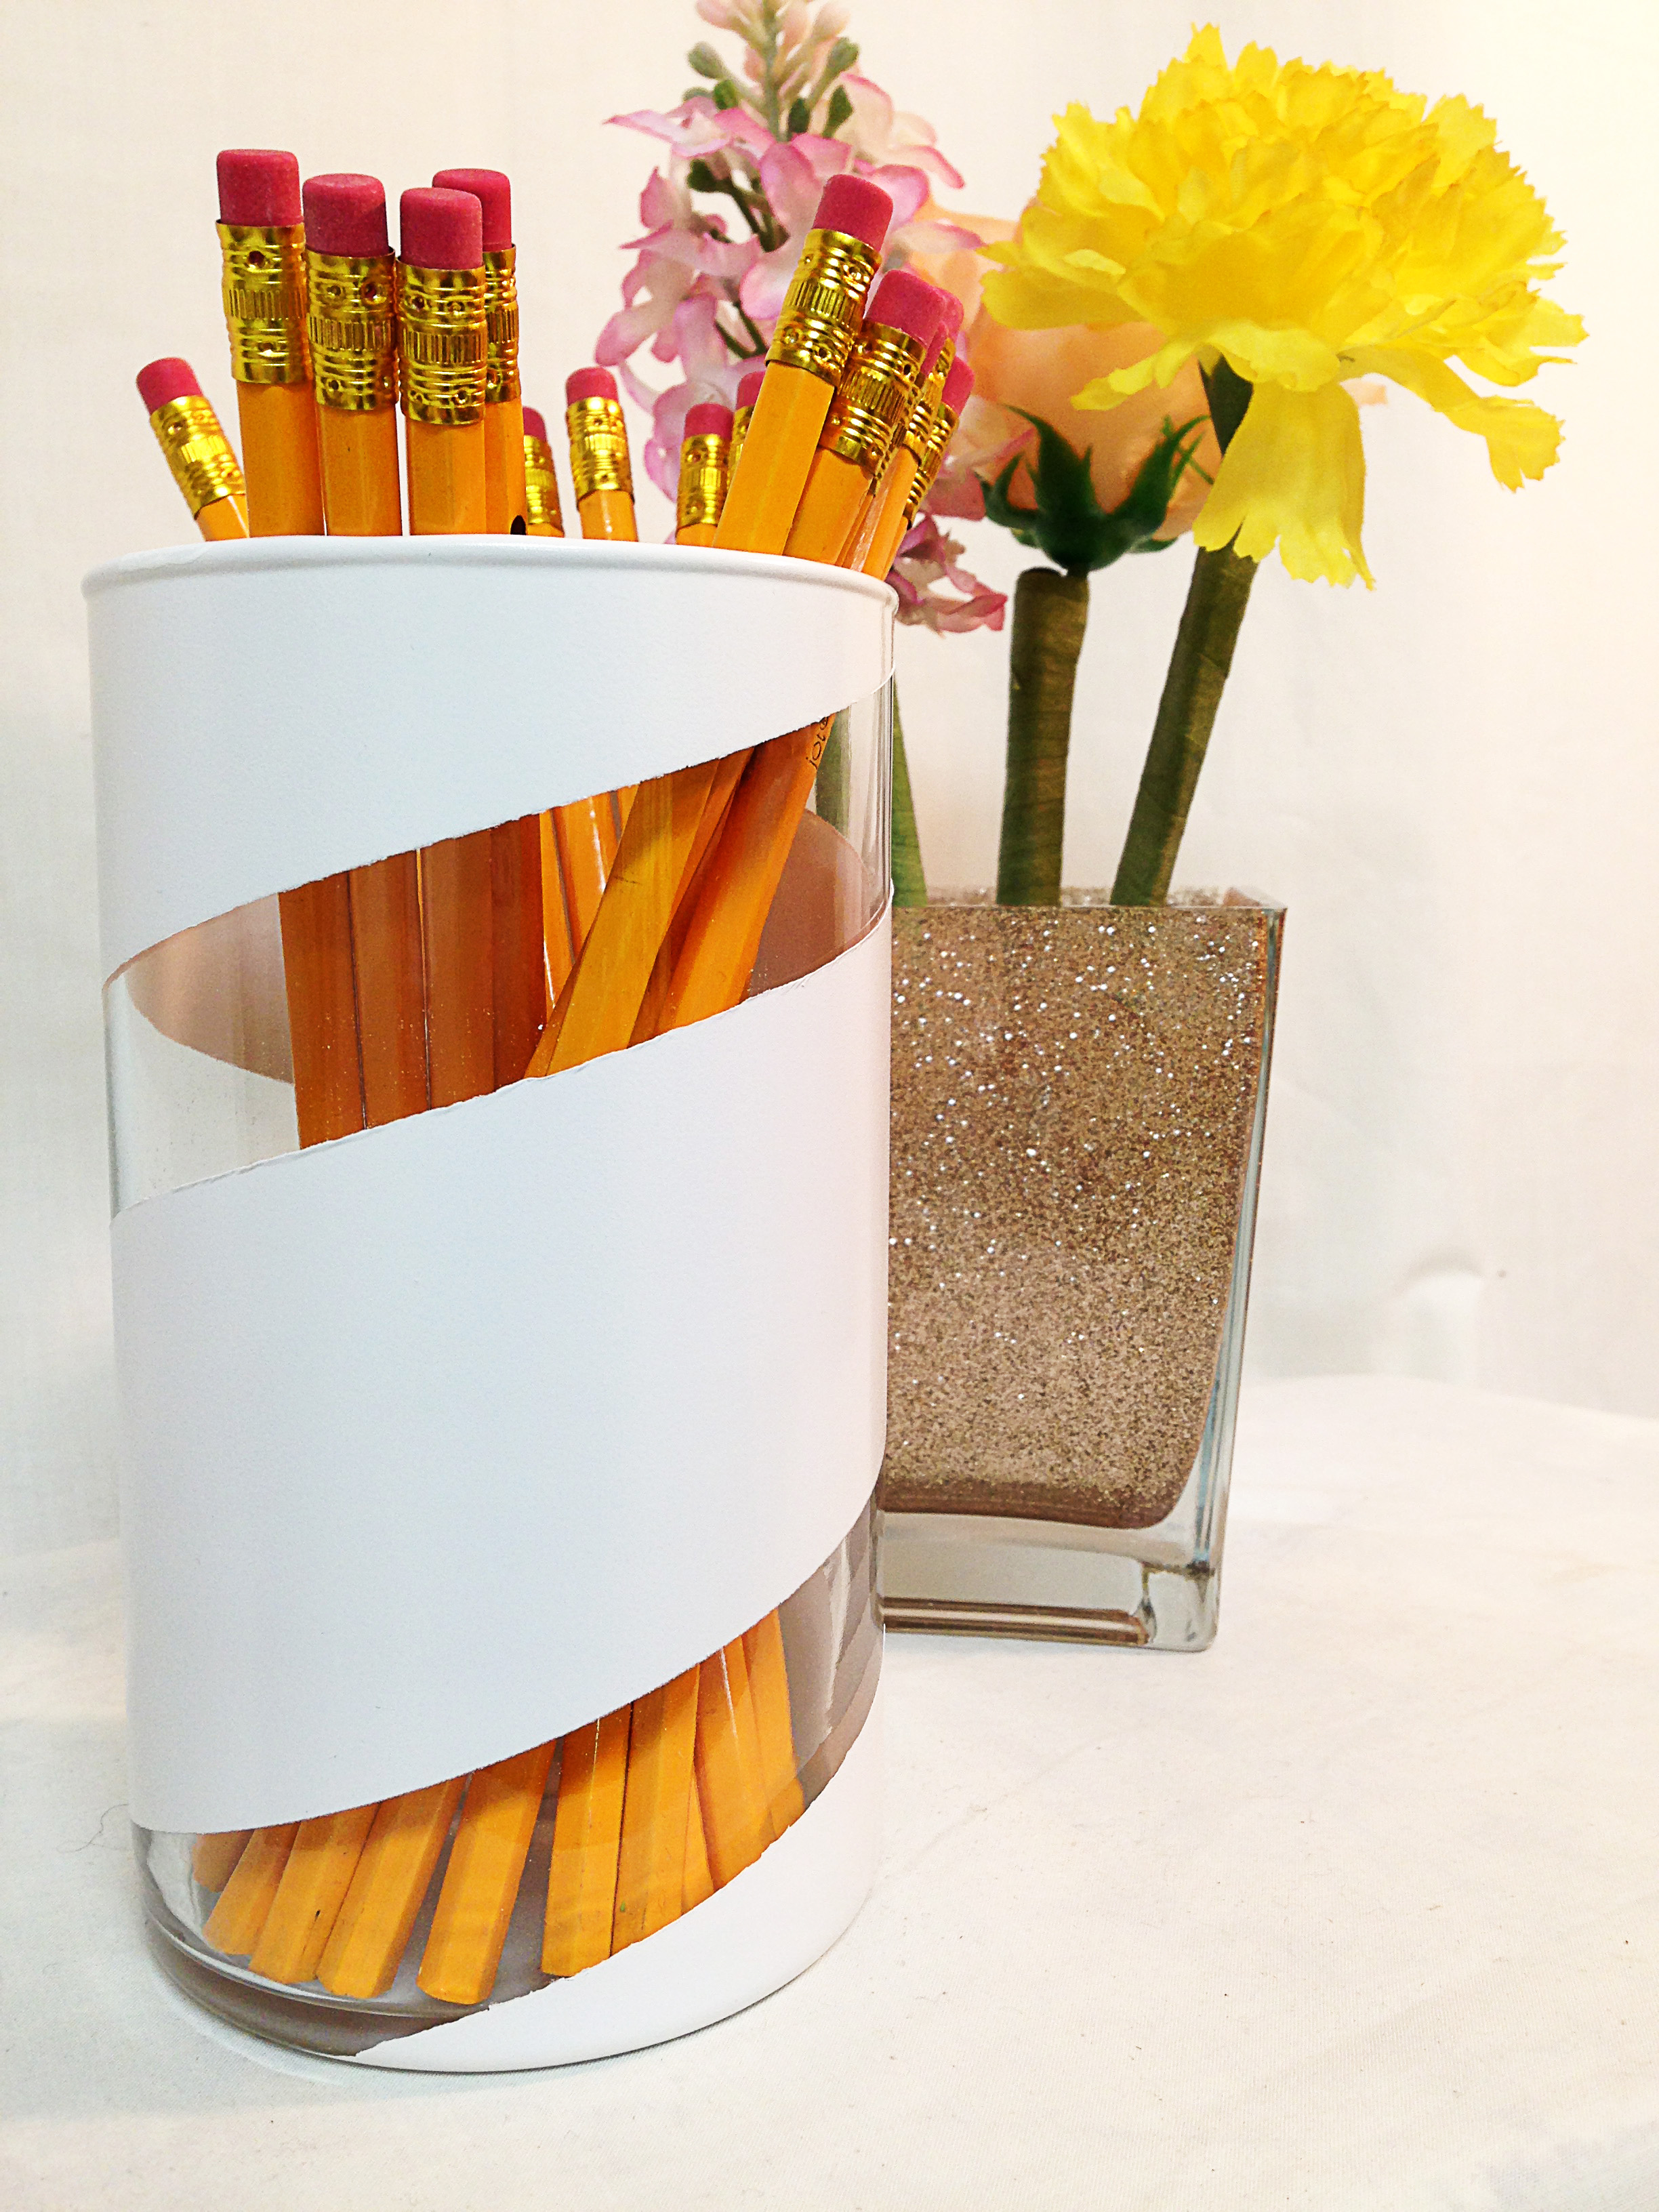
The next technique I will show two different variations. There’s the Gold Dipped Vases and the White Striped Vase.
Both of these use painter’s tape to block of areas that won’t be painted.
Supplies Needed
Spray Paint (Gold or White)
Painter’s Tape
Clear Vases
After cleaning the vases I applied the painters tape. For the ones to be sprayed gold, I applied the painters tape creating a wavy line so they look like they were dipped in gold. For the other vase I made a spiraling line down the center which I used white paint. I was sure to tape off all of the areas that I didn’t want painted.
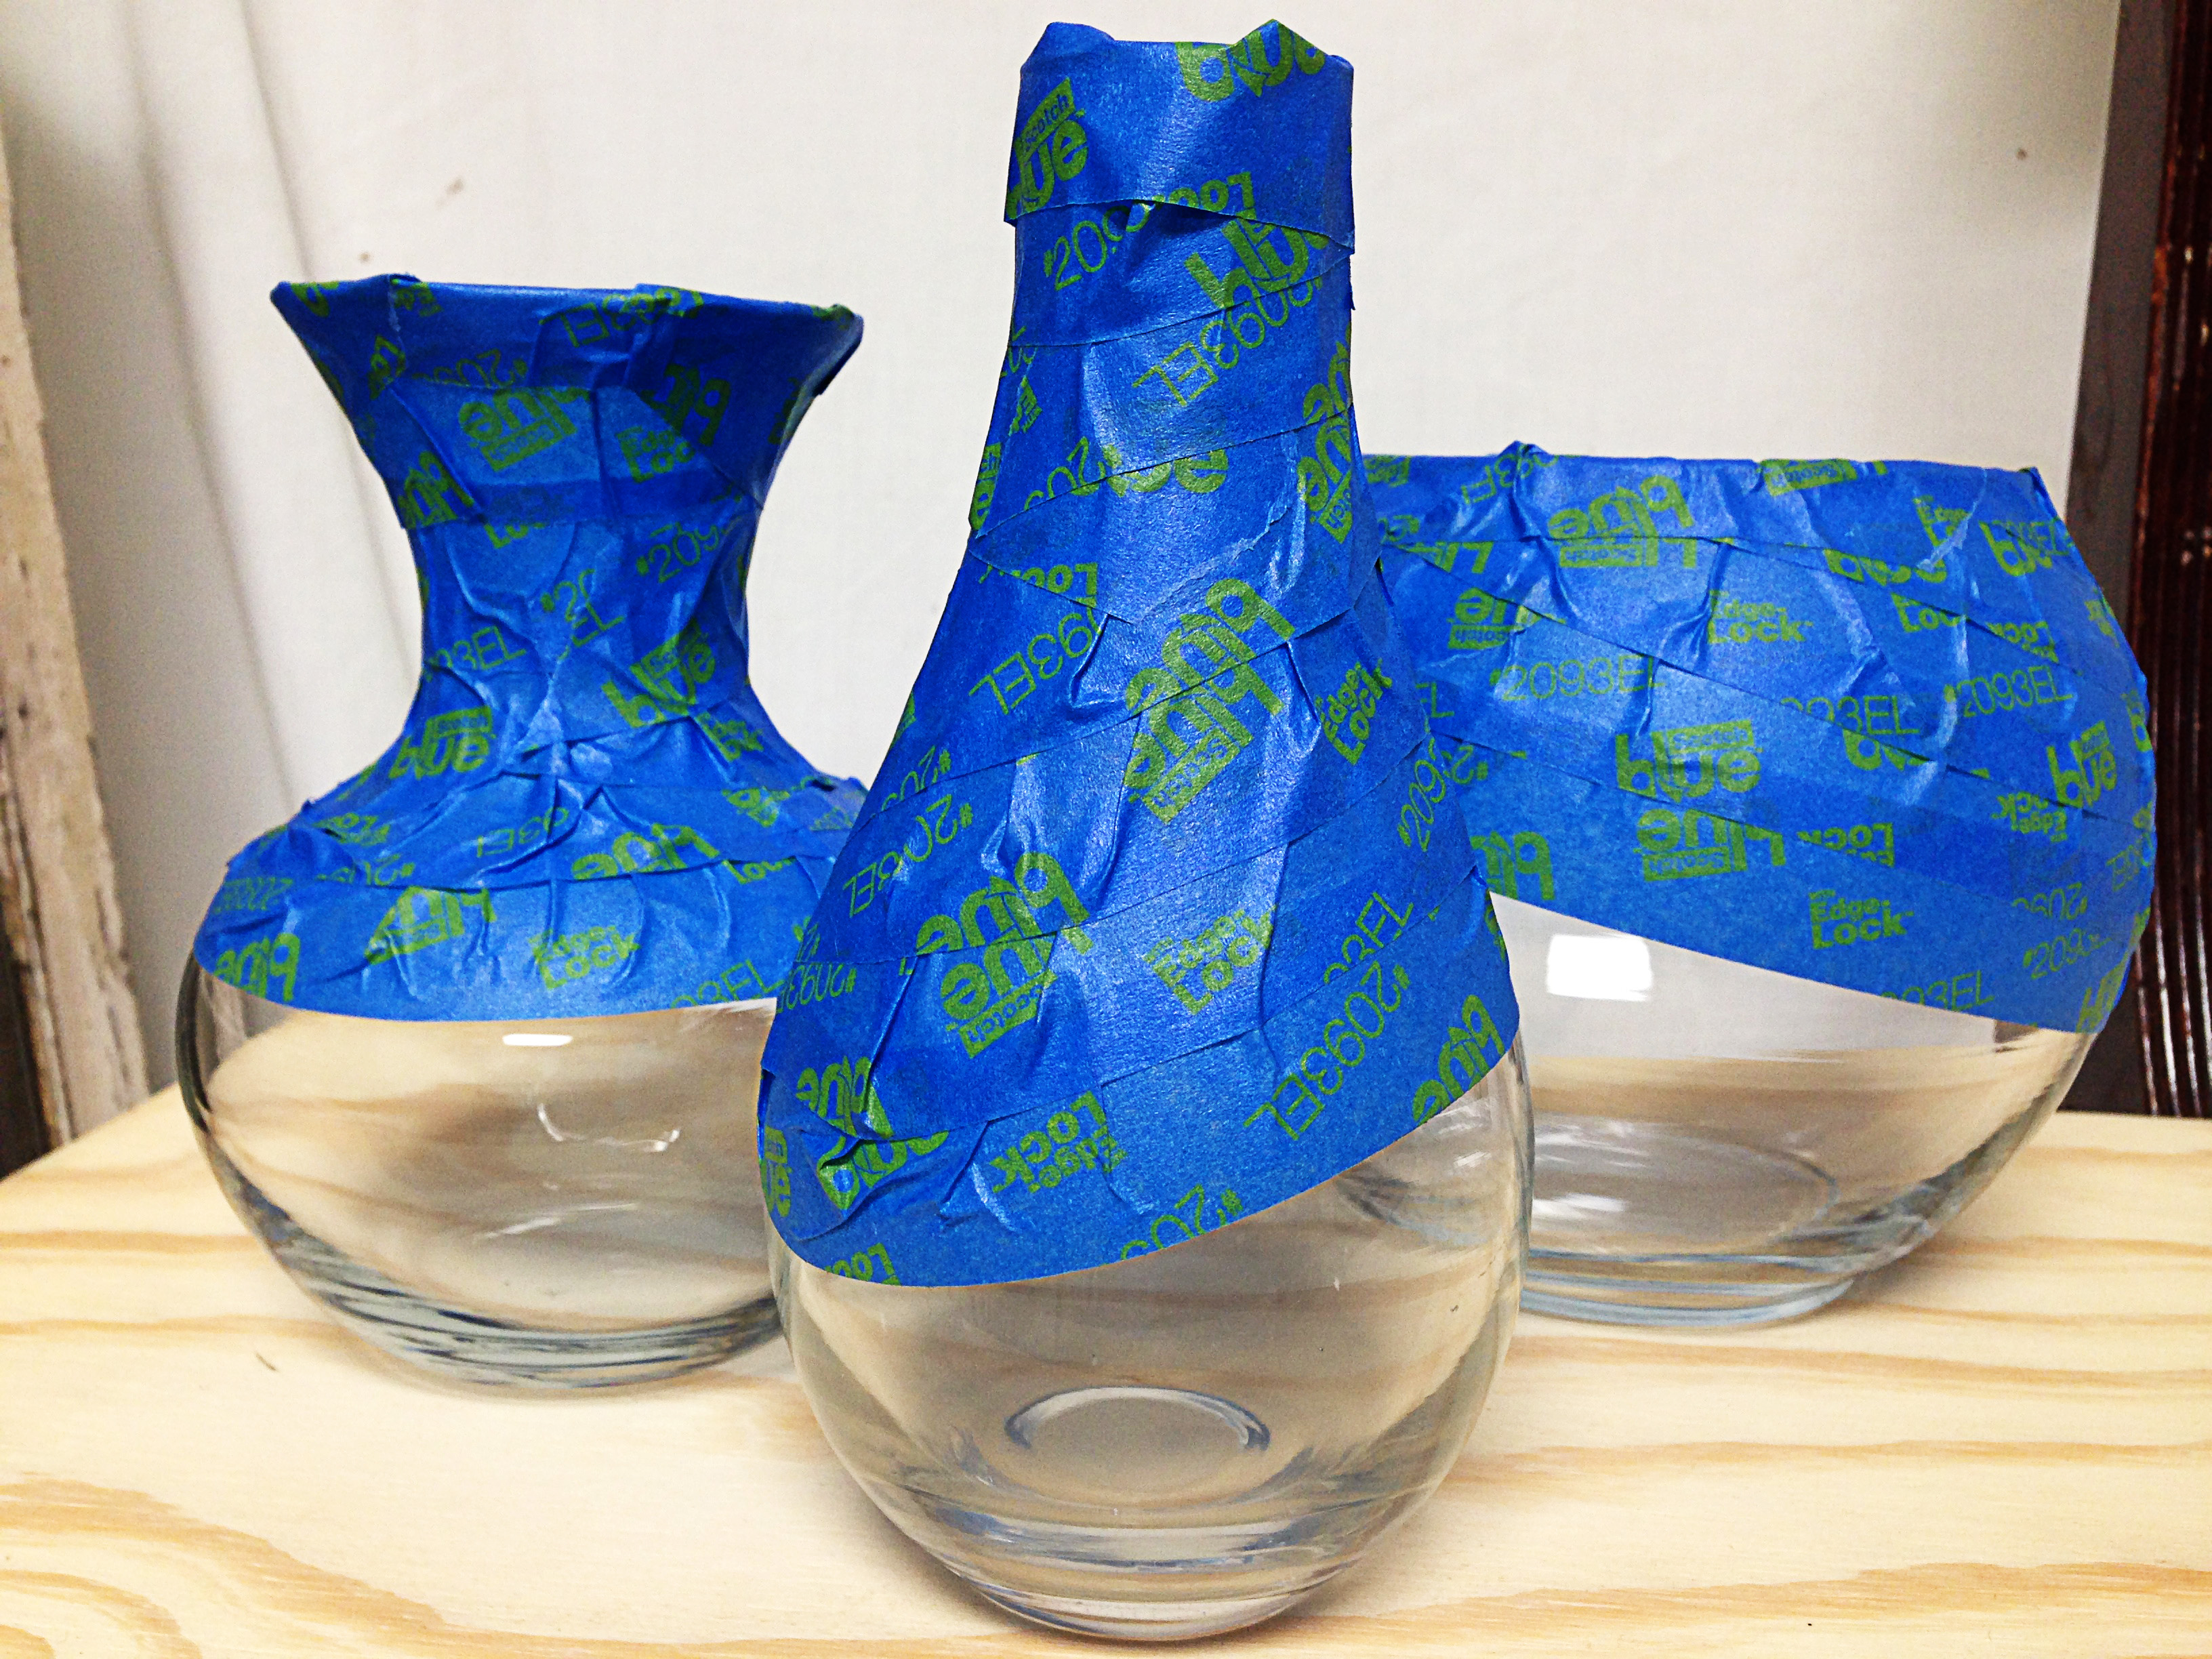
I made sure to spray these upside down to make sure no paint went on the inside of the vases.
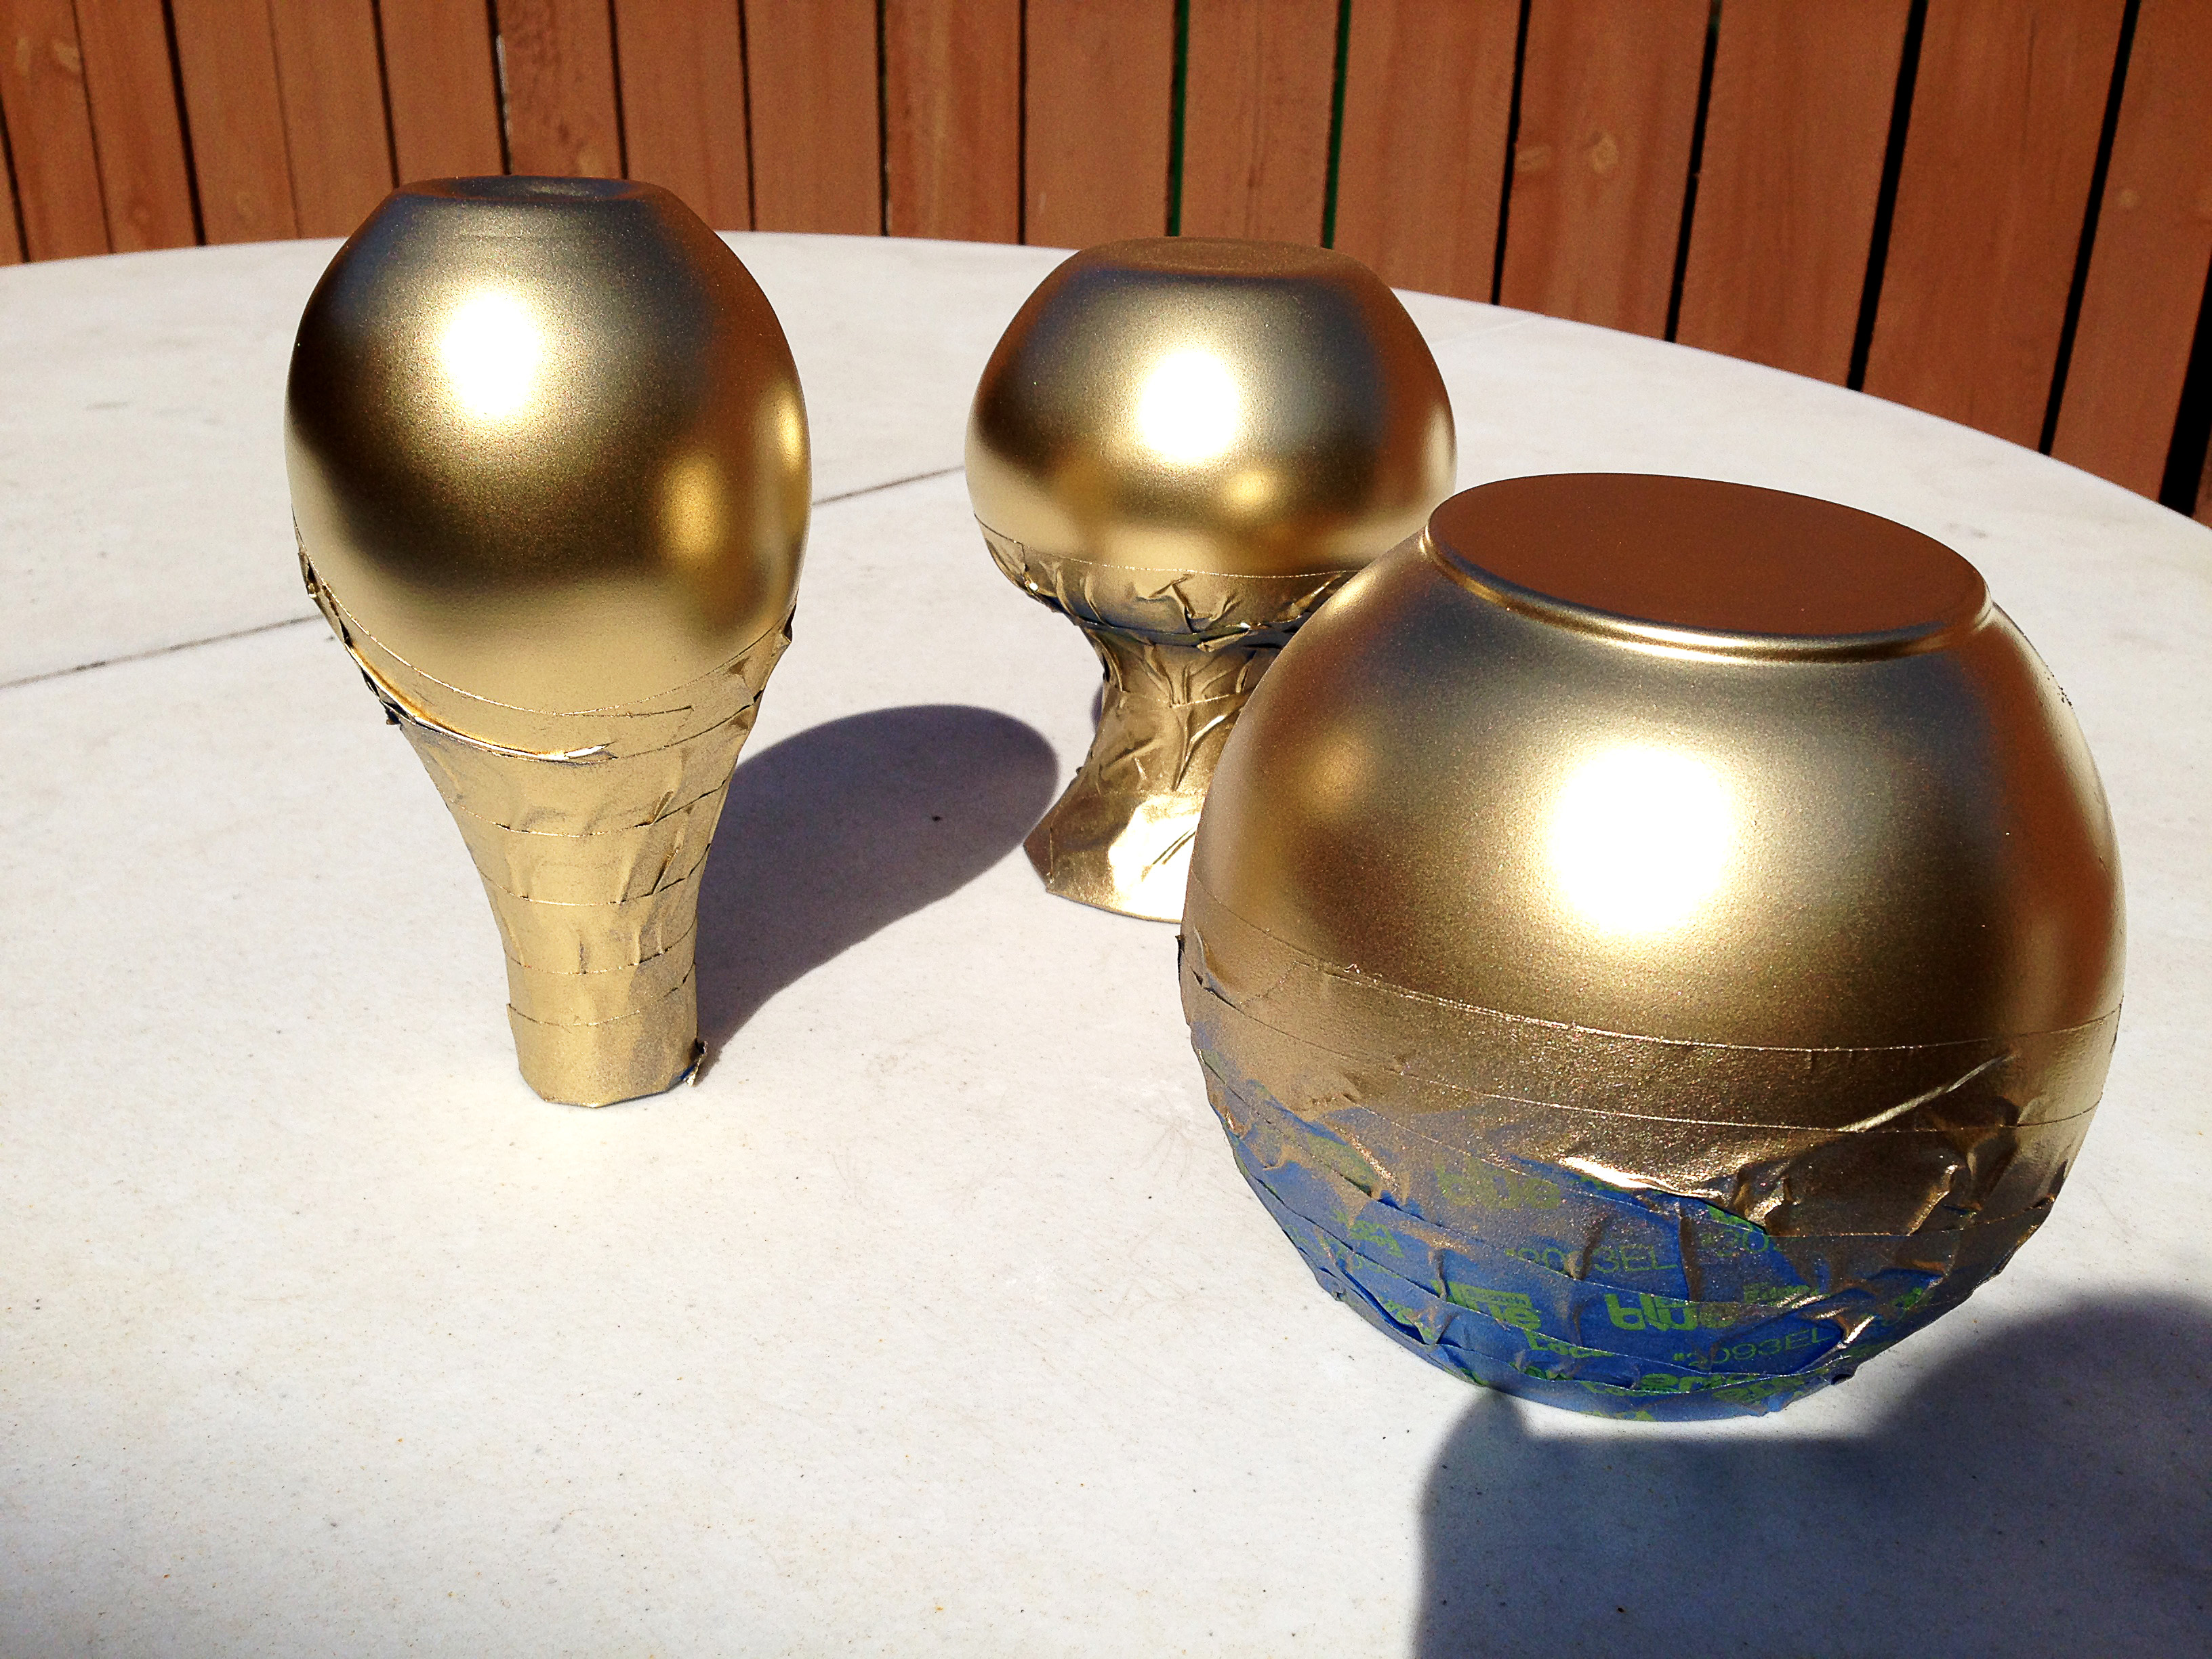

It’s important to wait until the paint is completely dry before removing the tape. I recommend waiting about a half hour. And after removing the tape, they are done! I really love these.
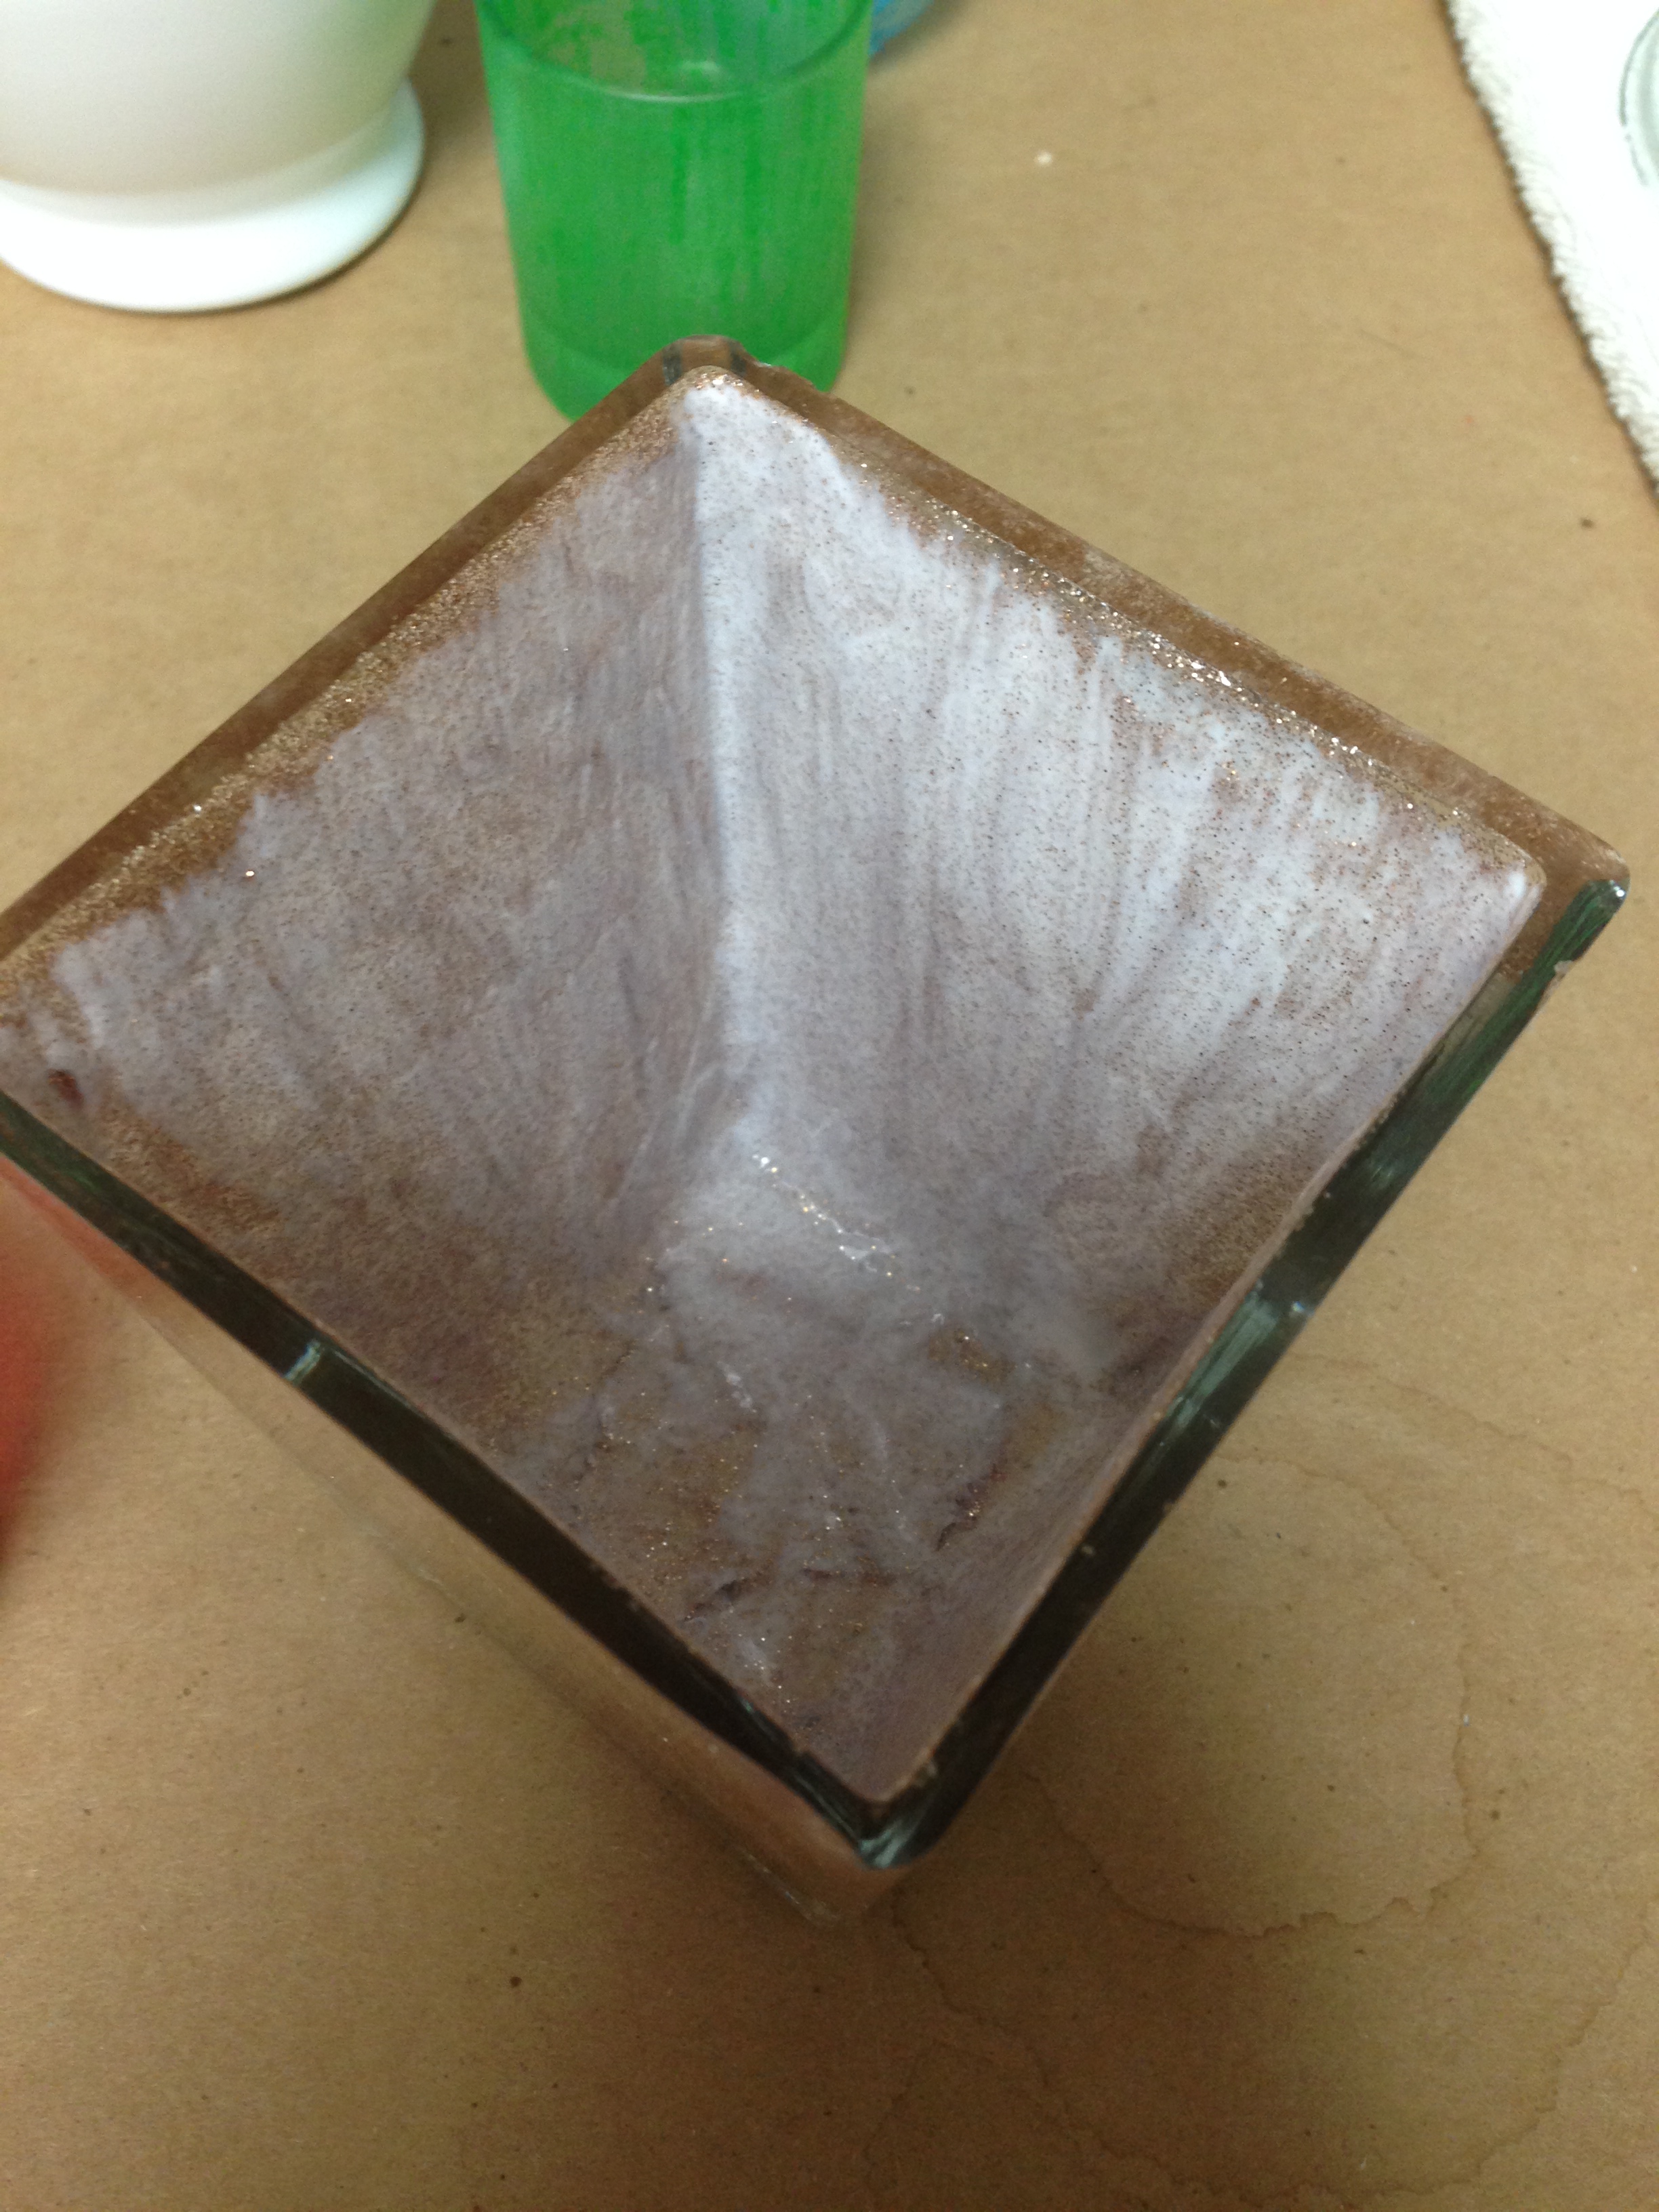
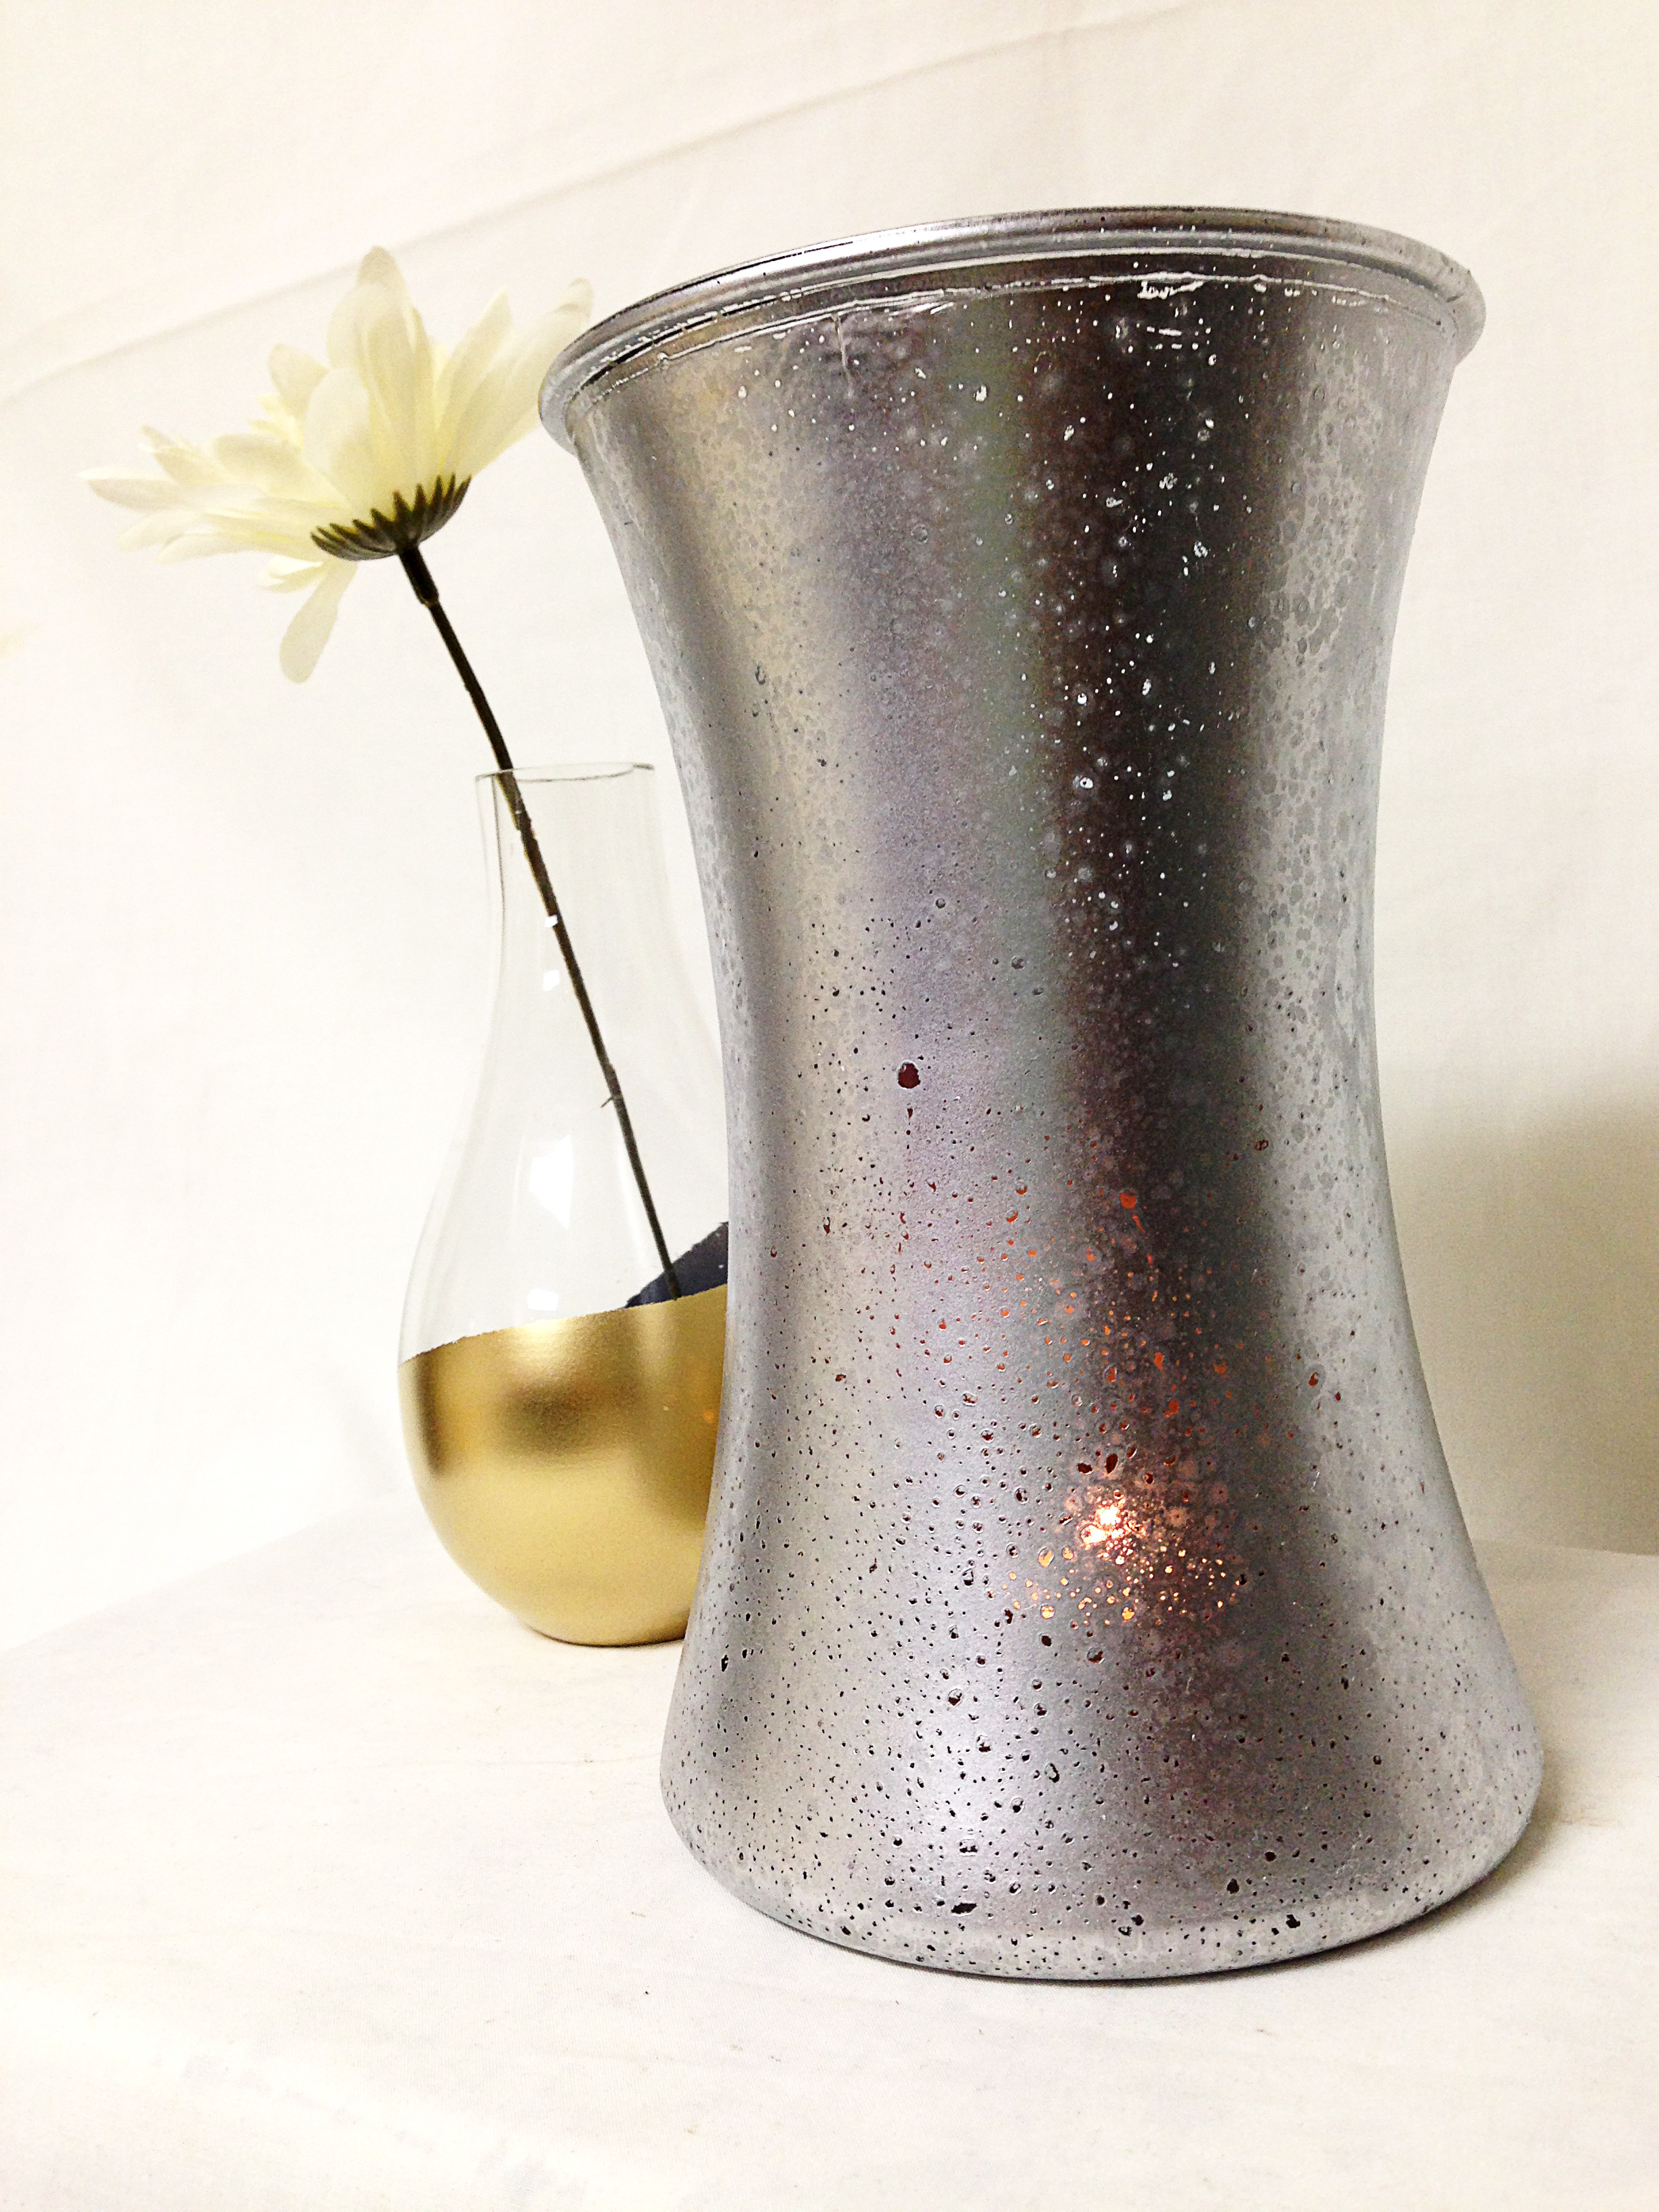
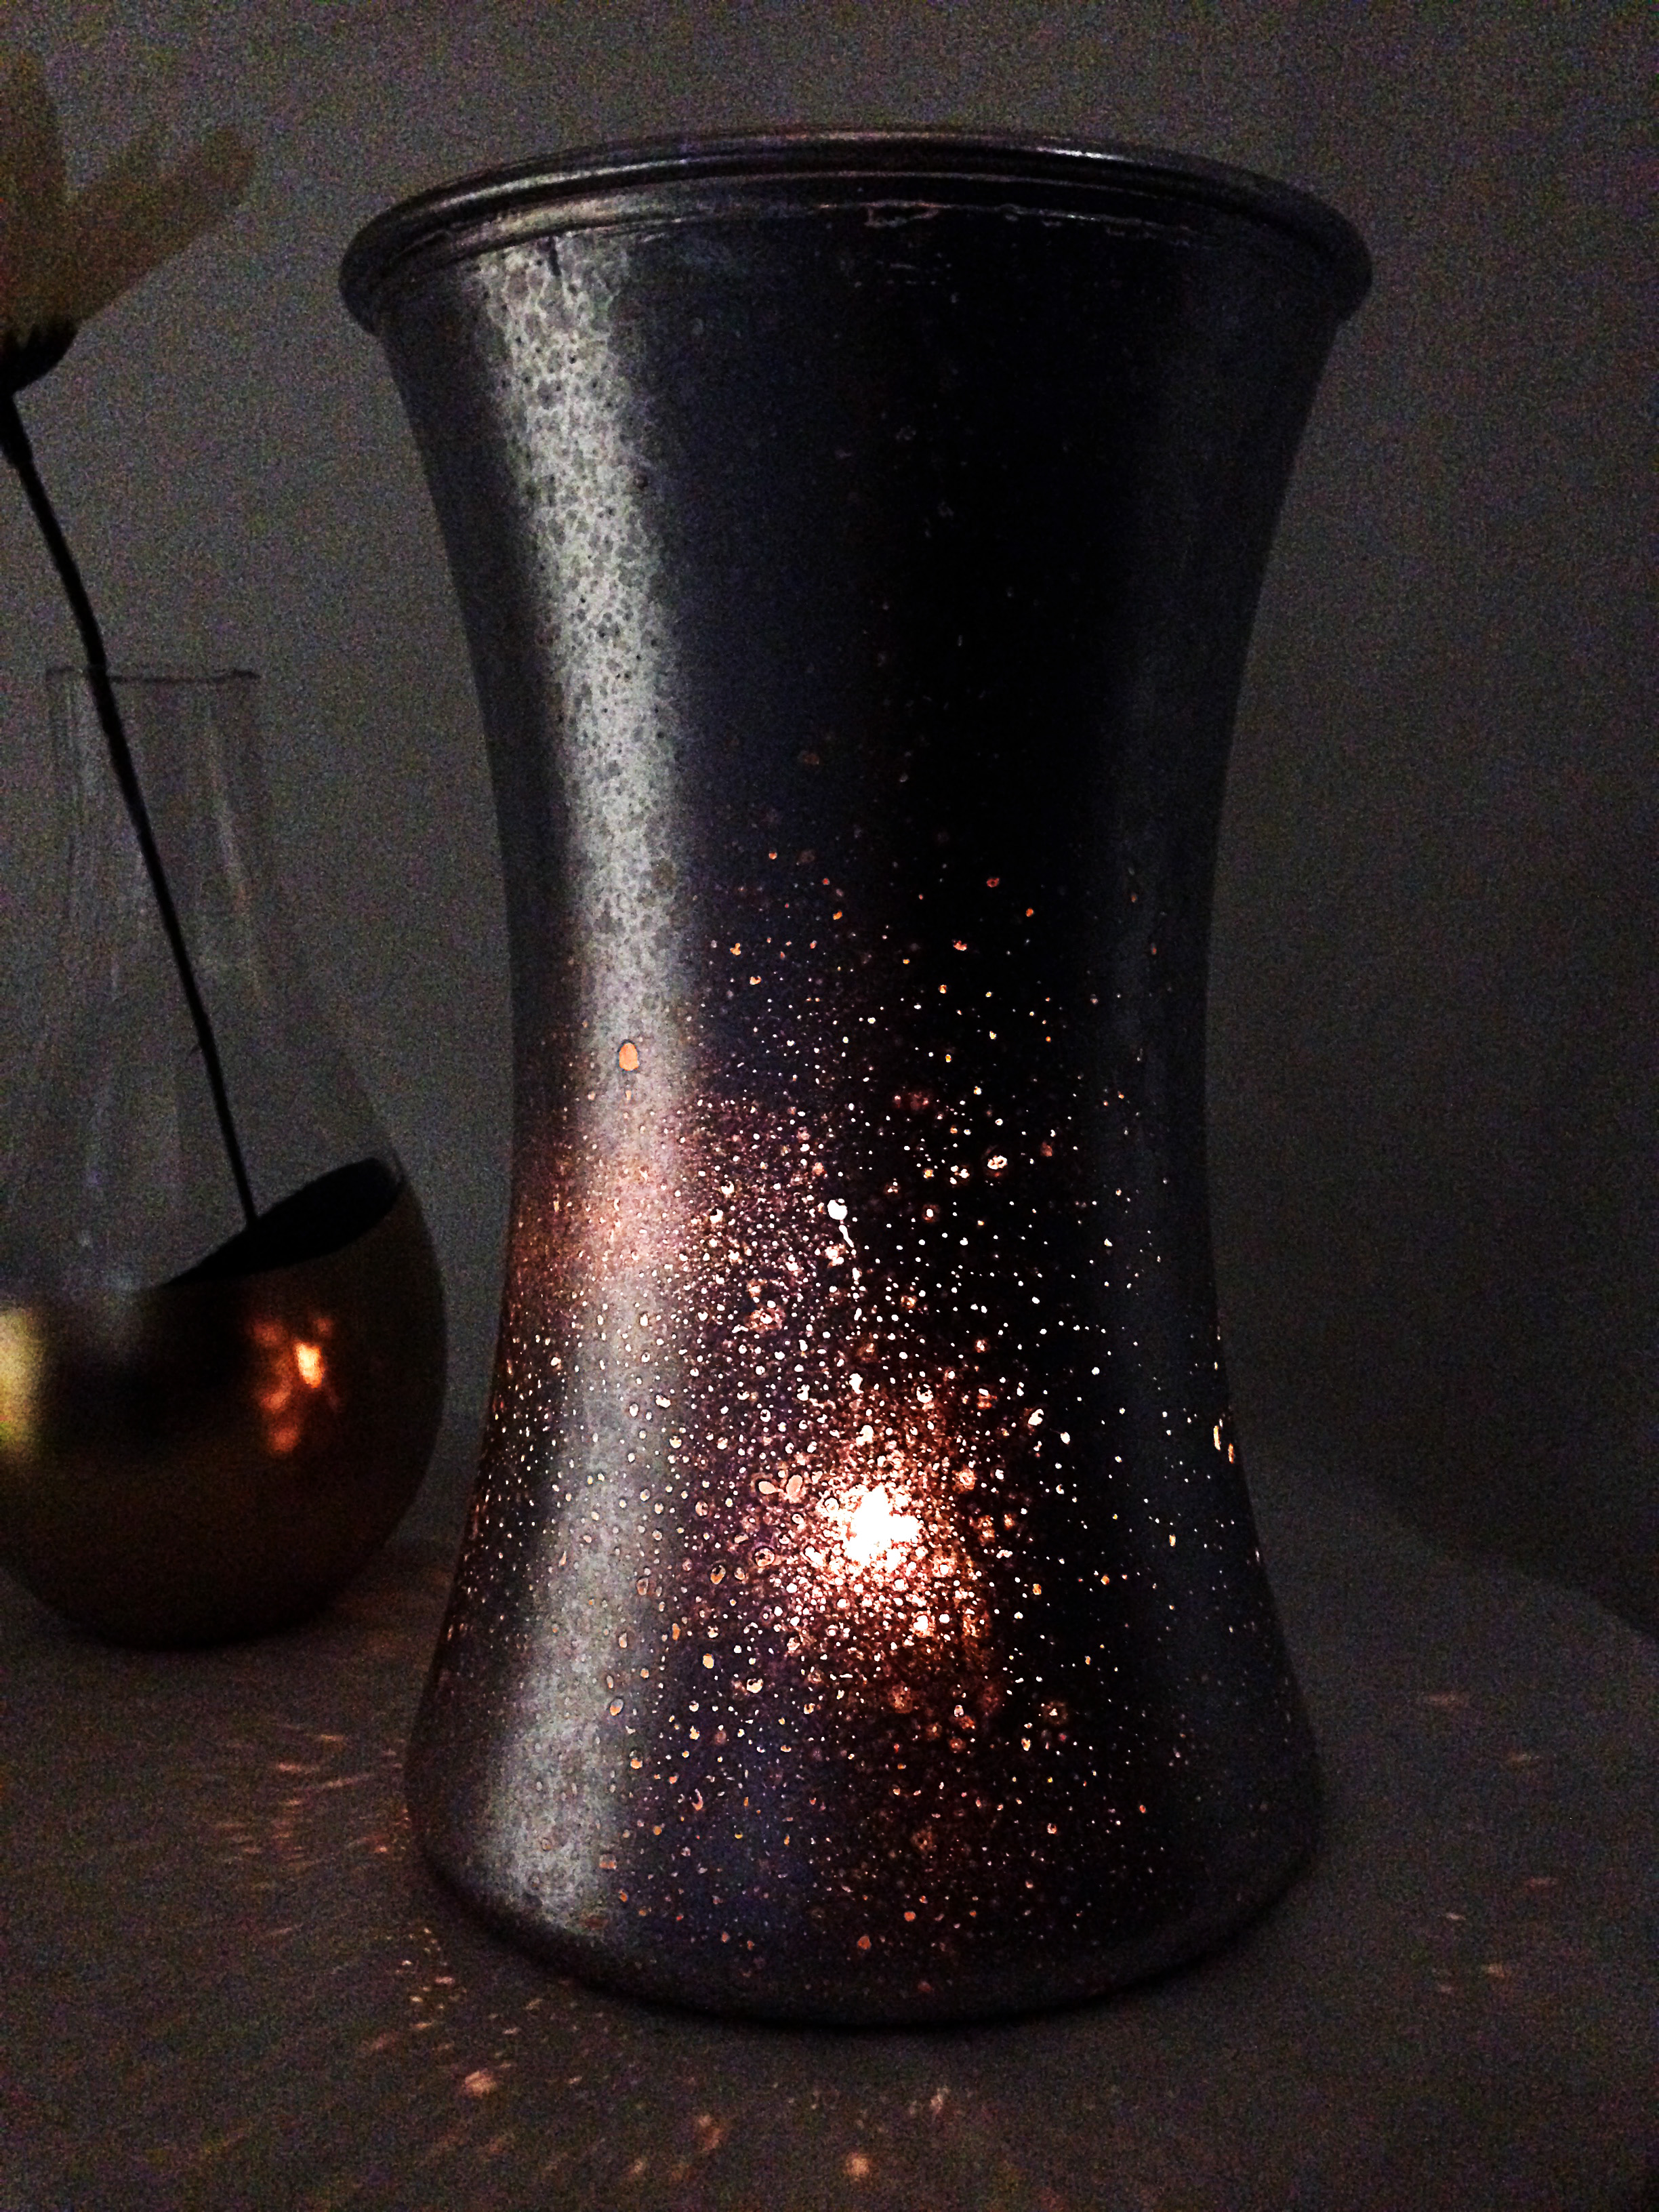
A few years back, Mercury Glass was really trendy. It’s faded out a little bit, but I still love the way it glows with a candle inside.
Supplies Needed
Spray Bottle
Mixture of Half Vinegar and Water
Paper Towels
Gold or Silver Spray Paint
Clear Vases
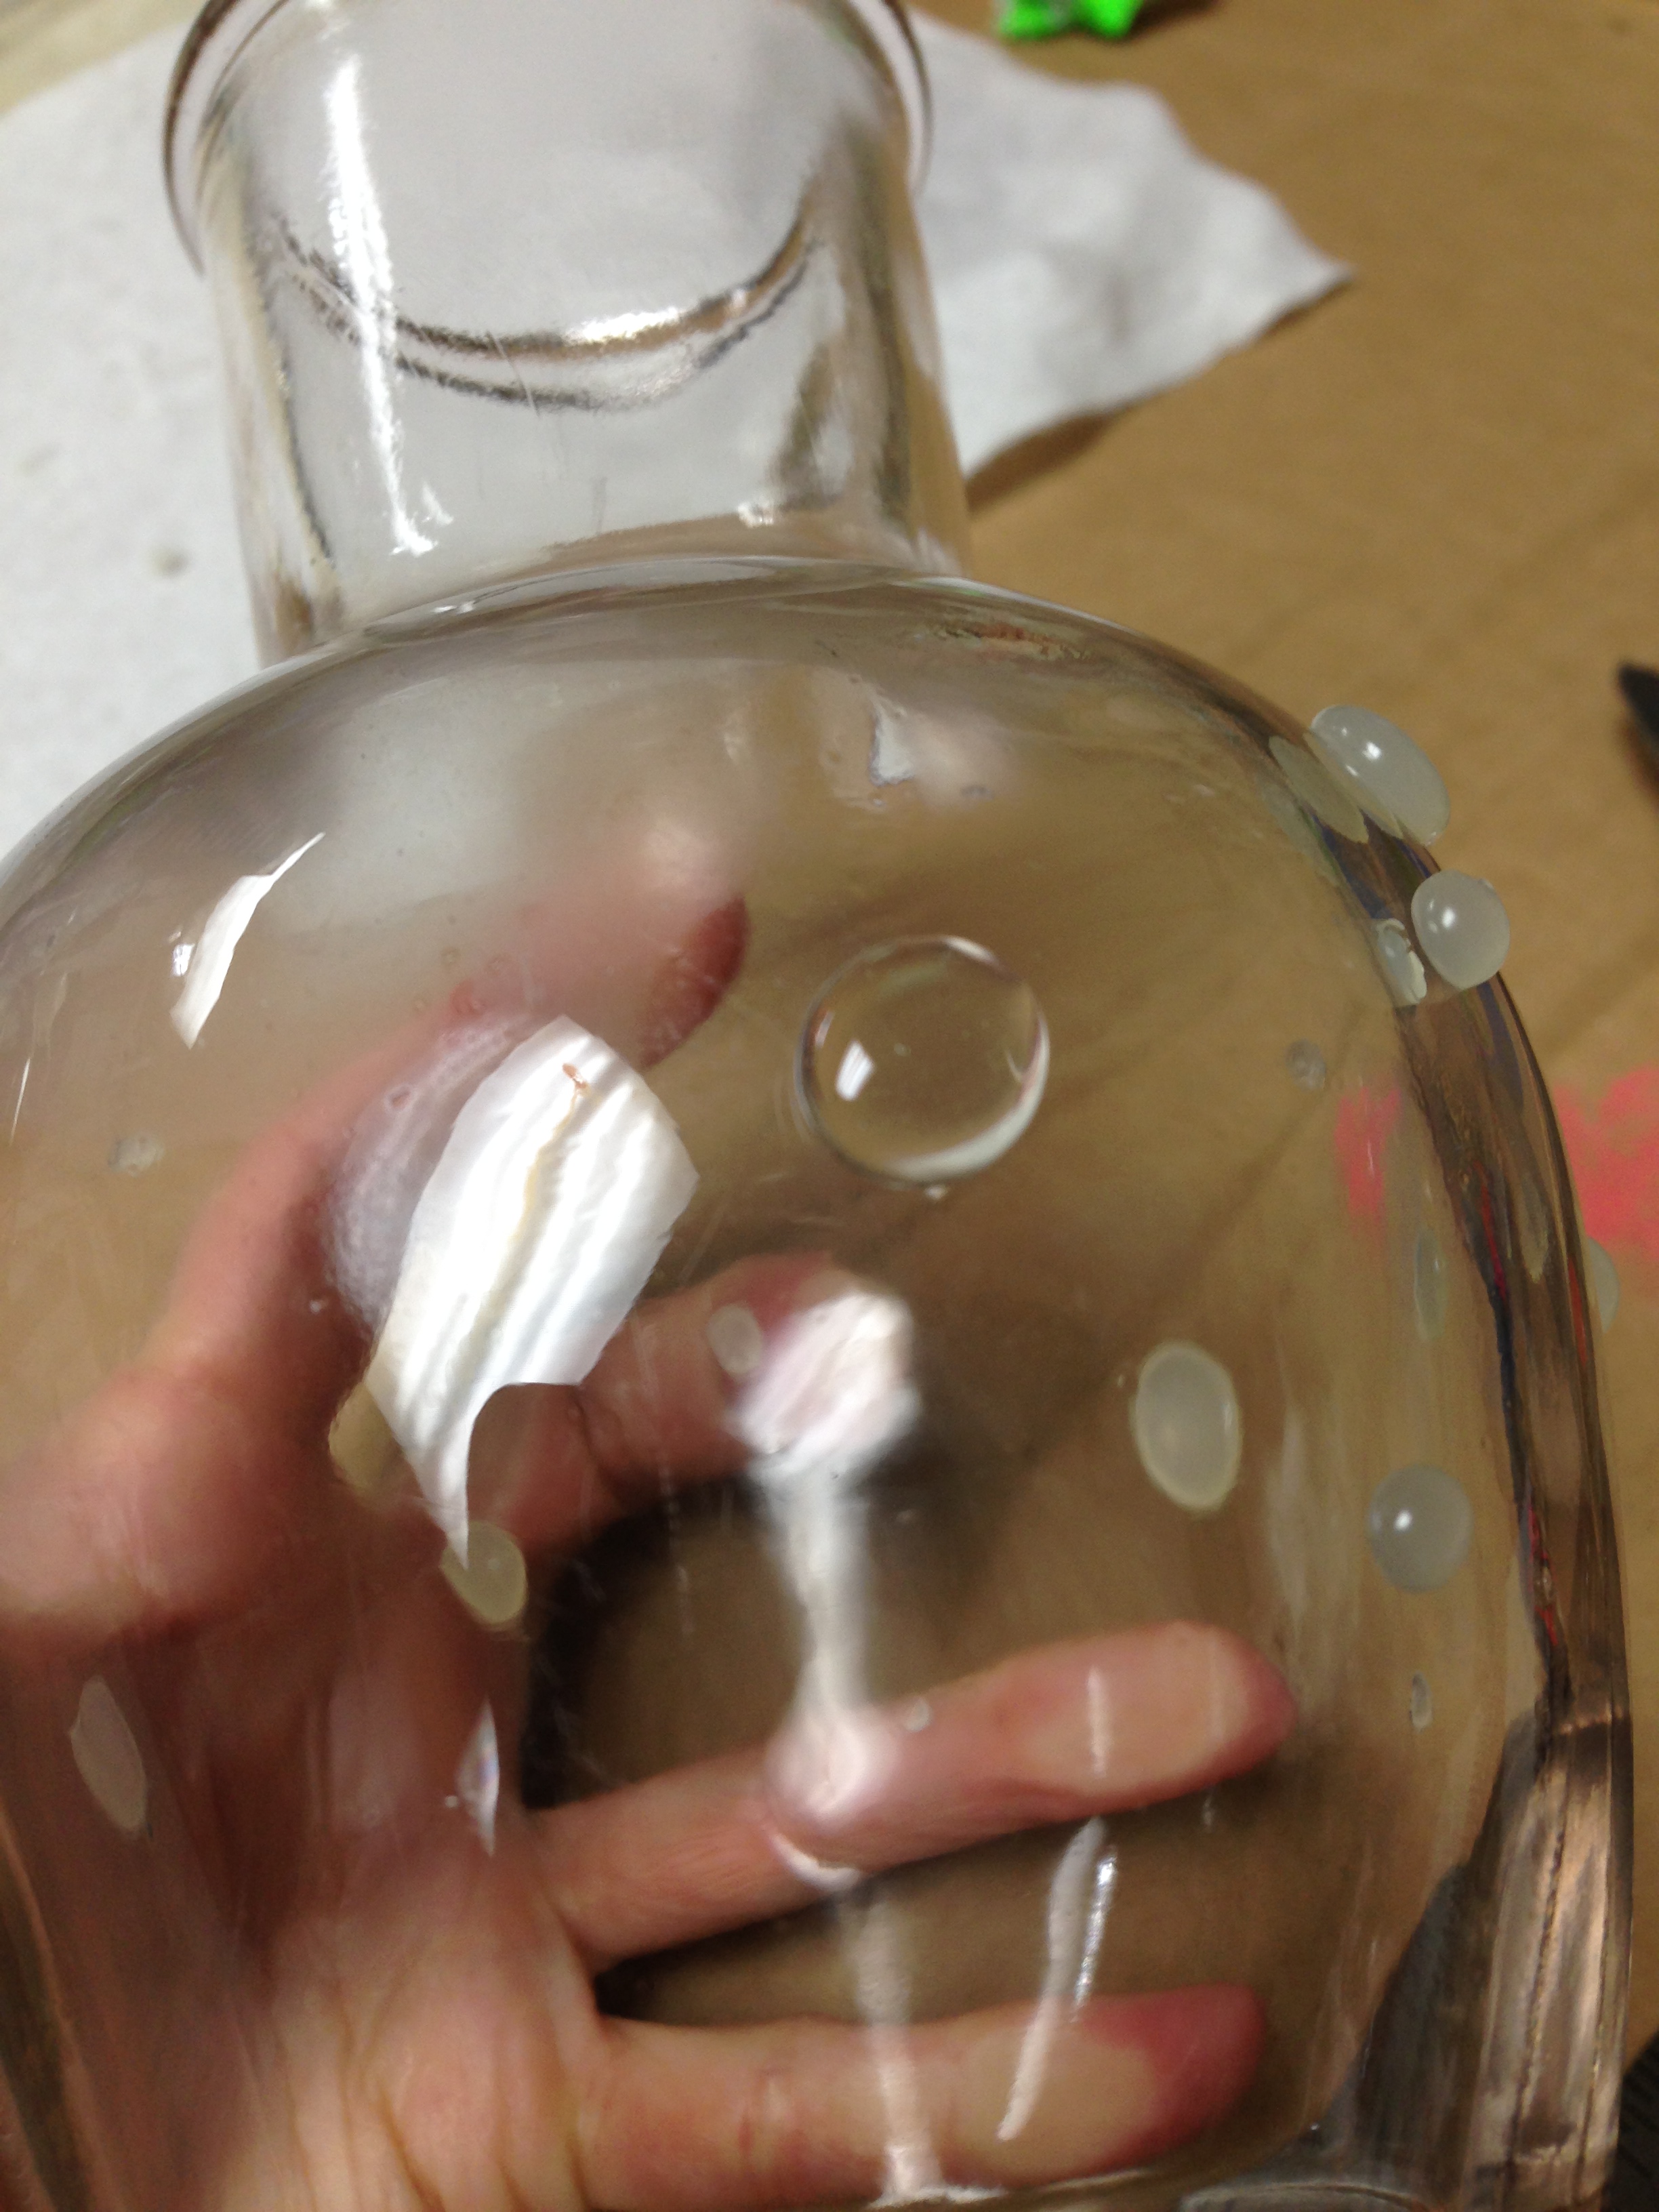
To start, I sprayed the vases with the water/vinegar mixture onto the glass. The liquid beads up on the surface, and after this step, I immediately sprayed with my gold and silver paints, upside down of course.
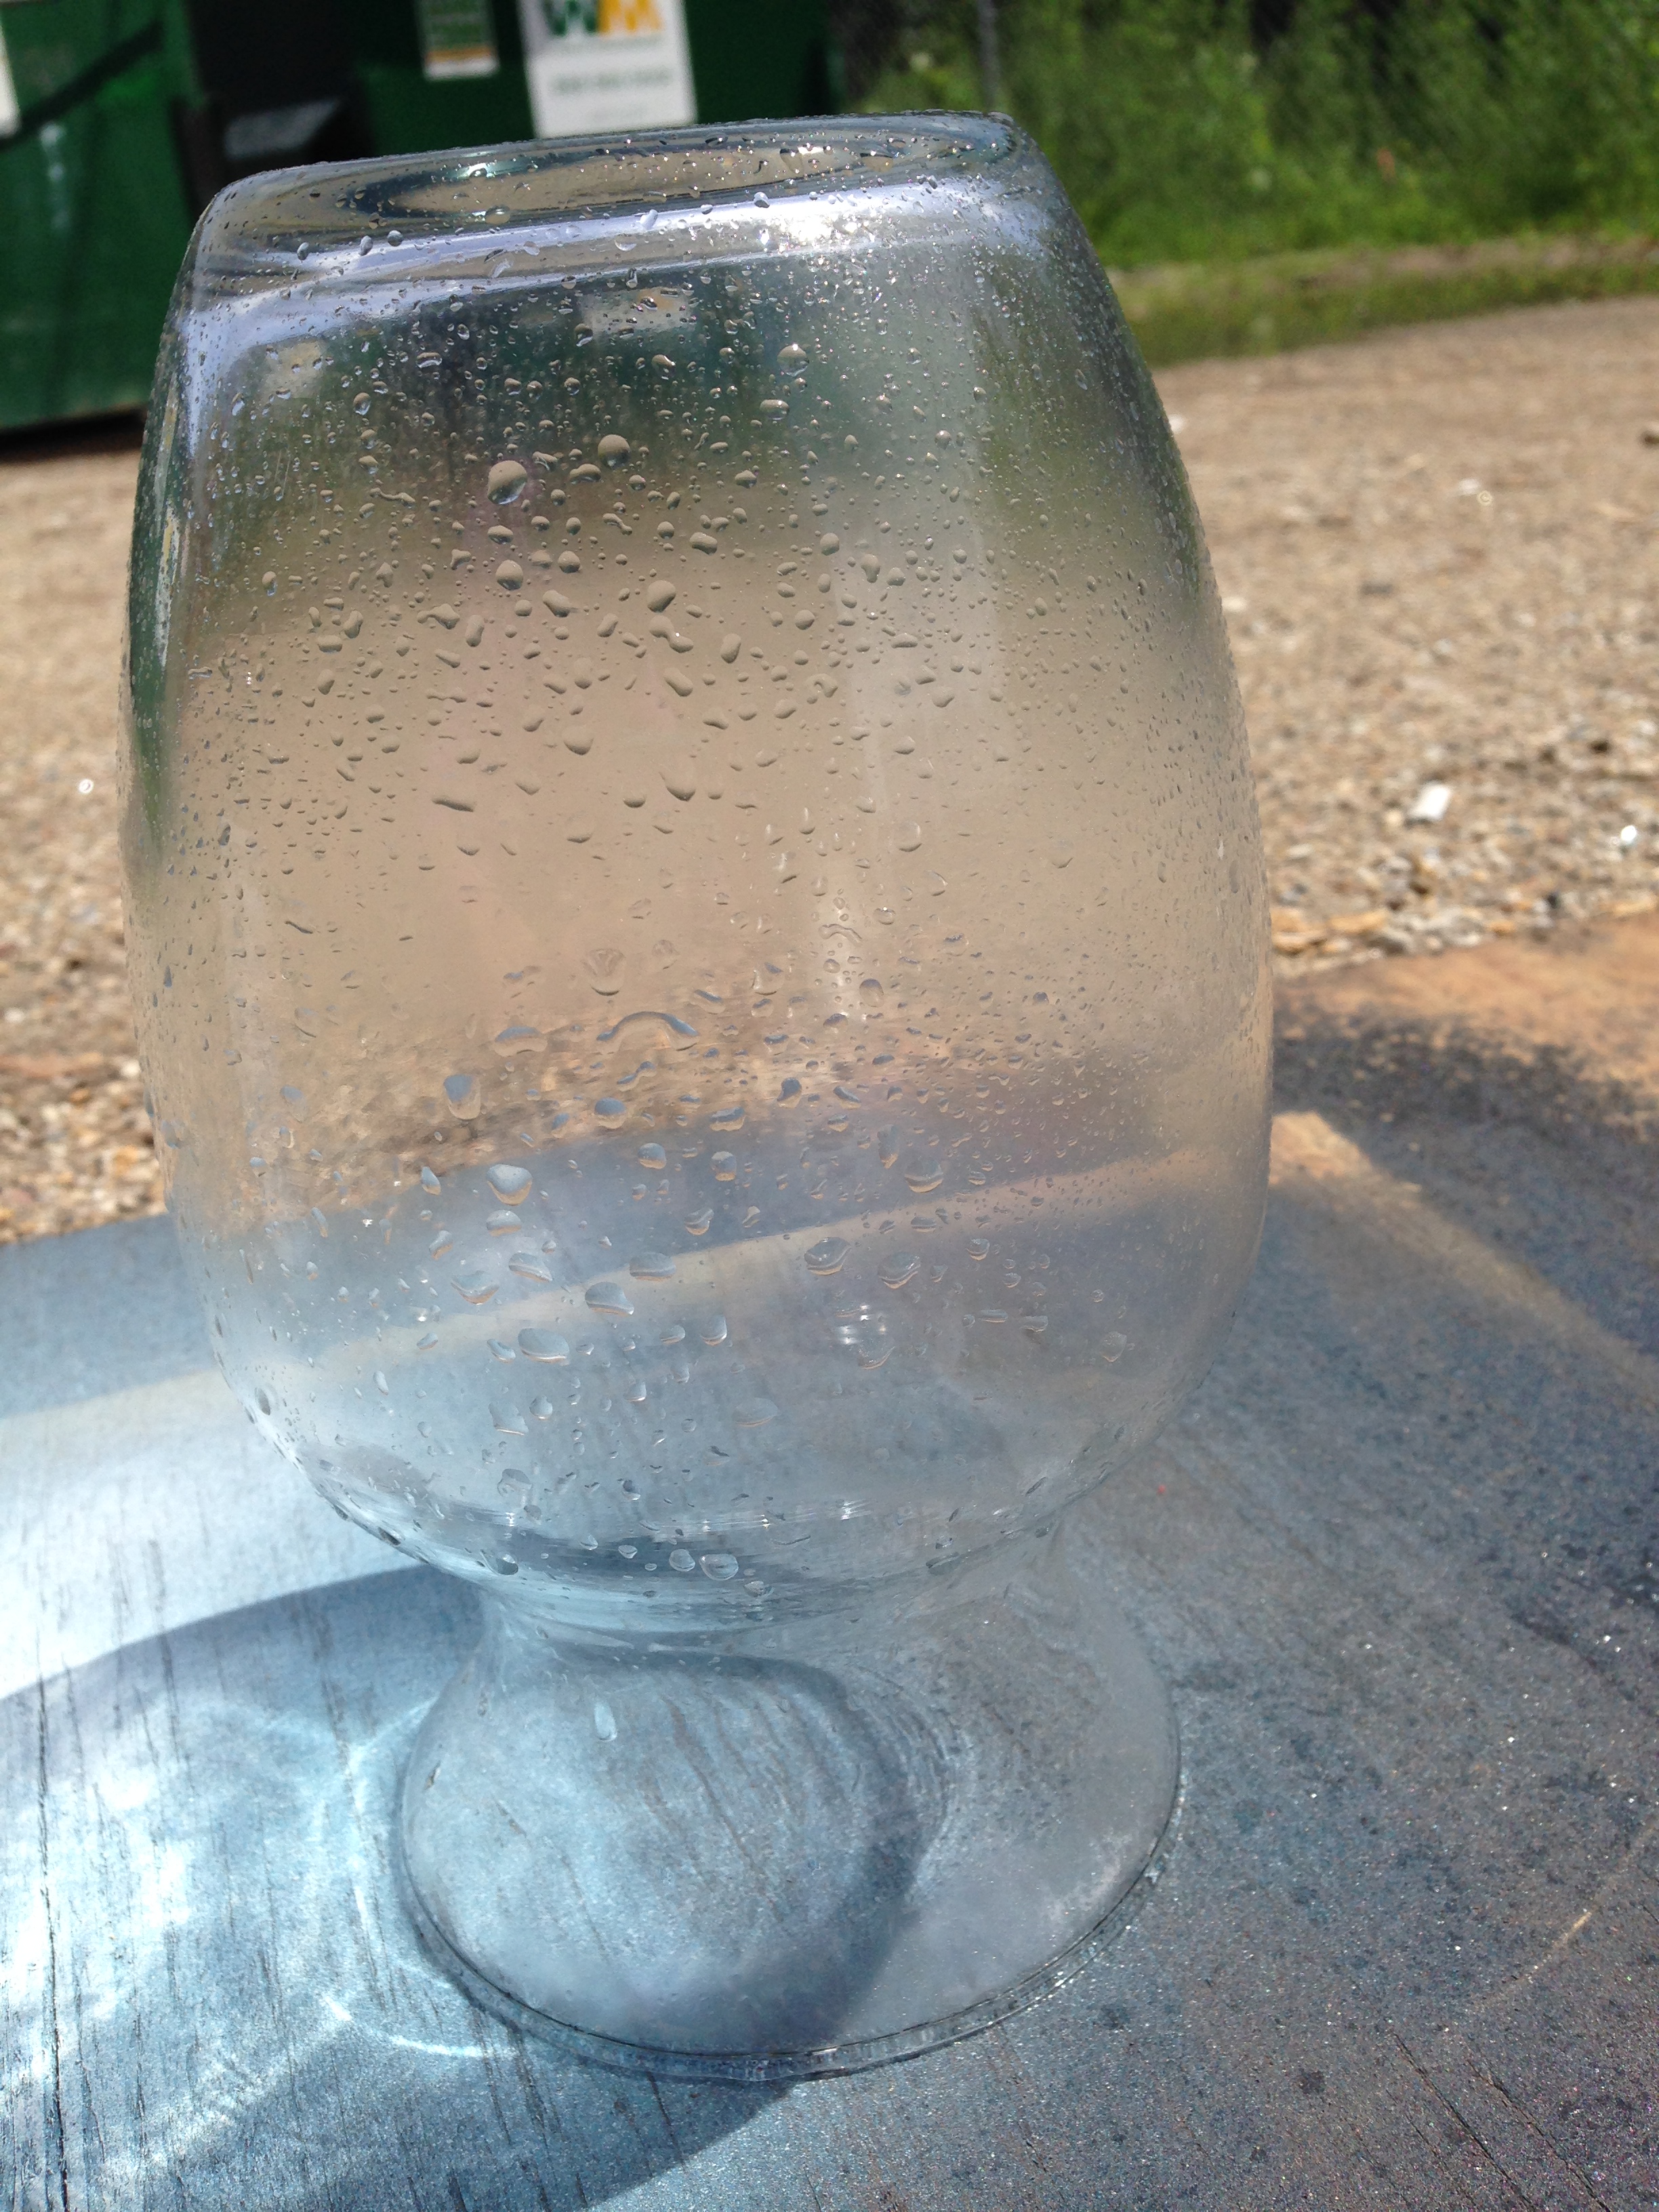
Following this, I dabbed the droplets with the paper towel to remove the paint from those areas to create small holes, where the candle light will shine through. Dabbing with the paper towel also creates a nice texture.
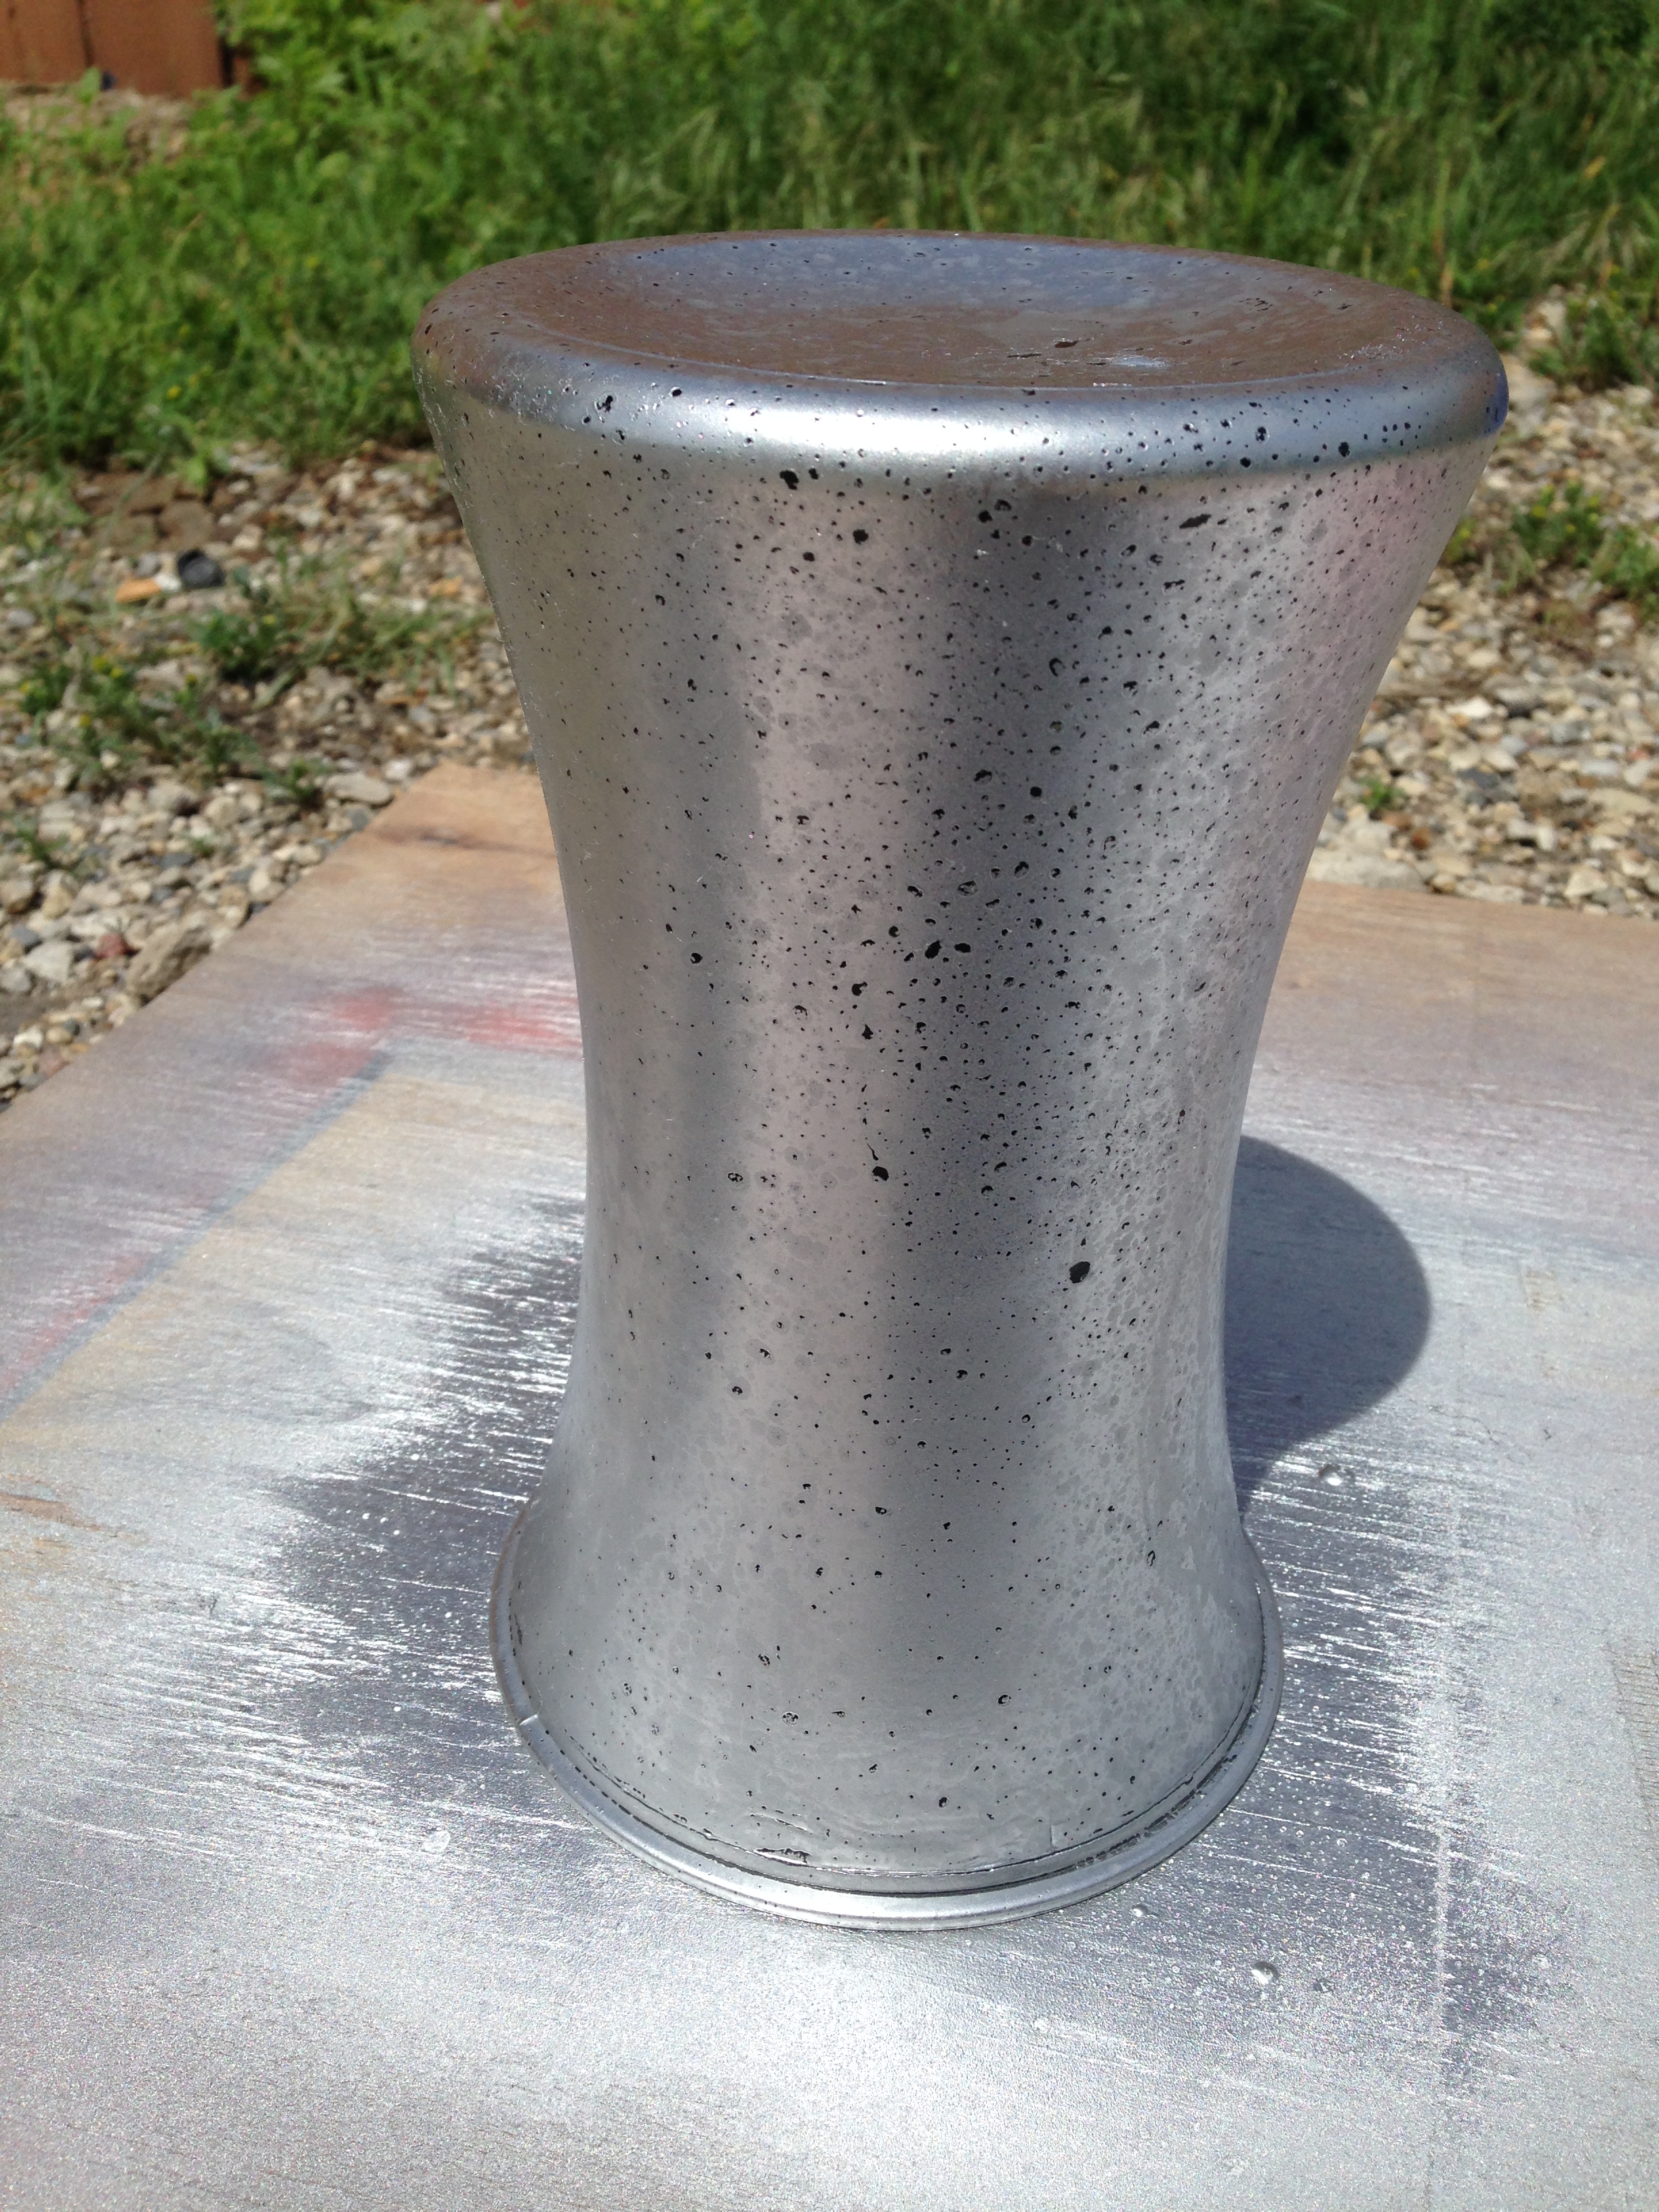
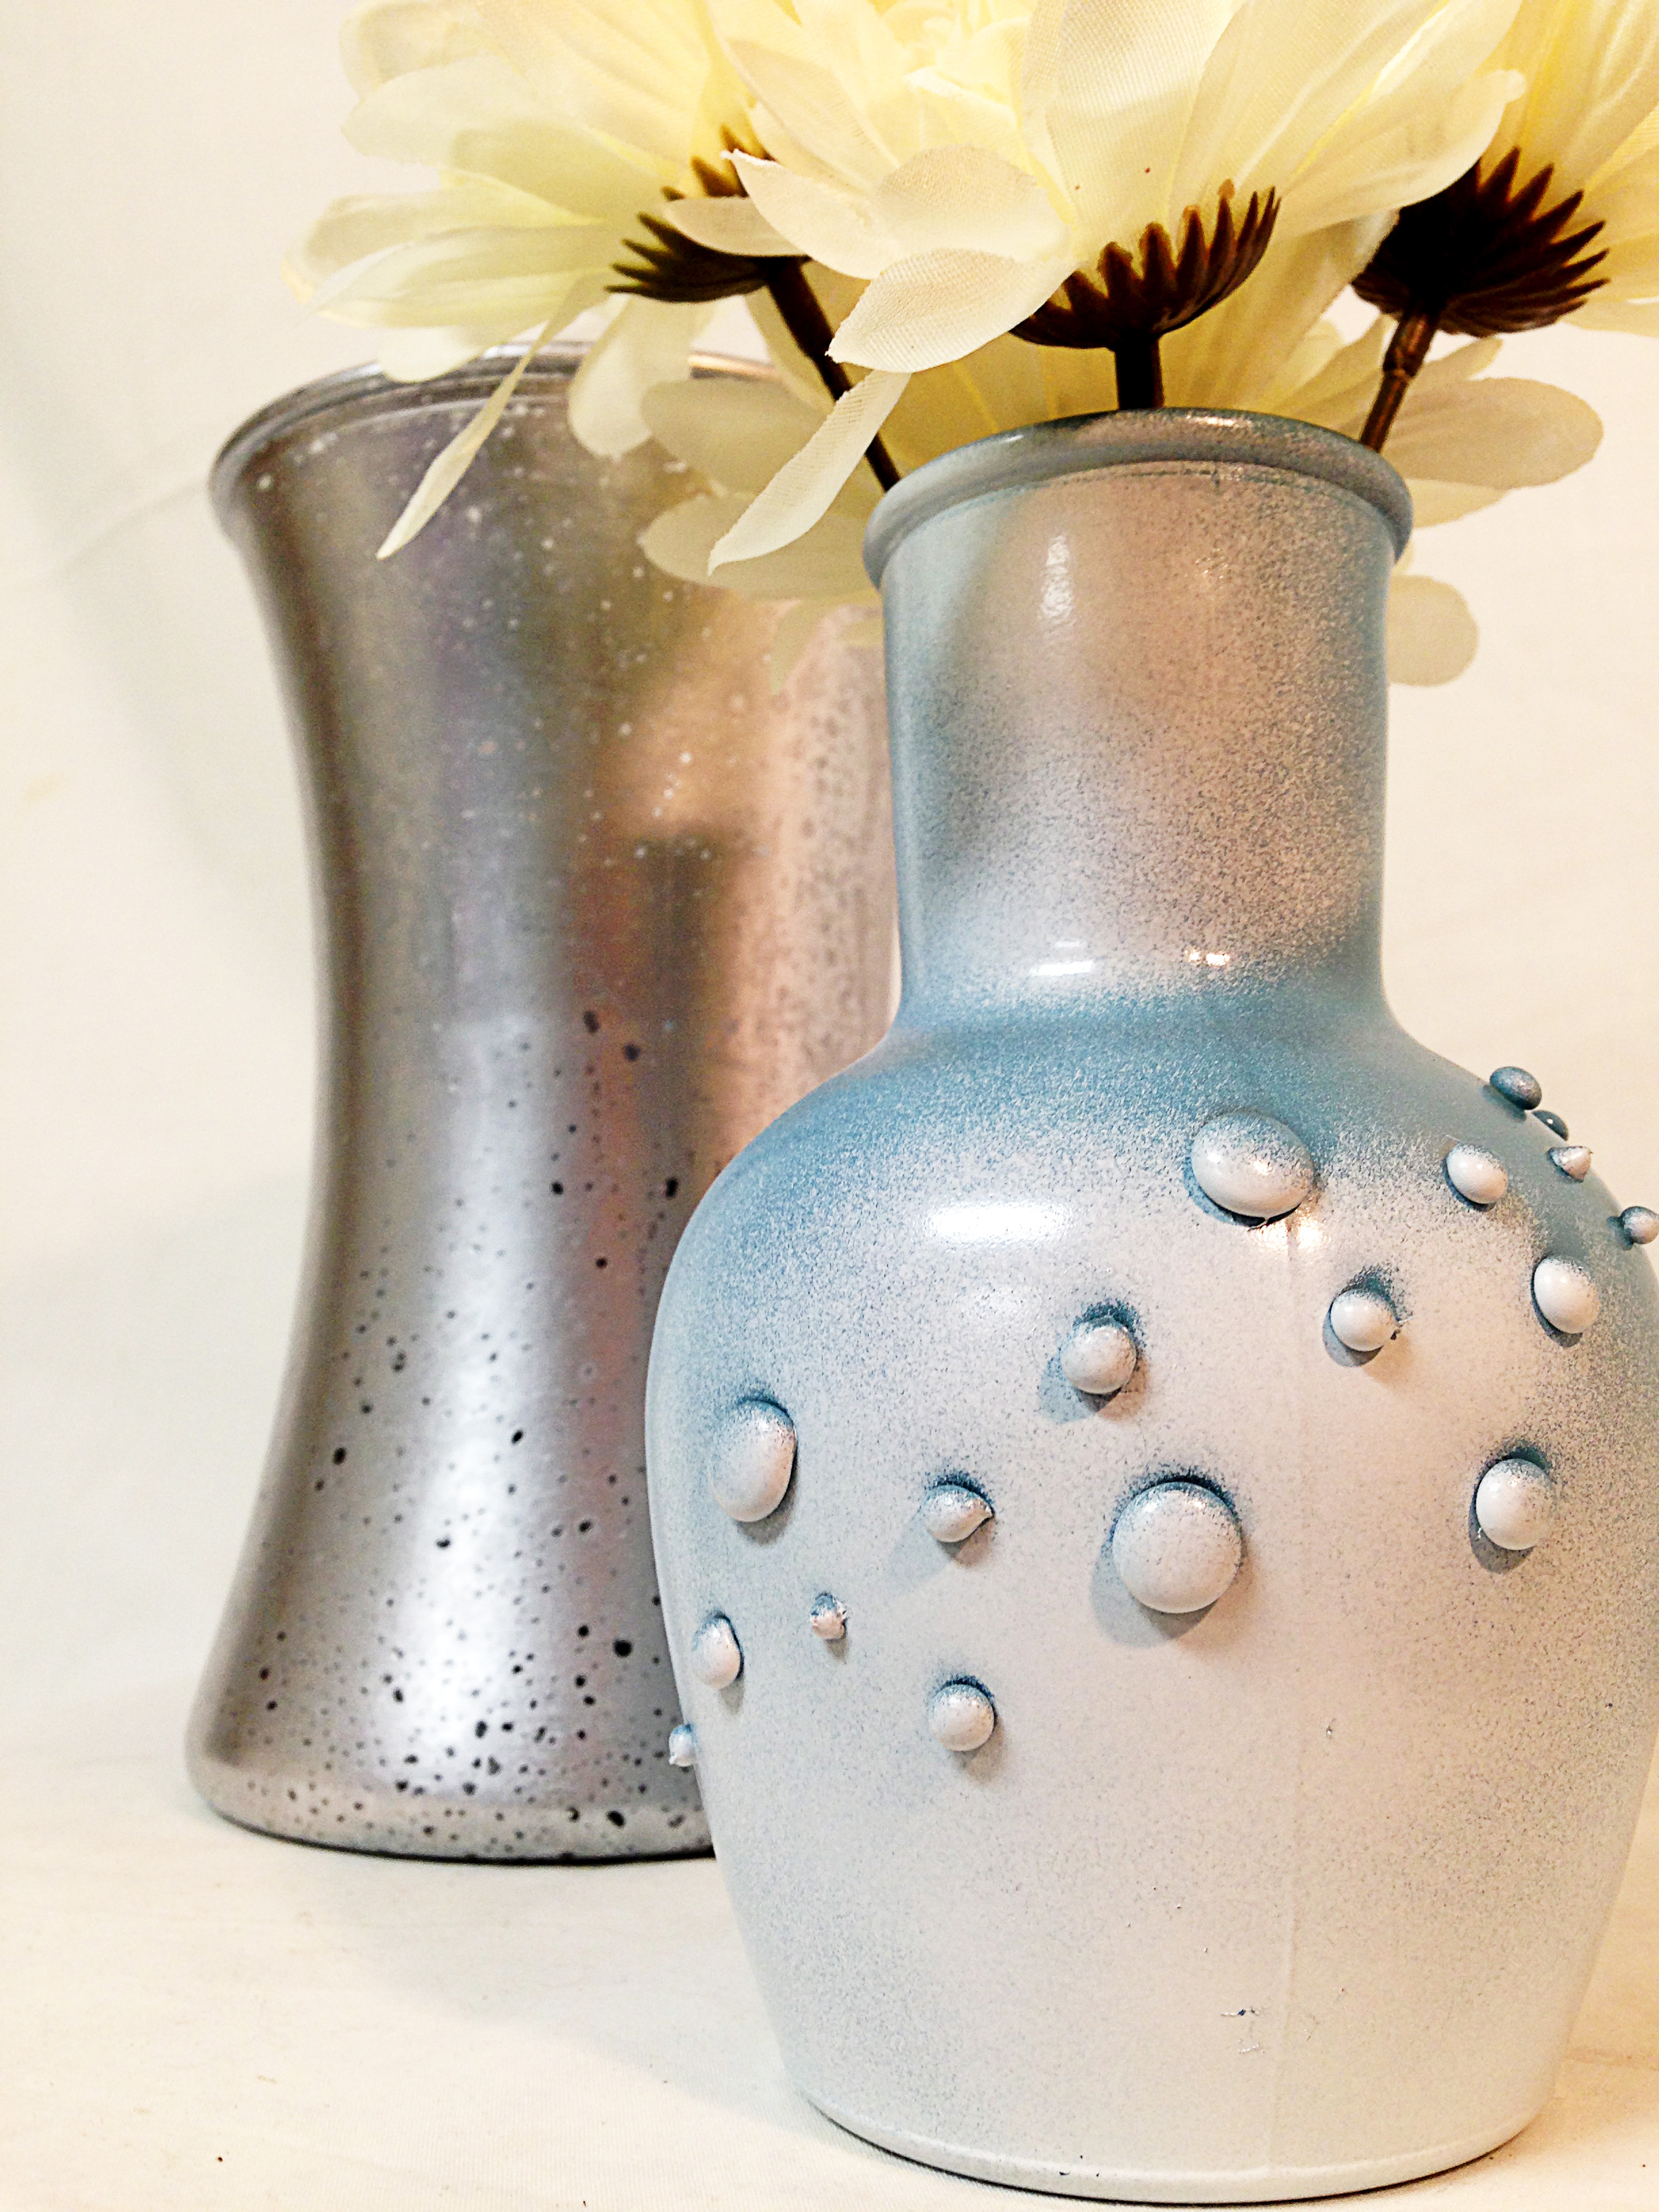
Finally, they are done! Unfortunately not very easy to photograph. But I promise it’s really pretty!
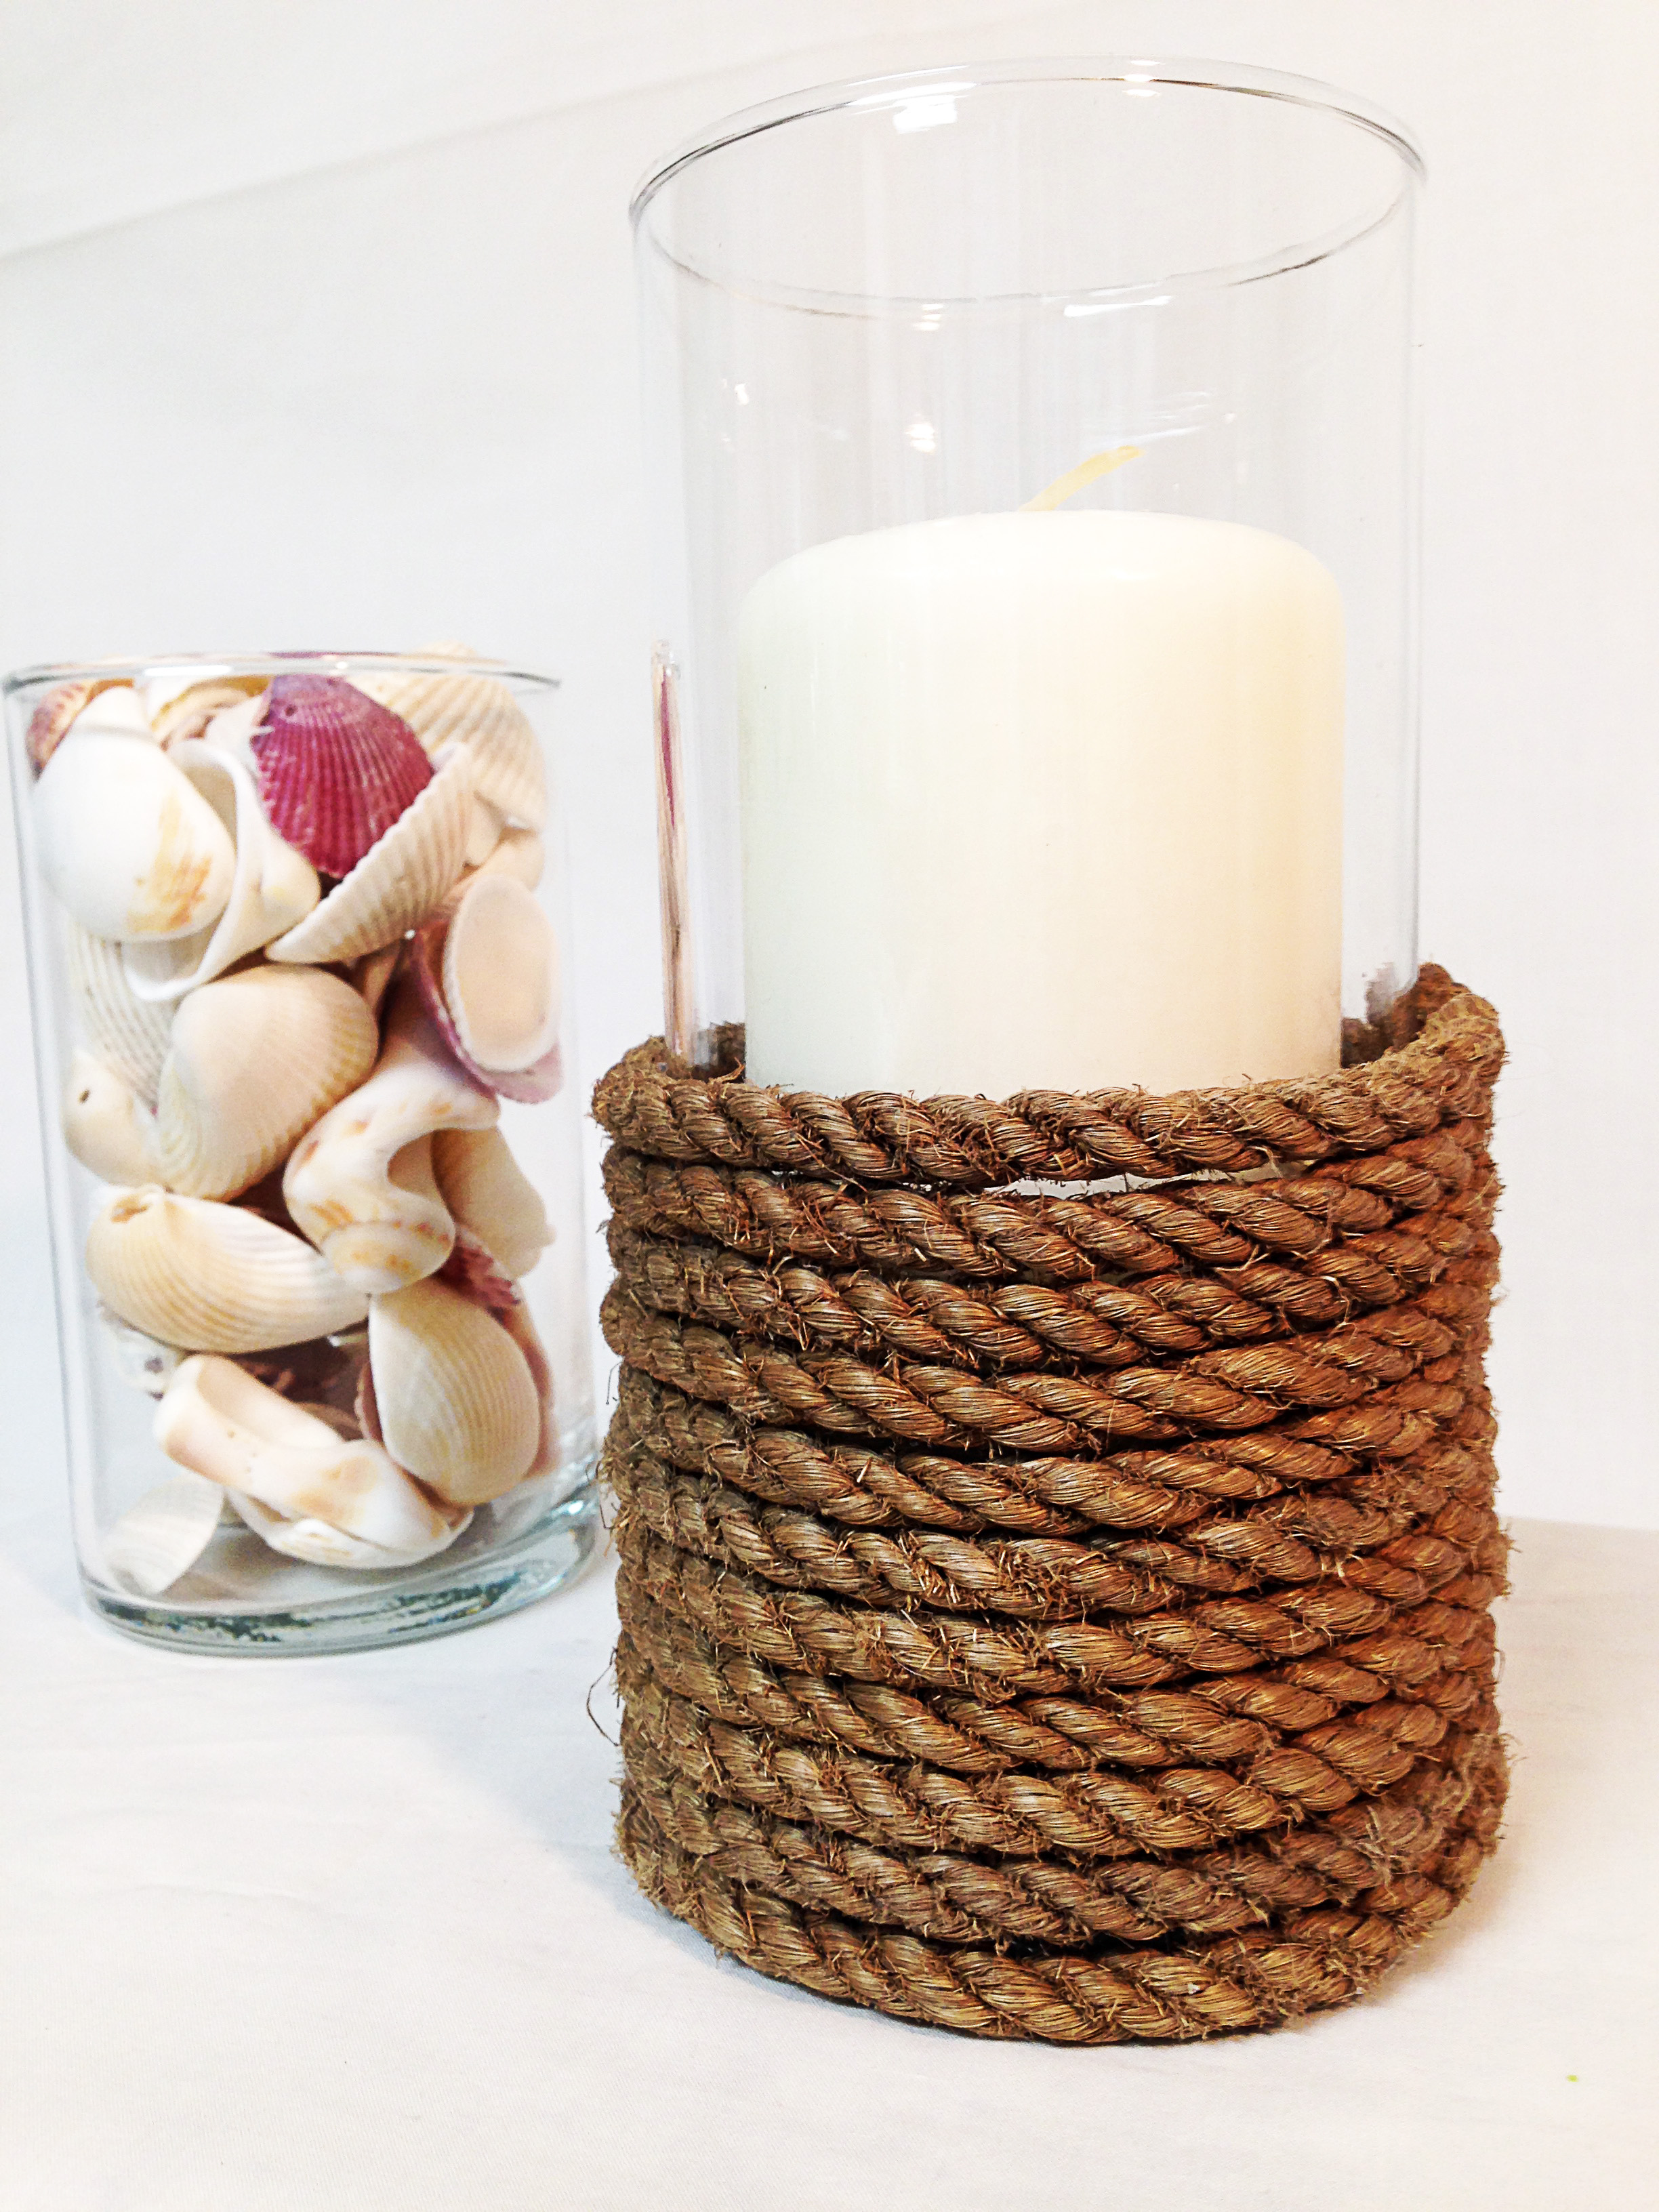
Lastly, I will show the Glue Gun Dotted Vase and the Nautical Rope Wrapped Vase. Both of these use the hot glue gun.
Supplies Needed (Glue Gun Dotted Vase)
Hot Glue Gun
Spray Paint (One or Two colors)
Clear Vase
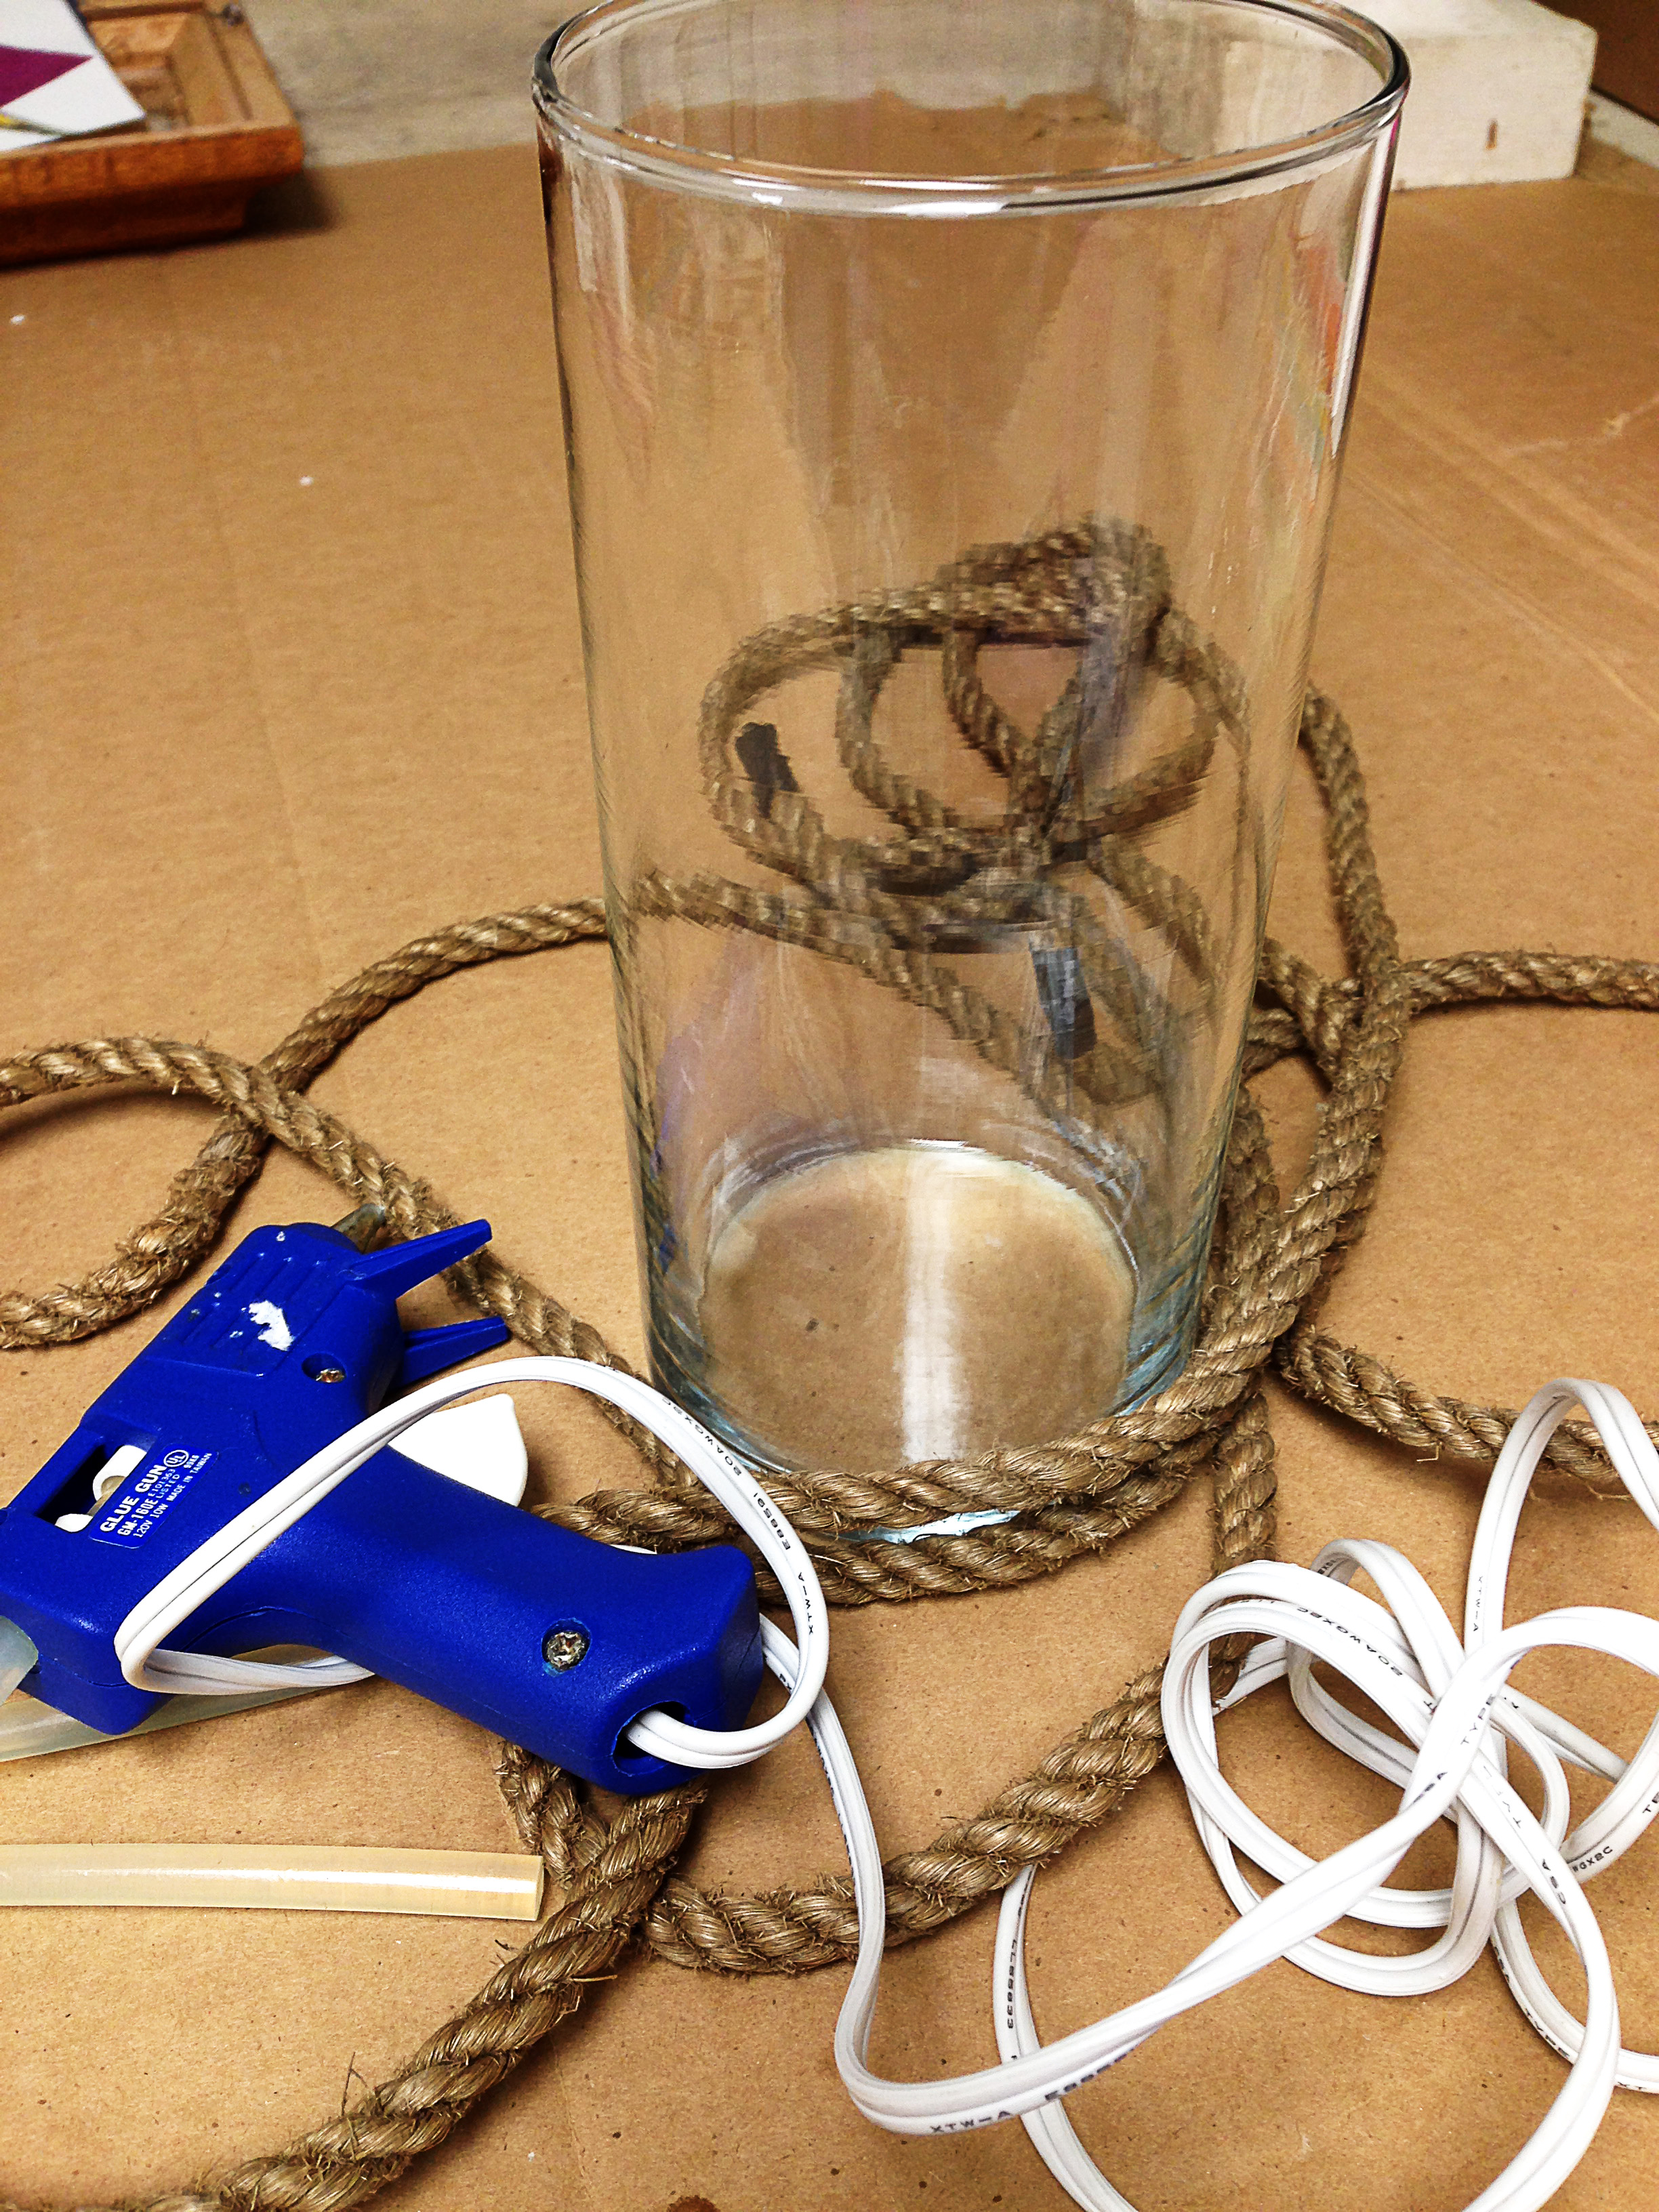
Nautical Rope Wrapped Vase
Hot Glue Gun
Thick rope
Clear Vase
For the Dotted Vase, I used the hot glue gun to create small glue dots on the exterior of the vase. I did this by making small circles while pouring a small about of glue. The nice thing about this is that if the glue doesn’t form the way you want it to, just pick it off and try again! I made a diagonal line of dots, some smaller, some larger. This is all personal preference. Try your own design!

After this was spray painting. I used two different colors to be able to see the highlight and shadows of the dots.
The Nautical Rope Wrapped Vase is very simple. I simply hot glued the rope onto the vase.

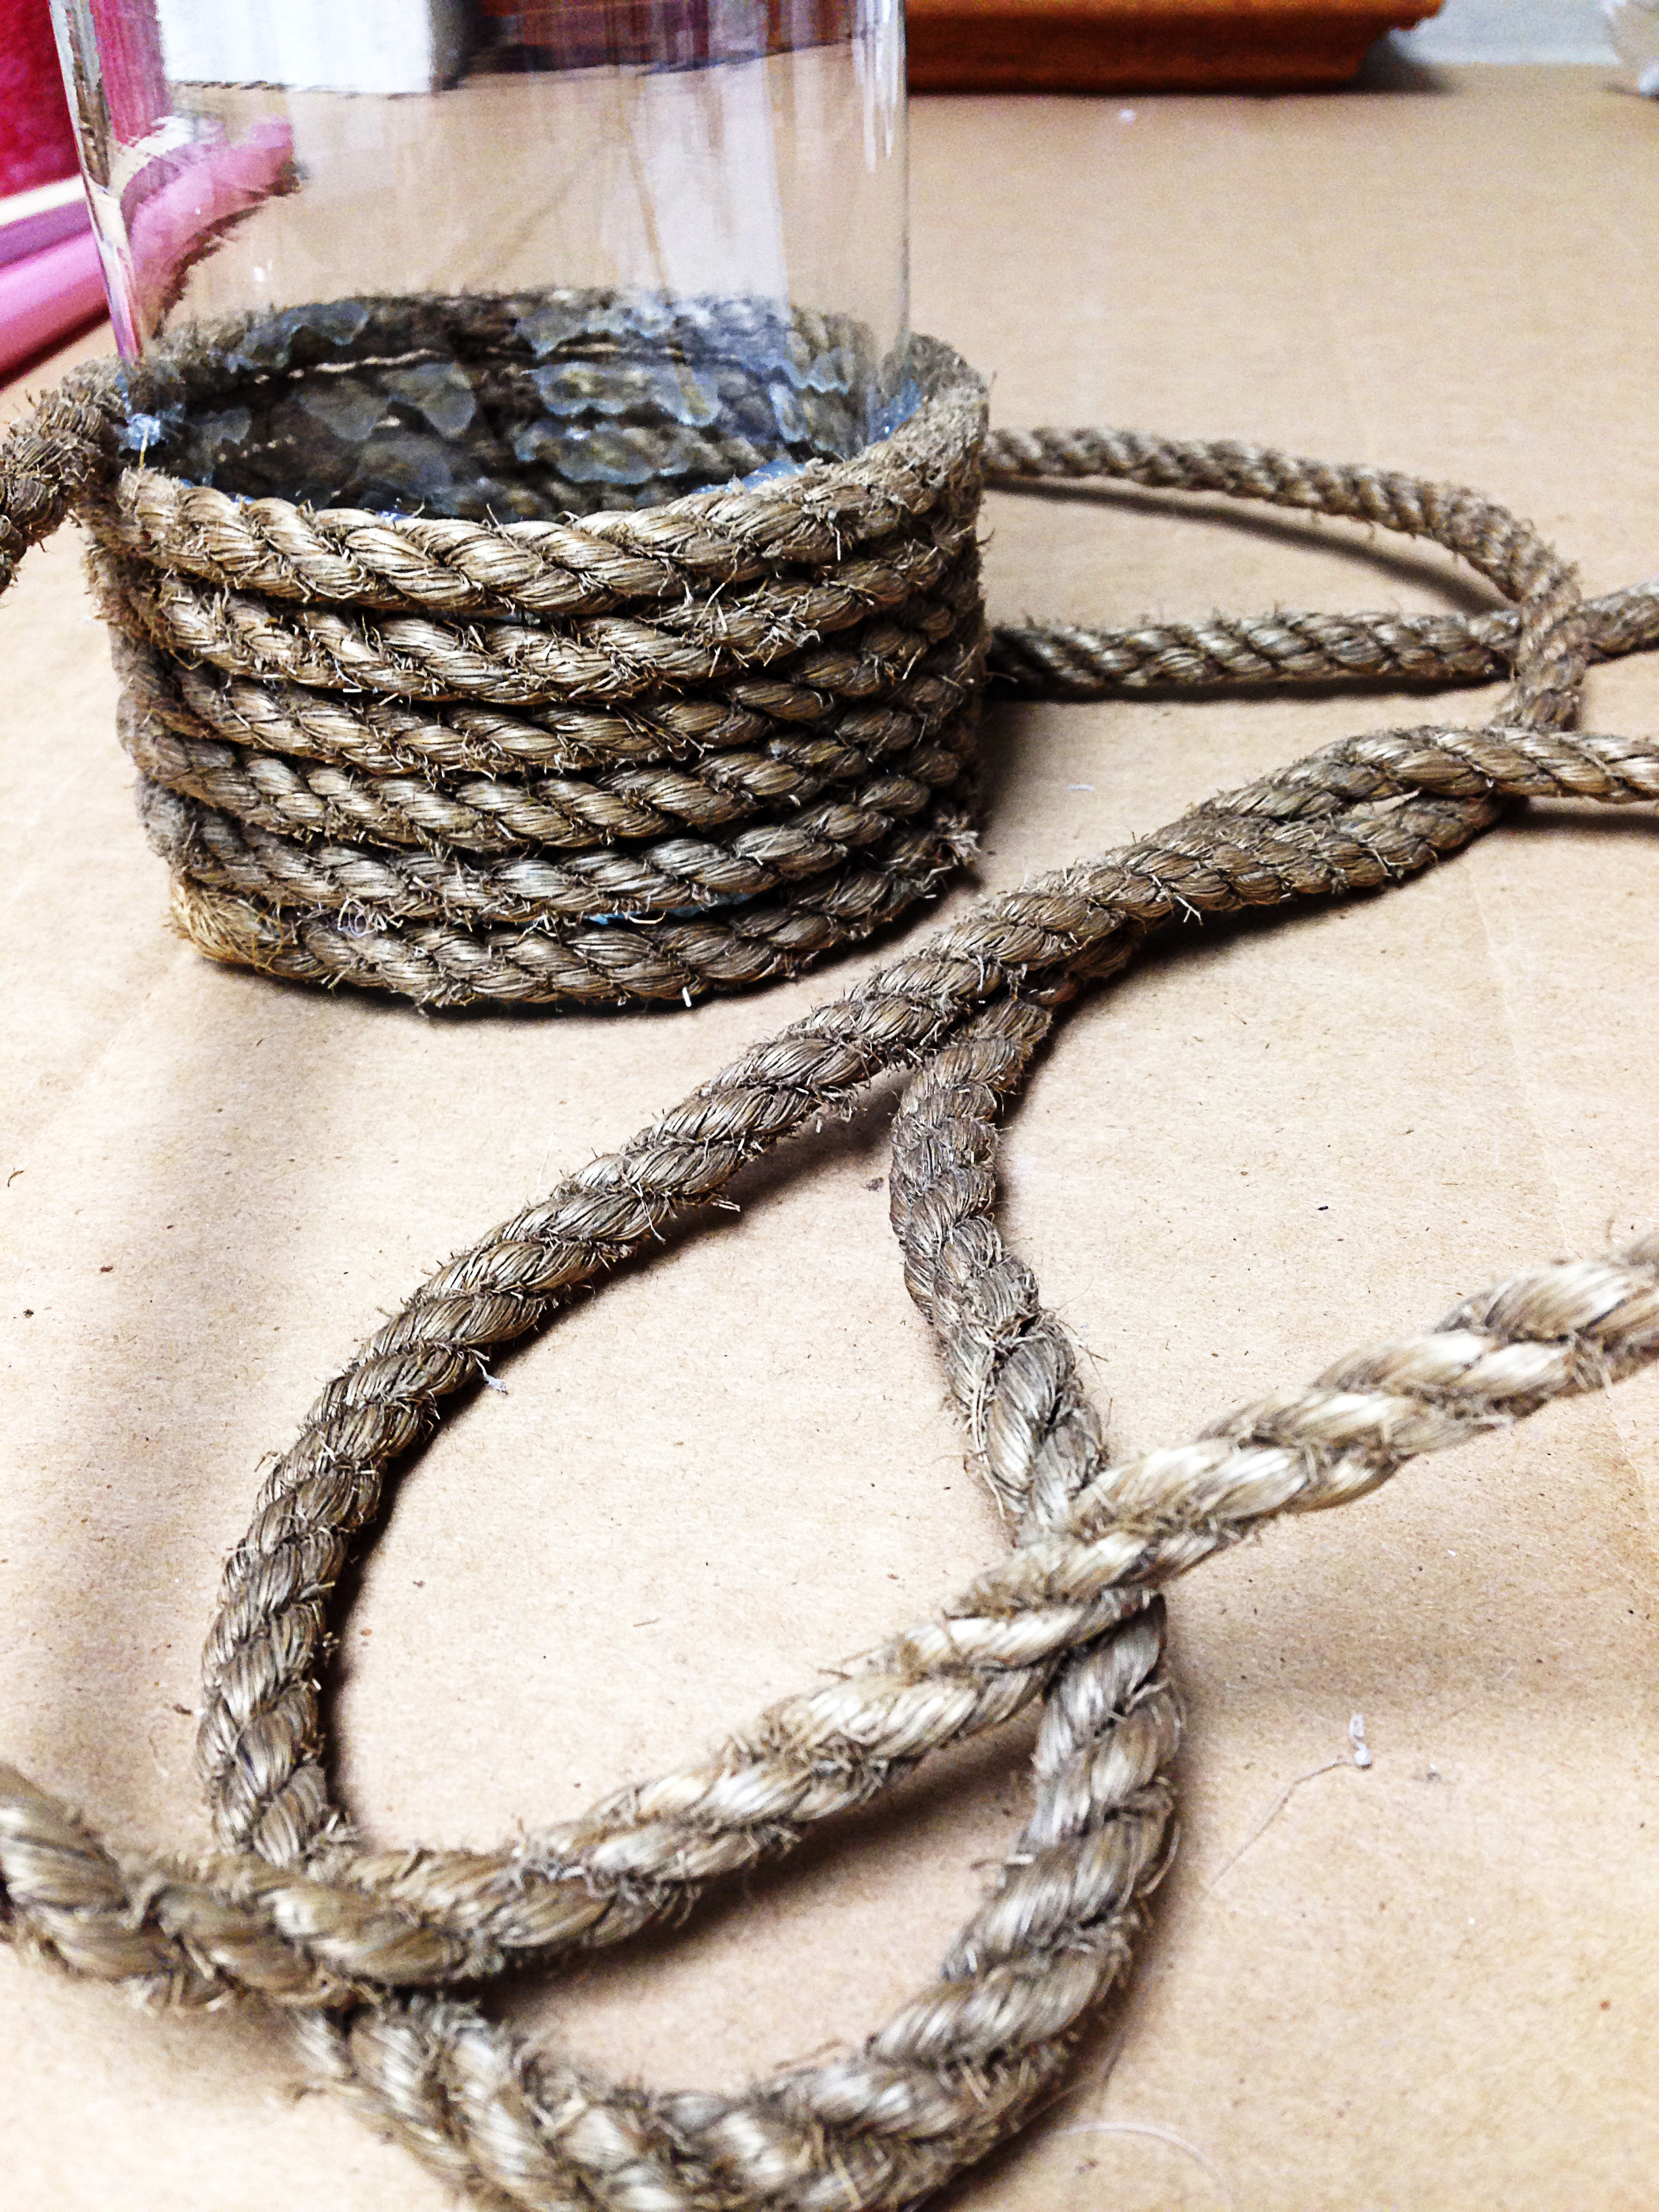
So simple but so cute!
I hope you enjoyed these ideas to repurpose glassware. Stop by ReStore and pick up some glassware for your next project!
Thanks for stopping! Have a great day!